User Manual
Features
Ideas, AI Built
Got a spark? Speak it out — let AI turn your idea into a real product.
From Concept to Product
Describe your vision in natural language — AI turns it into working code, step by step.
One Phone, All Dev Machines
Mac, Linux, or cloud server — install Gateway and take remote control. OTA upgrades supported, API keys encrypted in transit and at rest.
Speak to Code
Real-time voice input — speak to command AI coding, the most efficient way on mobile.
Rollback Anytime
Every execution creates a checkpoint. Roll back to any point — let AI code boldly.
Smart Output Clipping
Auto-filter build noise, trim verbose output, keep only key info — multiply your context efficiency.
AI Auto Memory
AI assists you in manually extracting valuable experience into memory. Choose what to save for future context injection.
Model Freedom
3-level model config (task / project / device). Claude Code, Codex — pick any, never locked in.
AI Project Generation
Describe your project in one sentence, and AI auto-generates the full structure and configuration — from idea to project in seconds.
Idea Capture
Capture ideas anytime with voice input and image uploads; AI automatically turns them into actionable projects.
Quick Commands
Preset frequent operations as one-tap commands — skip repetitive typing and double your efficiency.
Skill Selector
A skill library organized by scenario and domain — inject professional capabilities into tasks with one tap.
Manual Work Tracking
Not everything needs AI — manual tasks are equally trackable, completable, and archivable.
Real-time Execution Stream
WebSocket pushes AI execution steps in real time — code changes and tool calls at a glance.
Ad for Credits
Free quota used up? Watch a short ad to keep going — full features without paying.
Device Connection Management
Manage multiple dev machines from one phone — add, rename, and refresh tokens securely.
Smart Push Notifications
Real-time alerts for task completion, Gateway upgrades, and other key events — never miss what matters.
Gateway OTA Upgrade
iOS detects new versions and prompts you to upgrade Gateway — no SSH login needed.
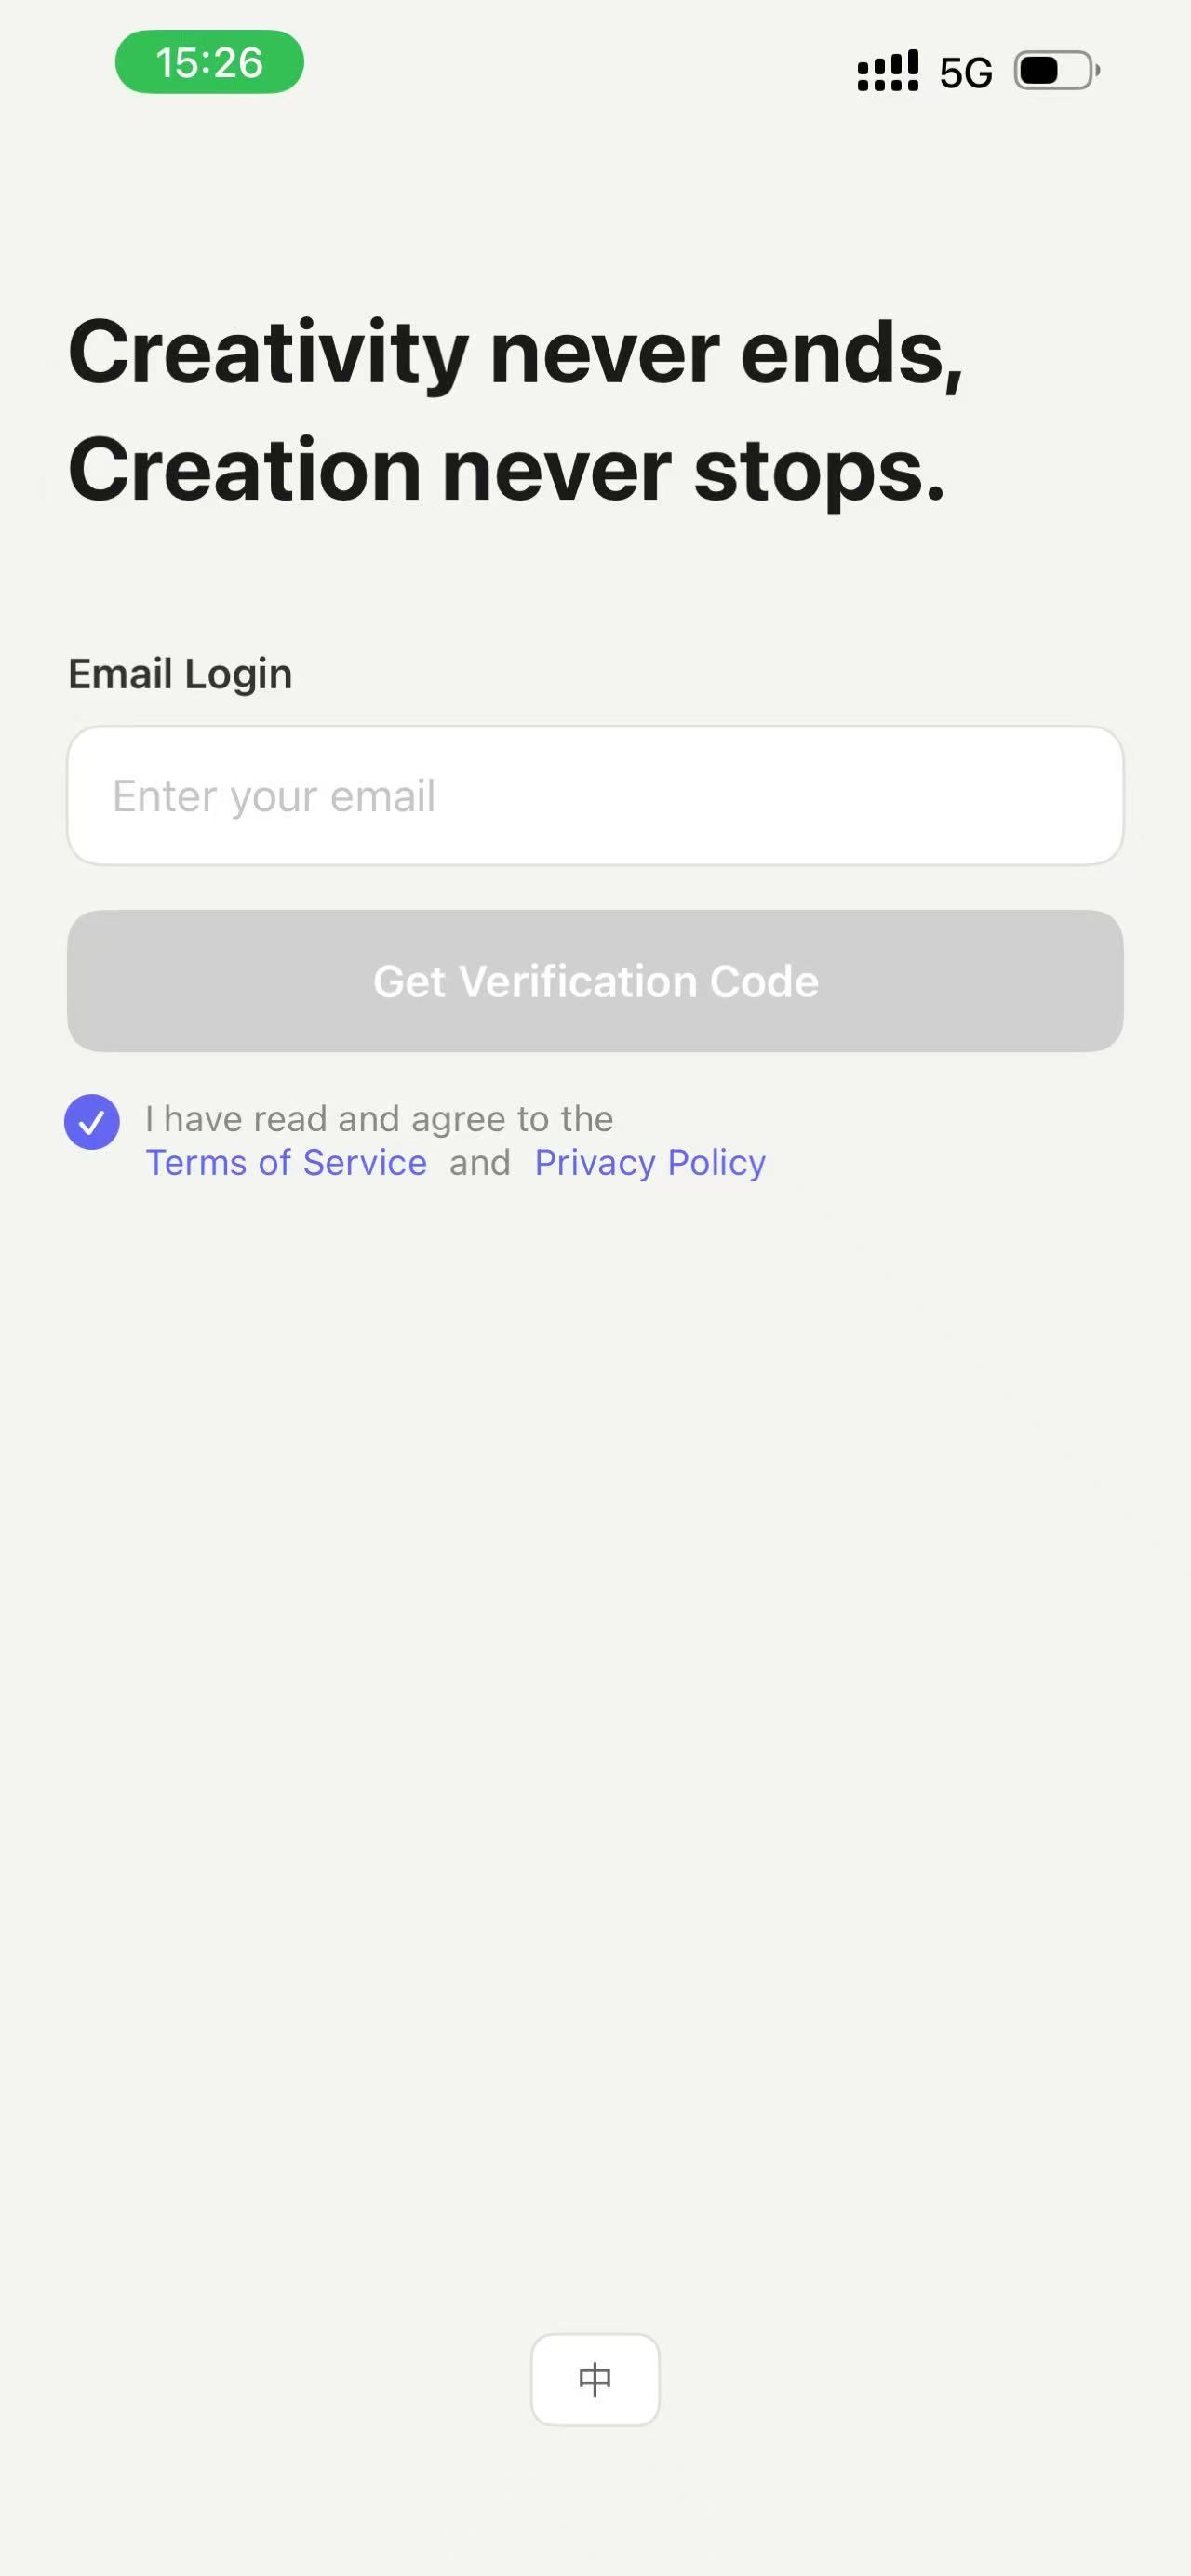
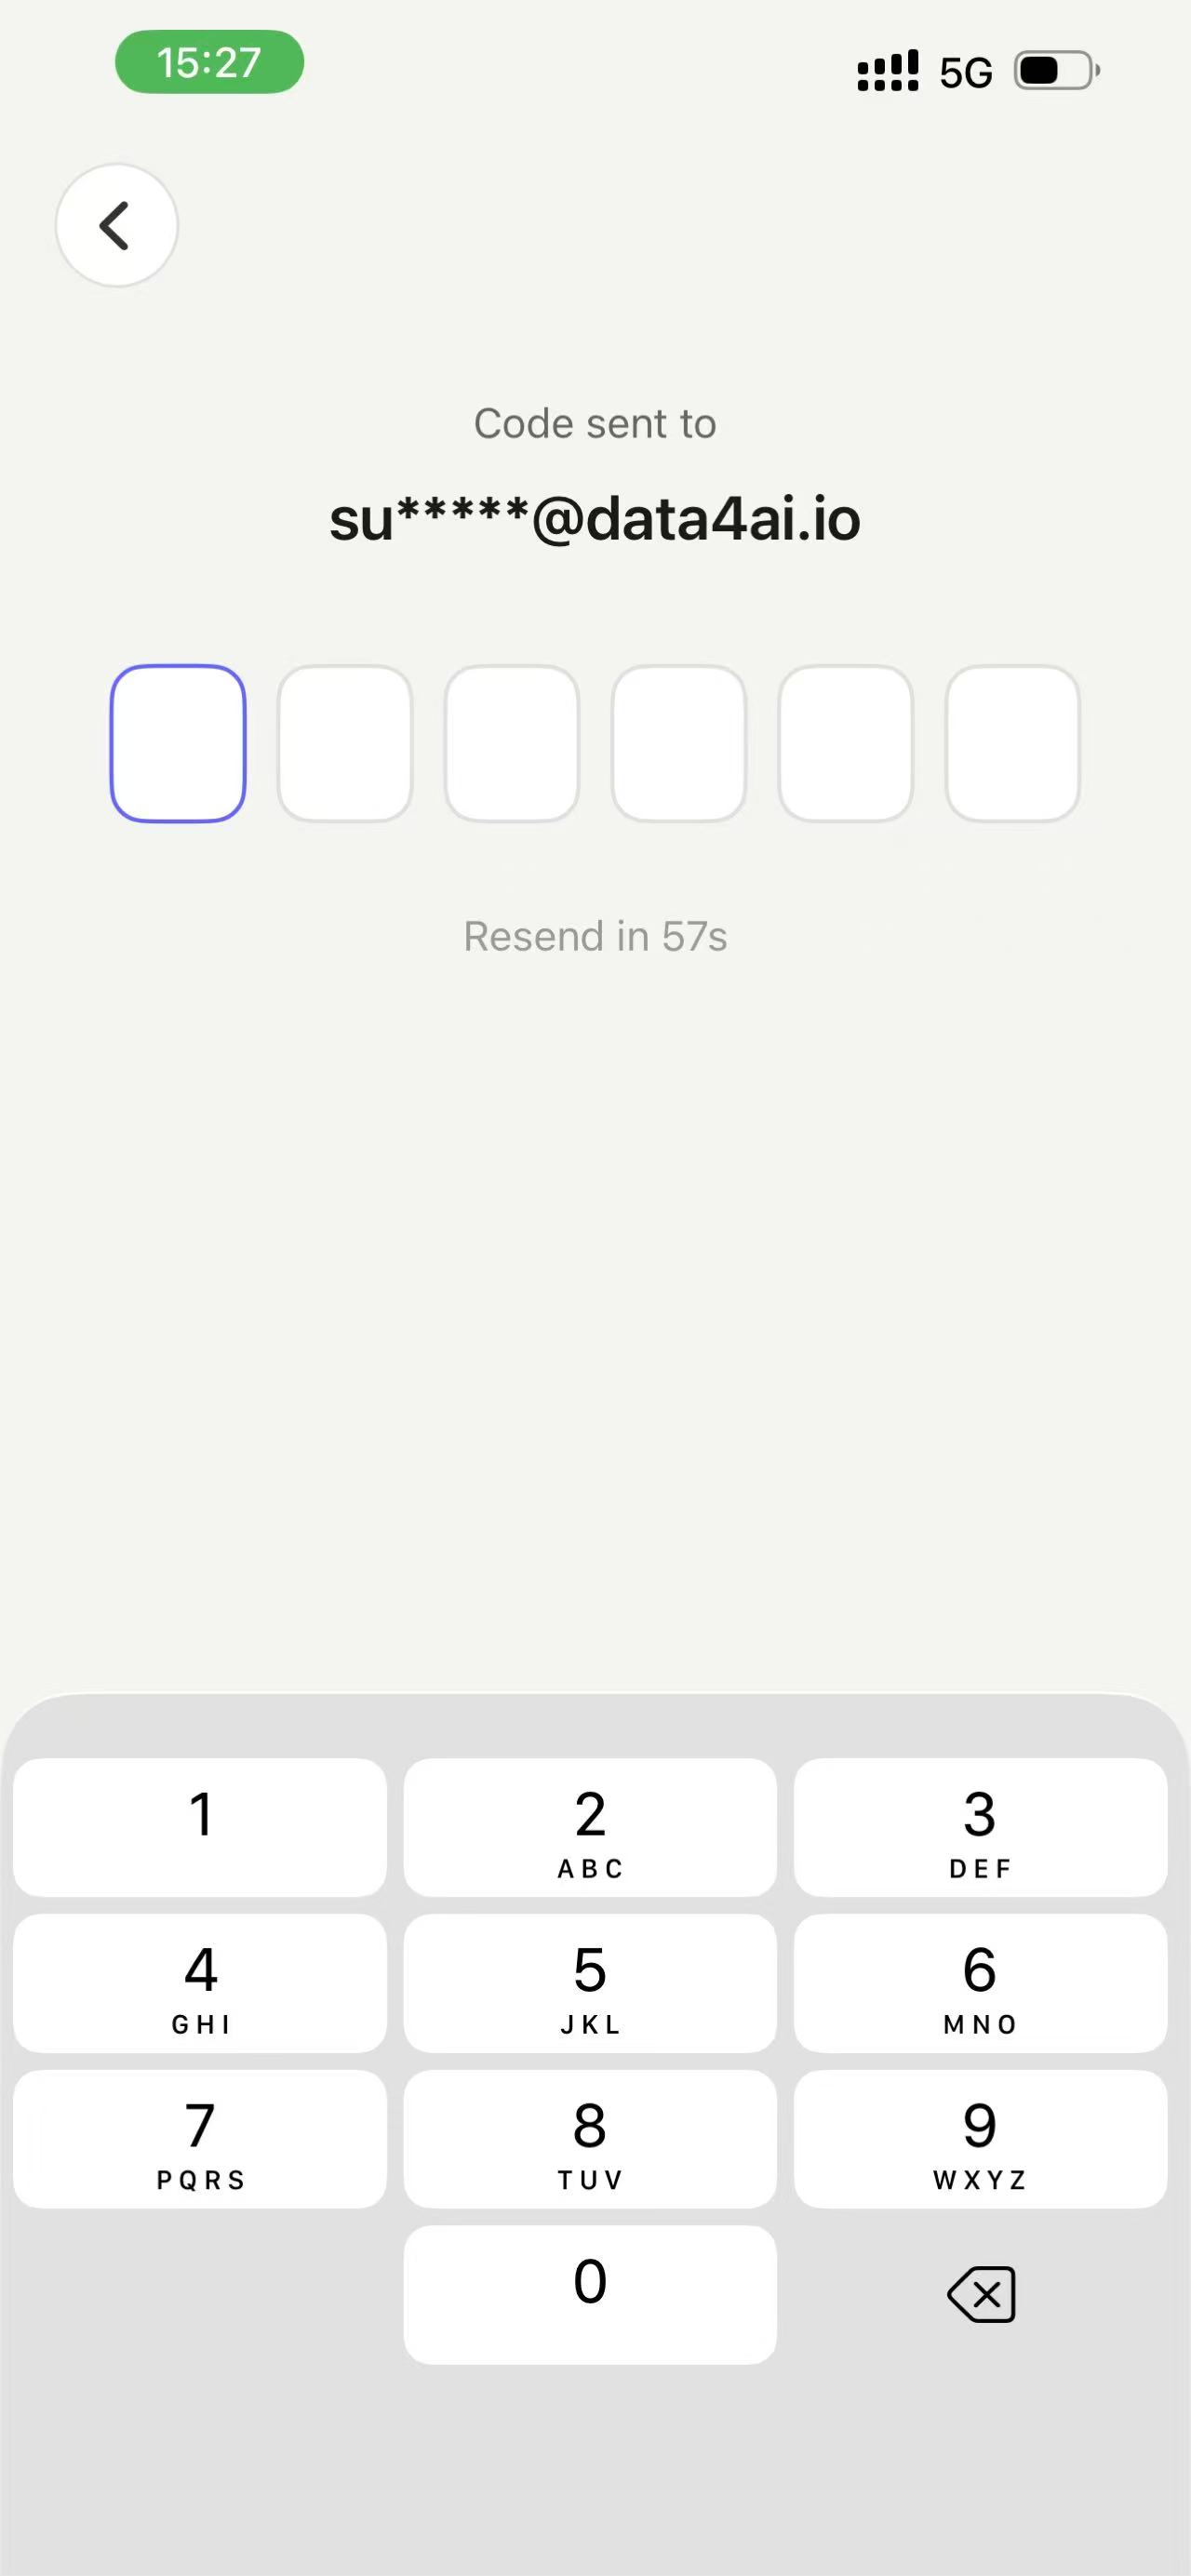
Login
Log in with your email and verification code, simple and fast.
Ideas
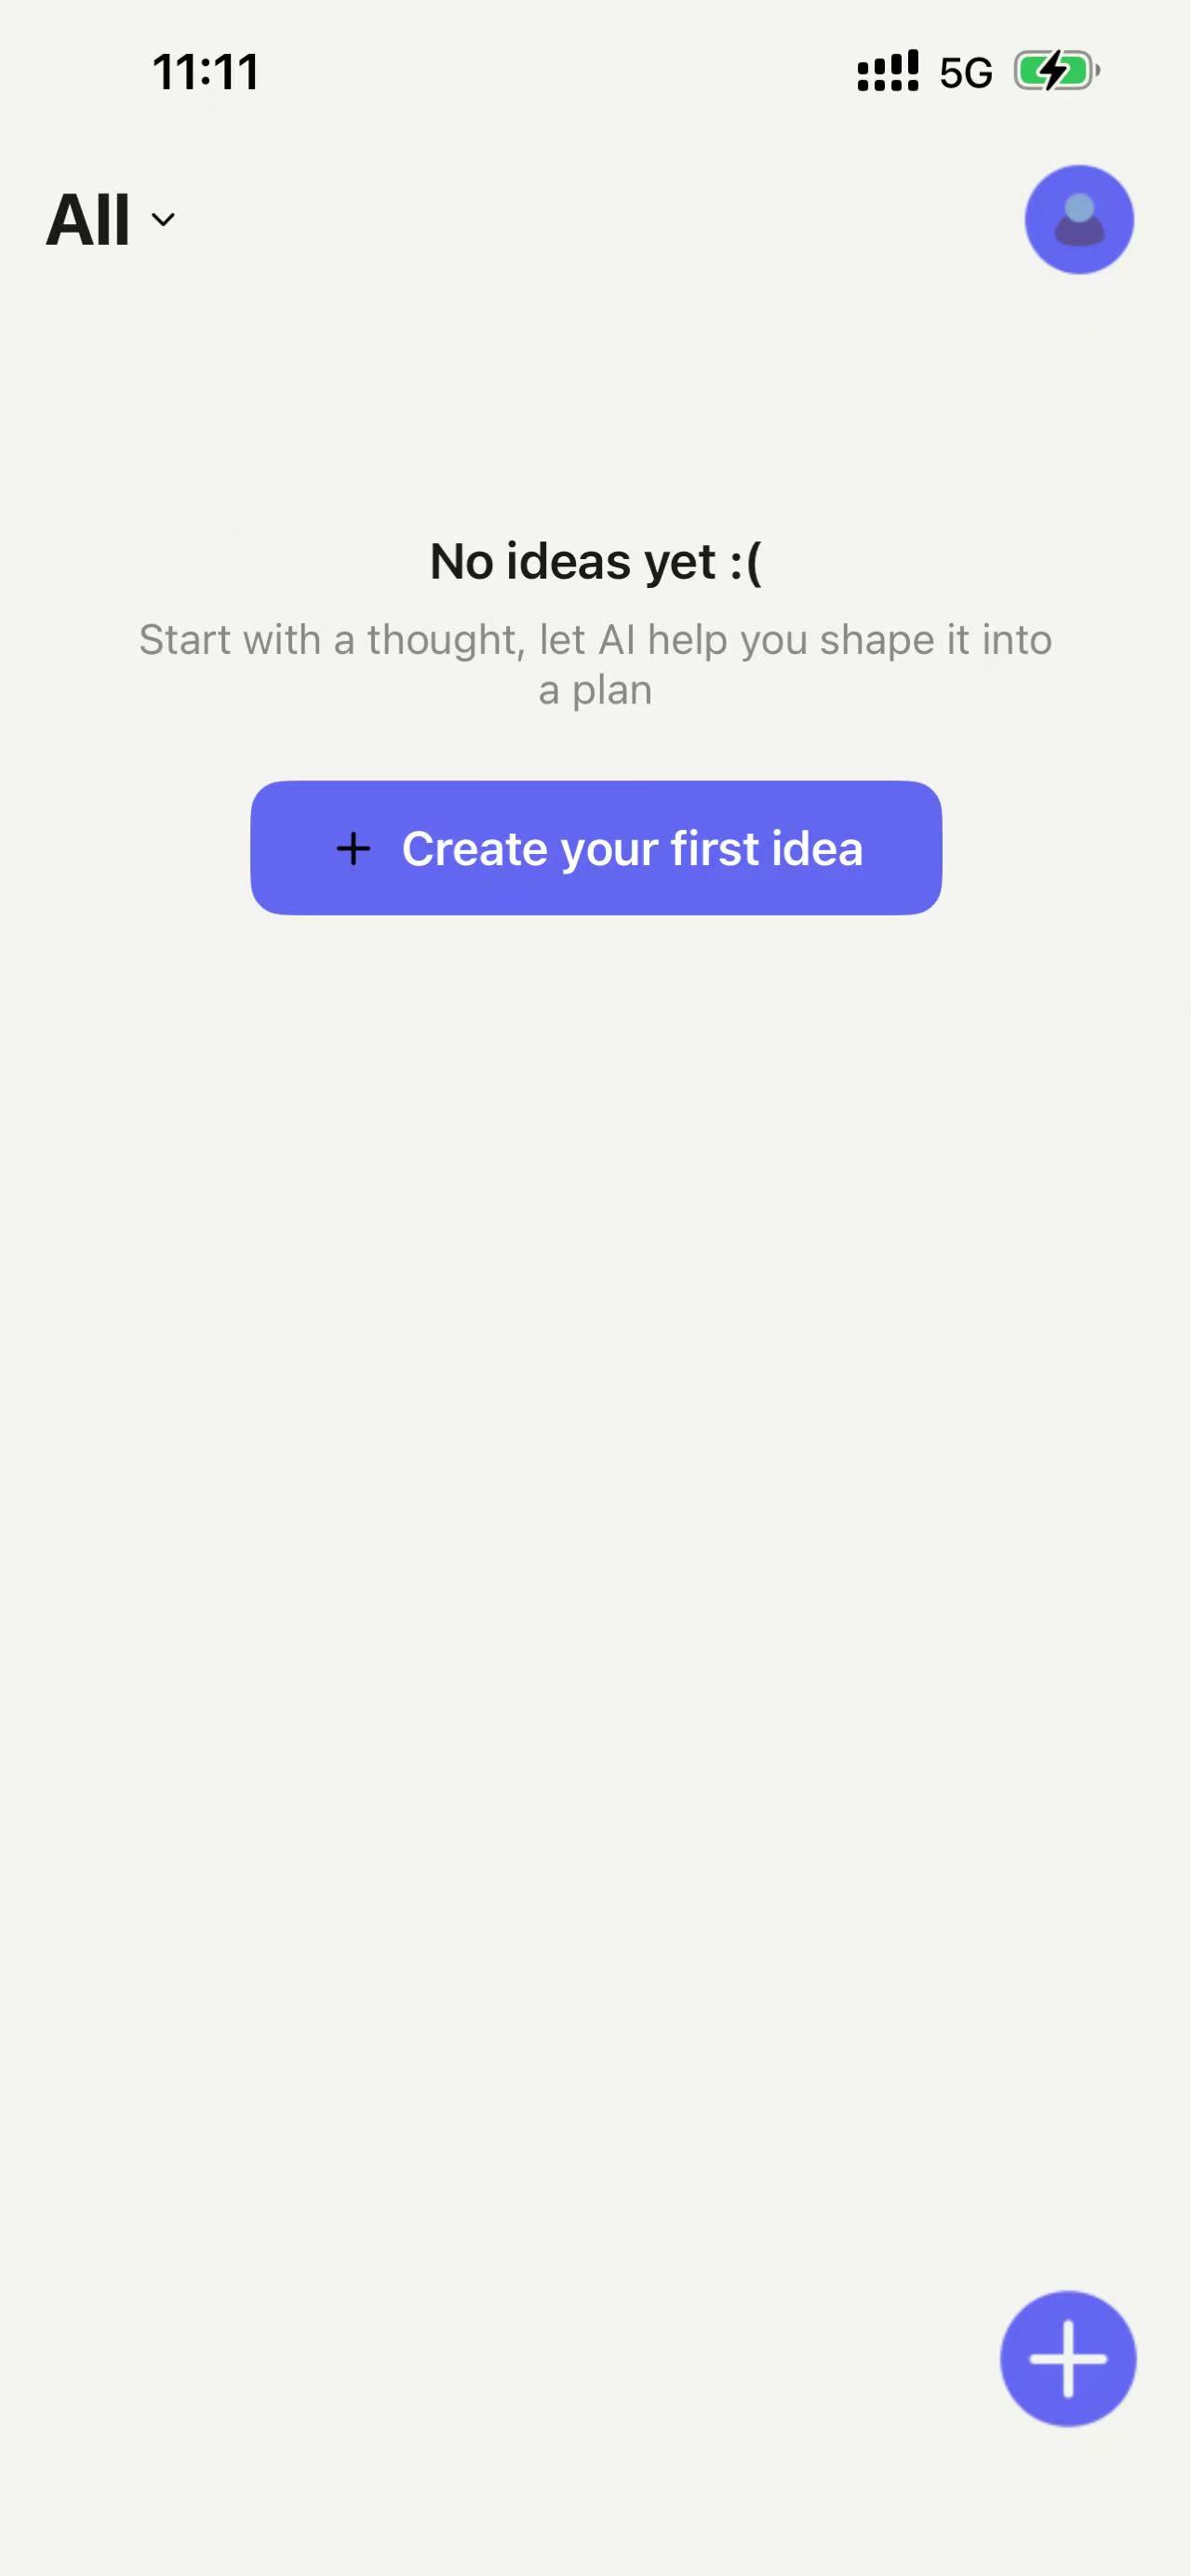
After your first login, you’ll see an empty idea list. Tap “New” in the center of the screen or the Add (+) button at the bottom right.
Creating Ideas
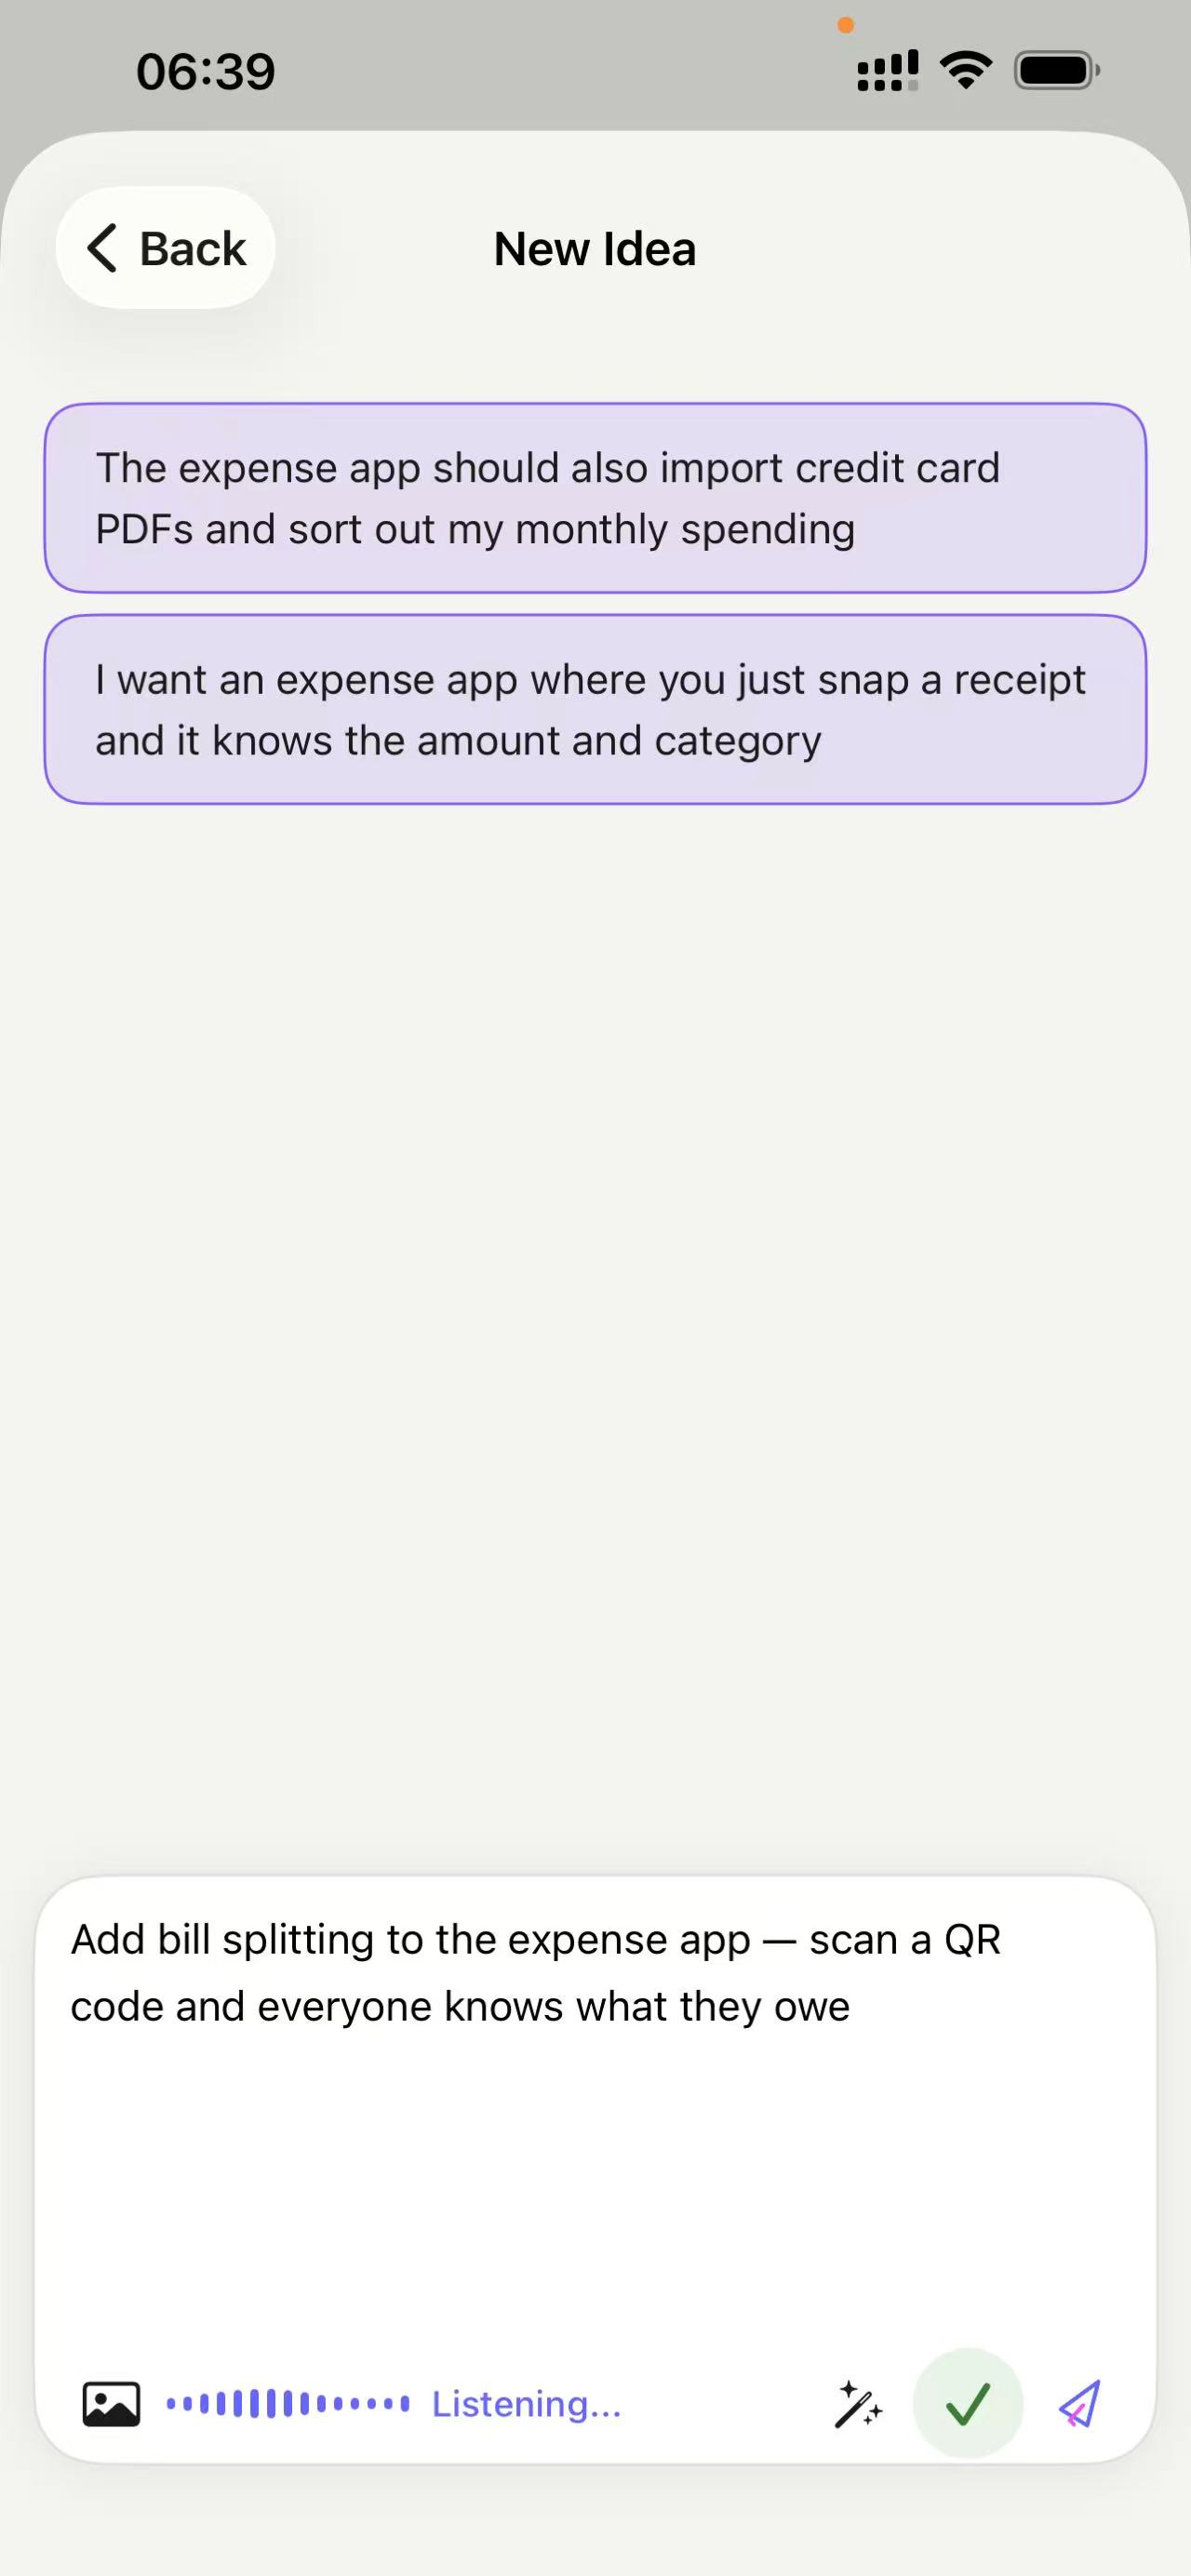
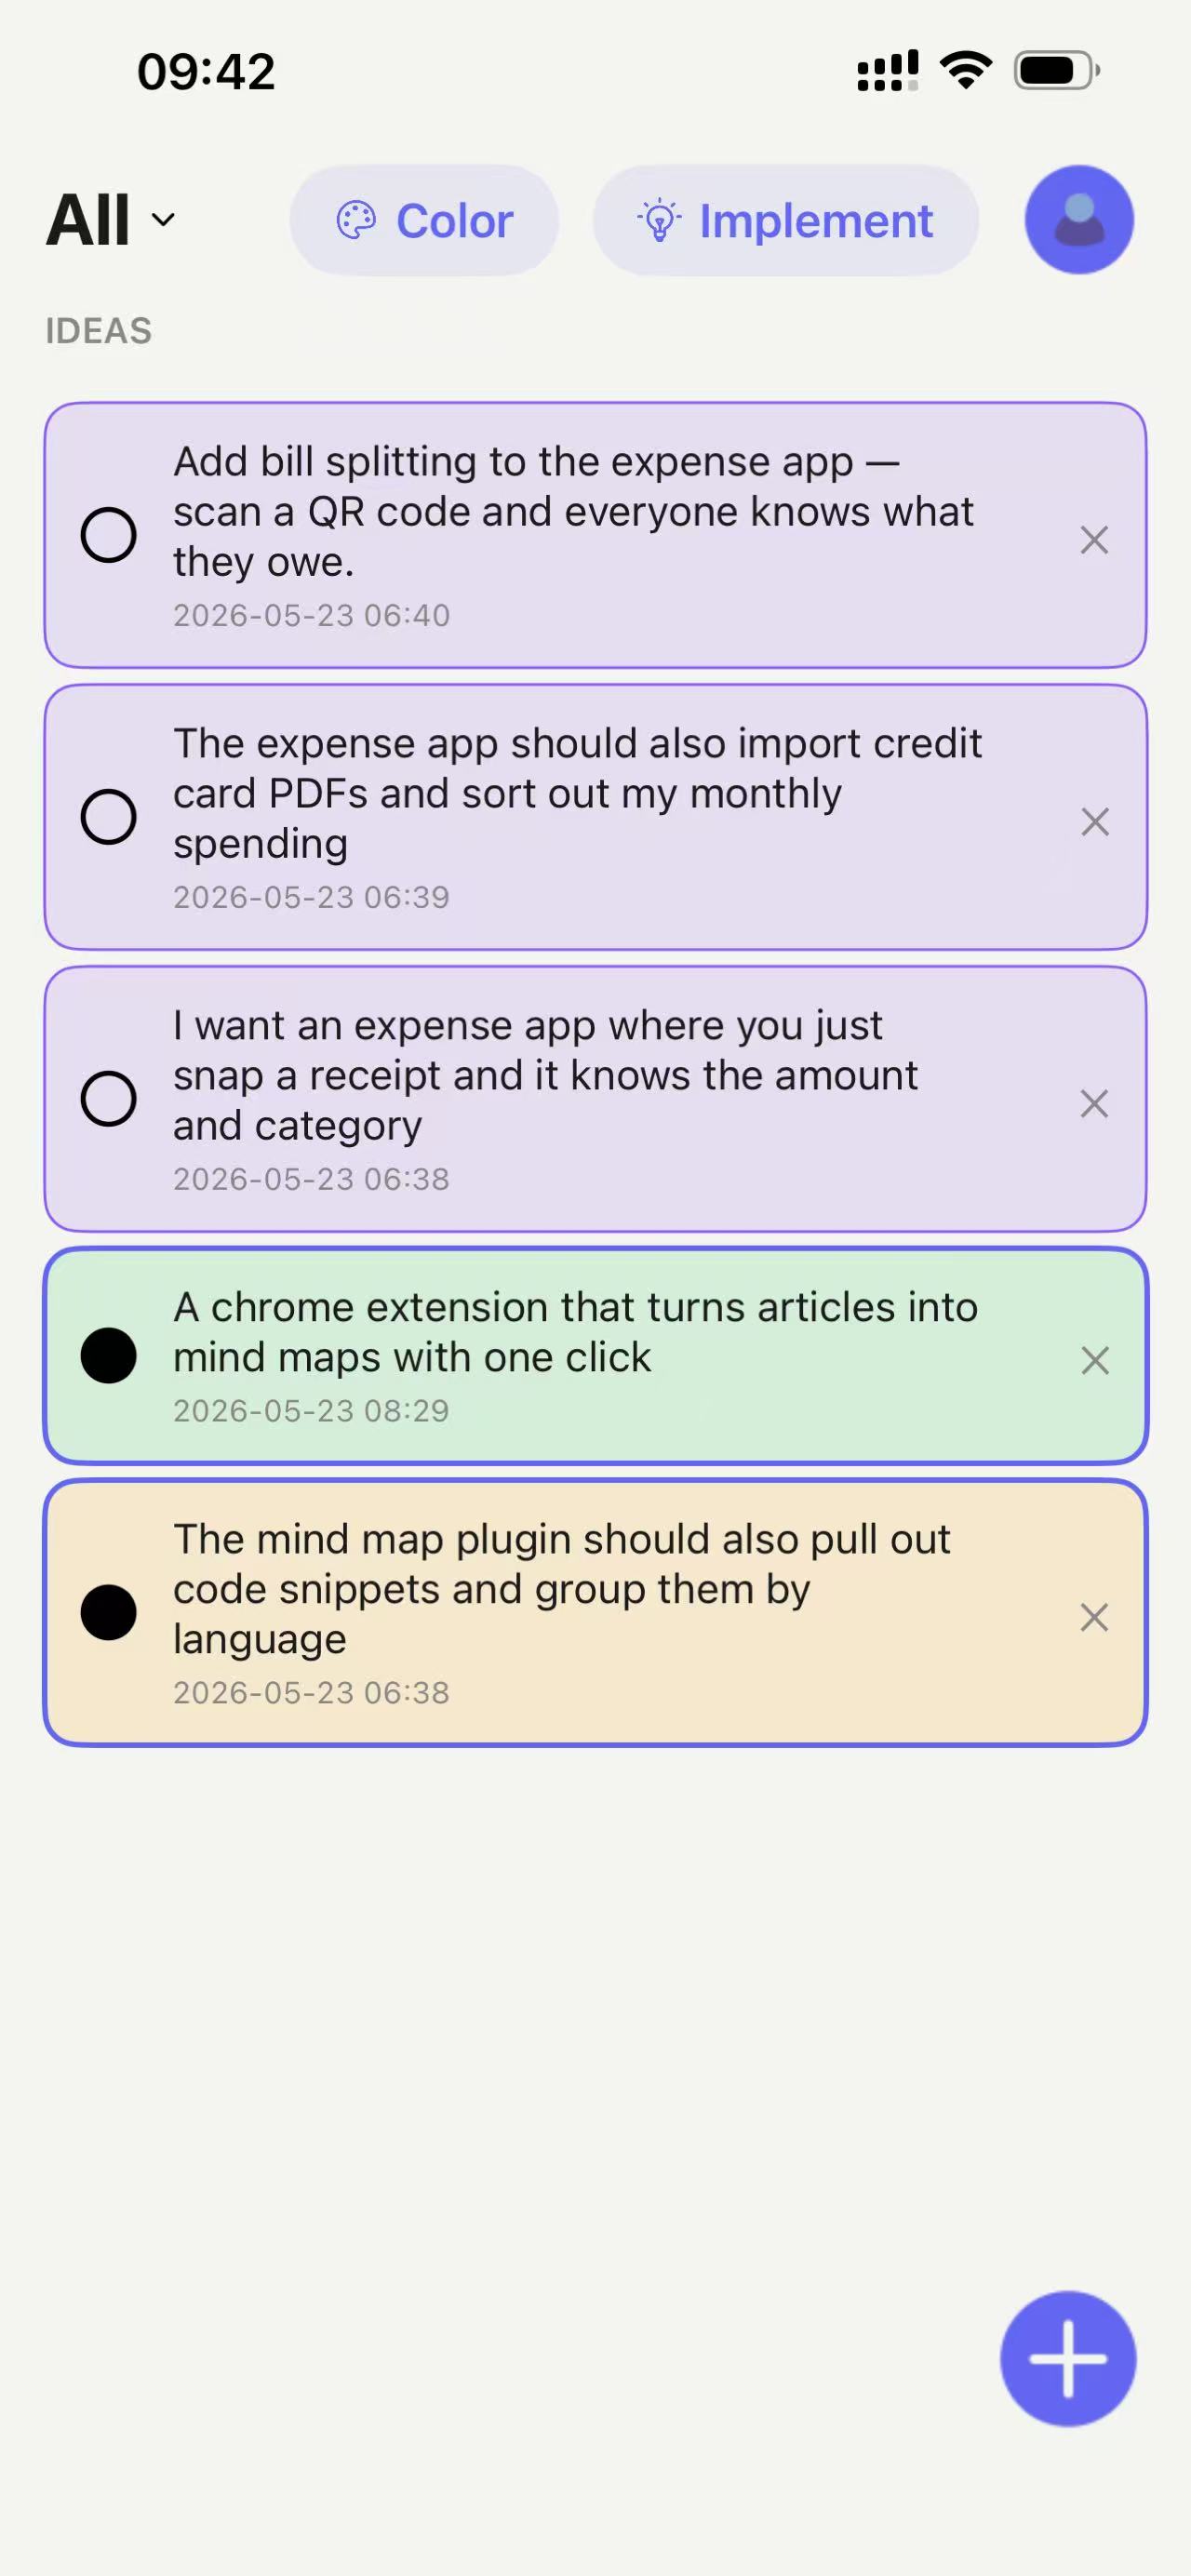
You can input your ideas via voice or keyboard. You can modify them repeatedly before sending, or tap the magic wand to have AI help you revise. Ideas created in the same batch will have the same card color. If you want certain cards to have different colors, return to the list to modify them.
Grouping Ideas with Colors
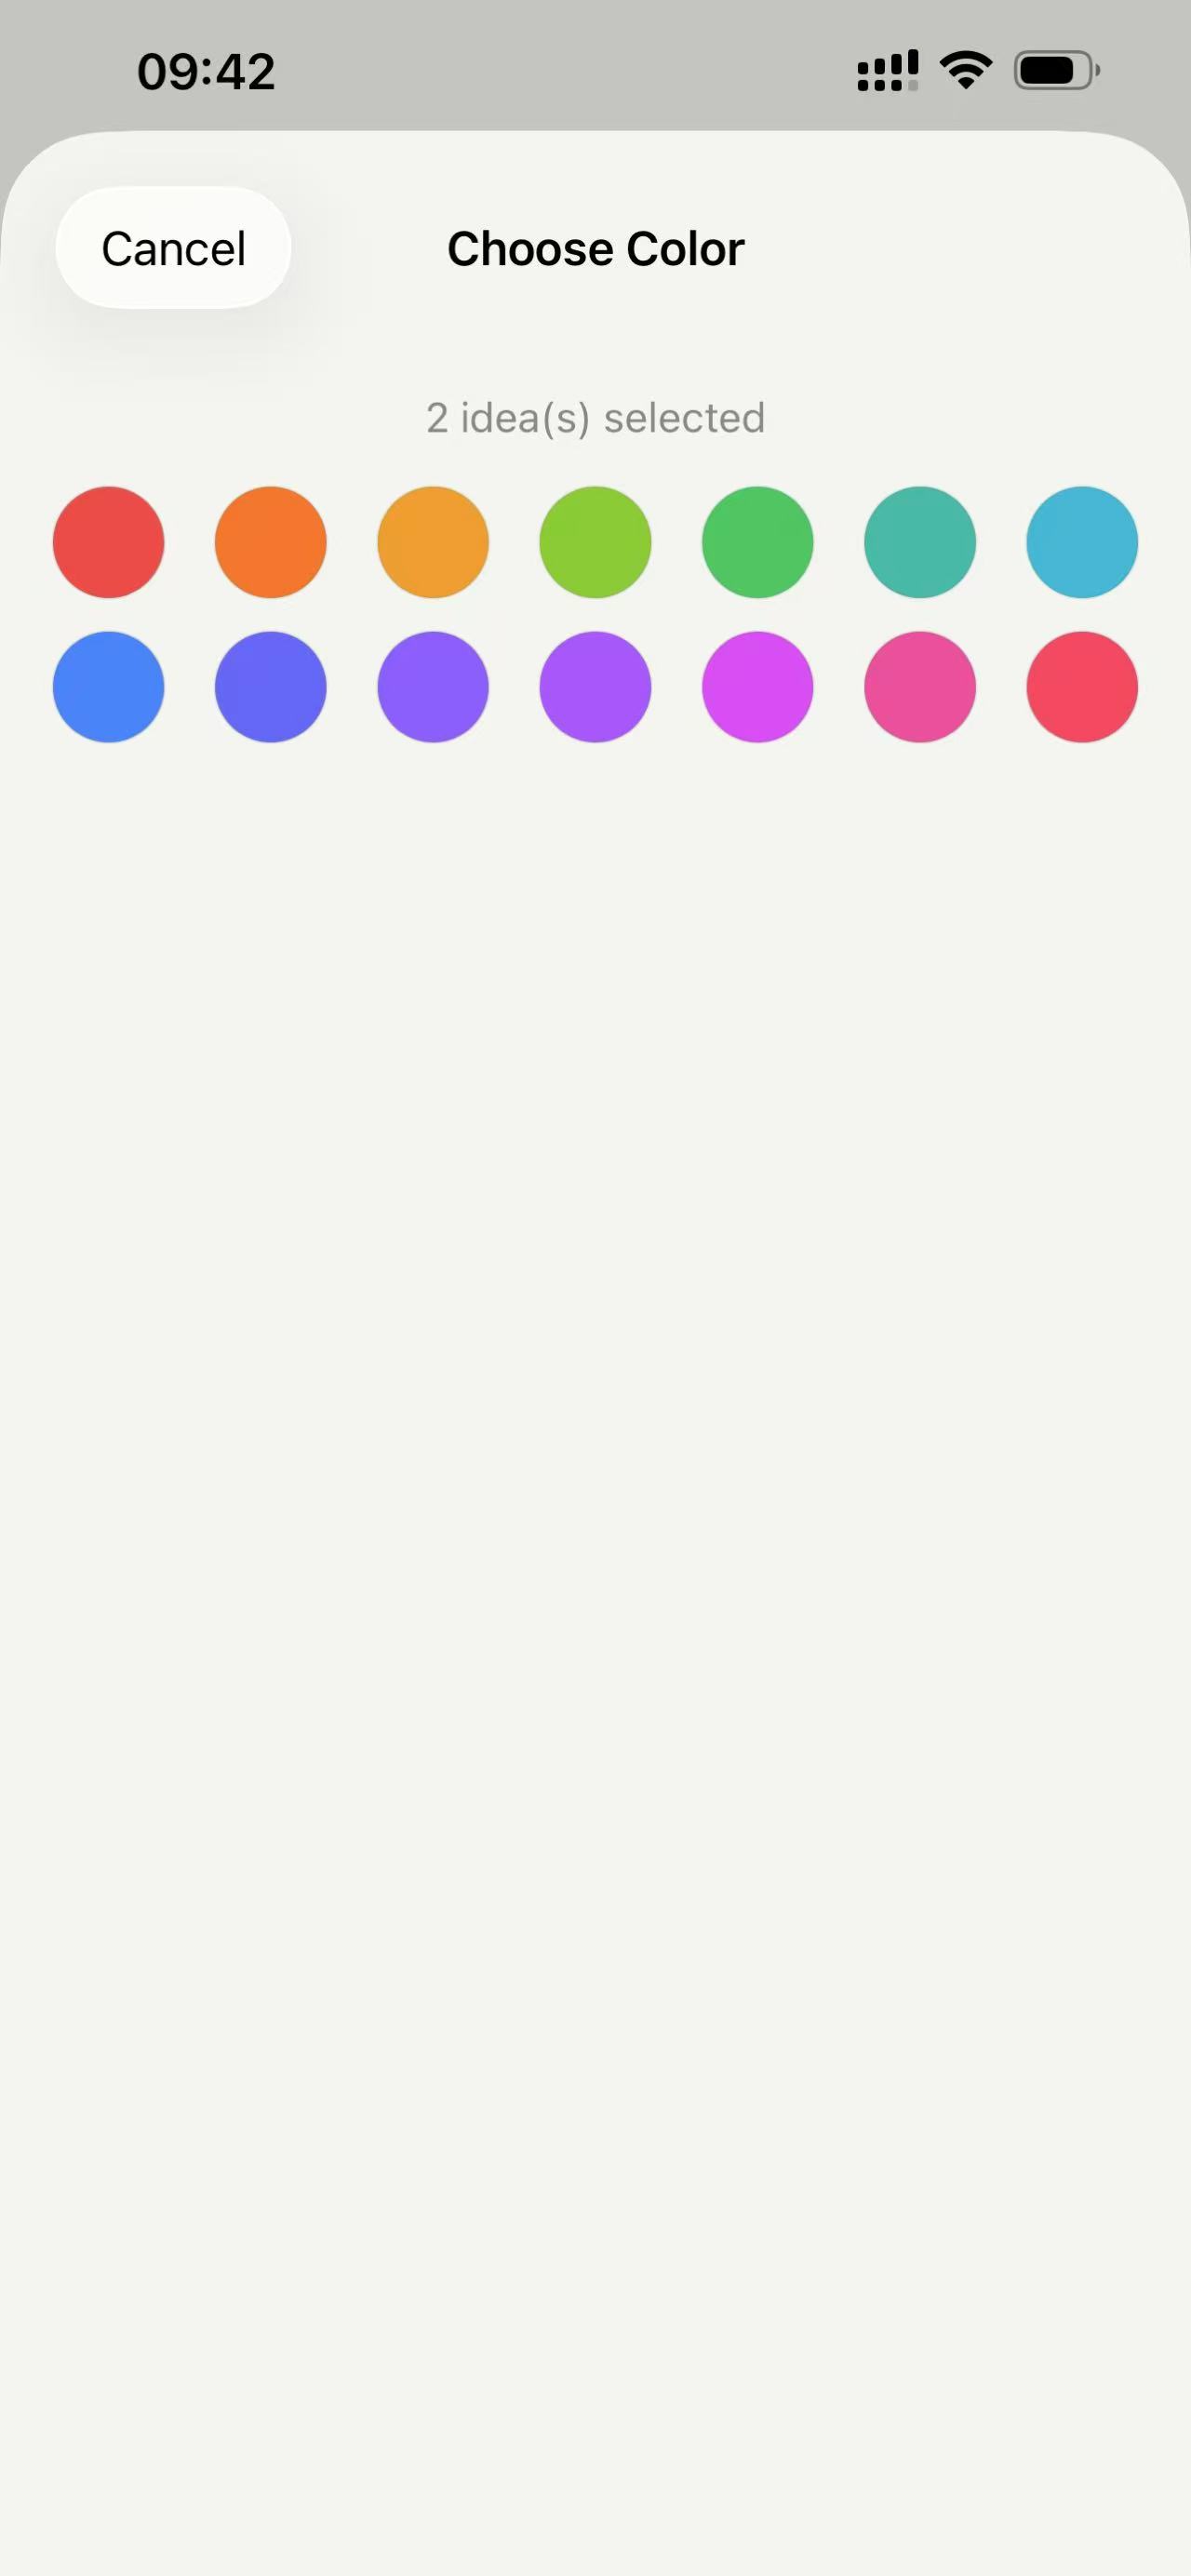
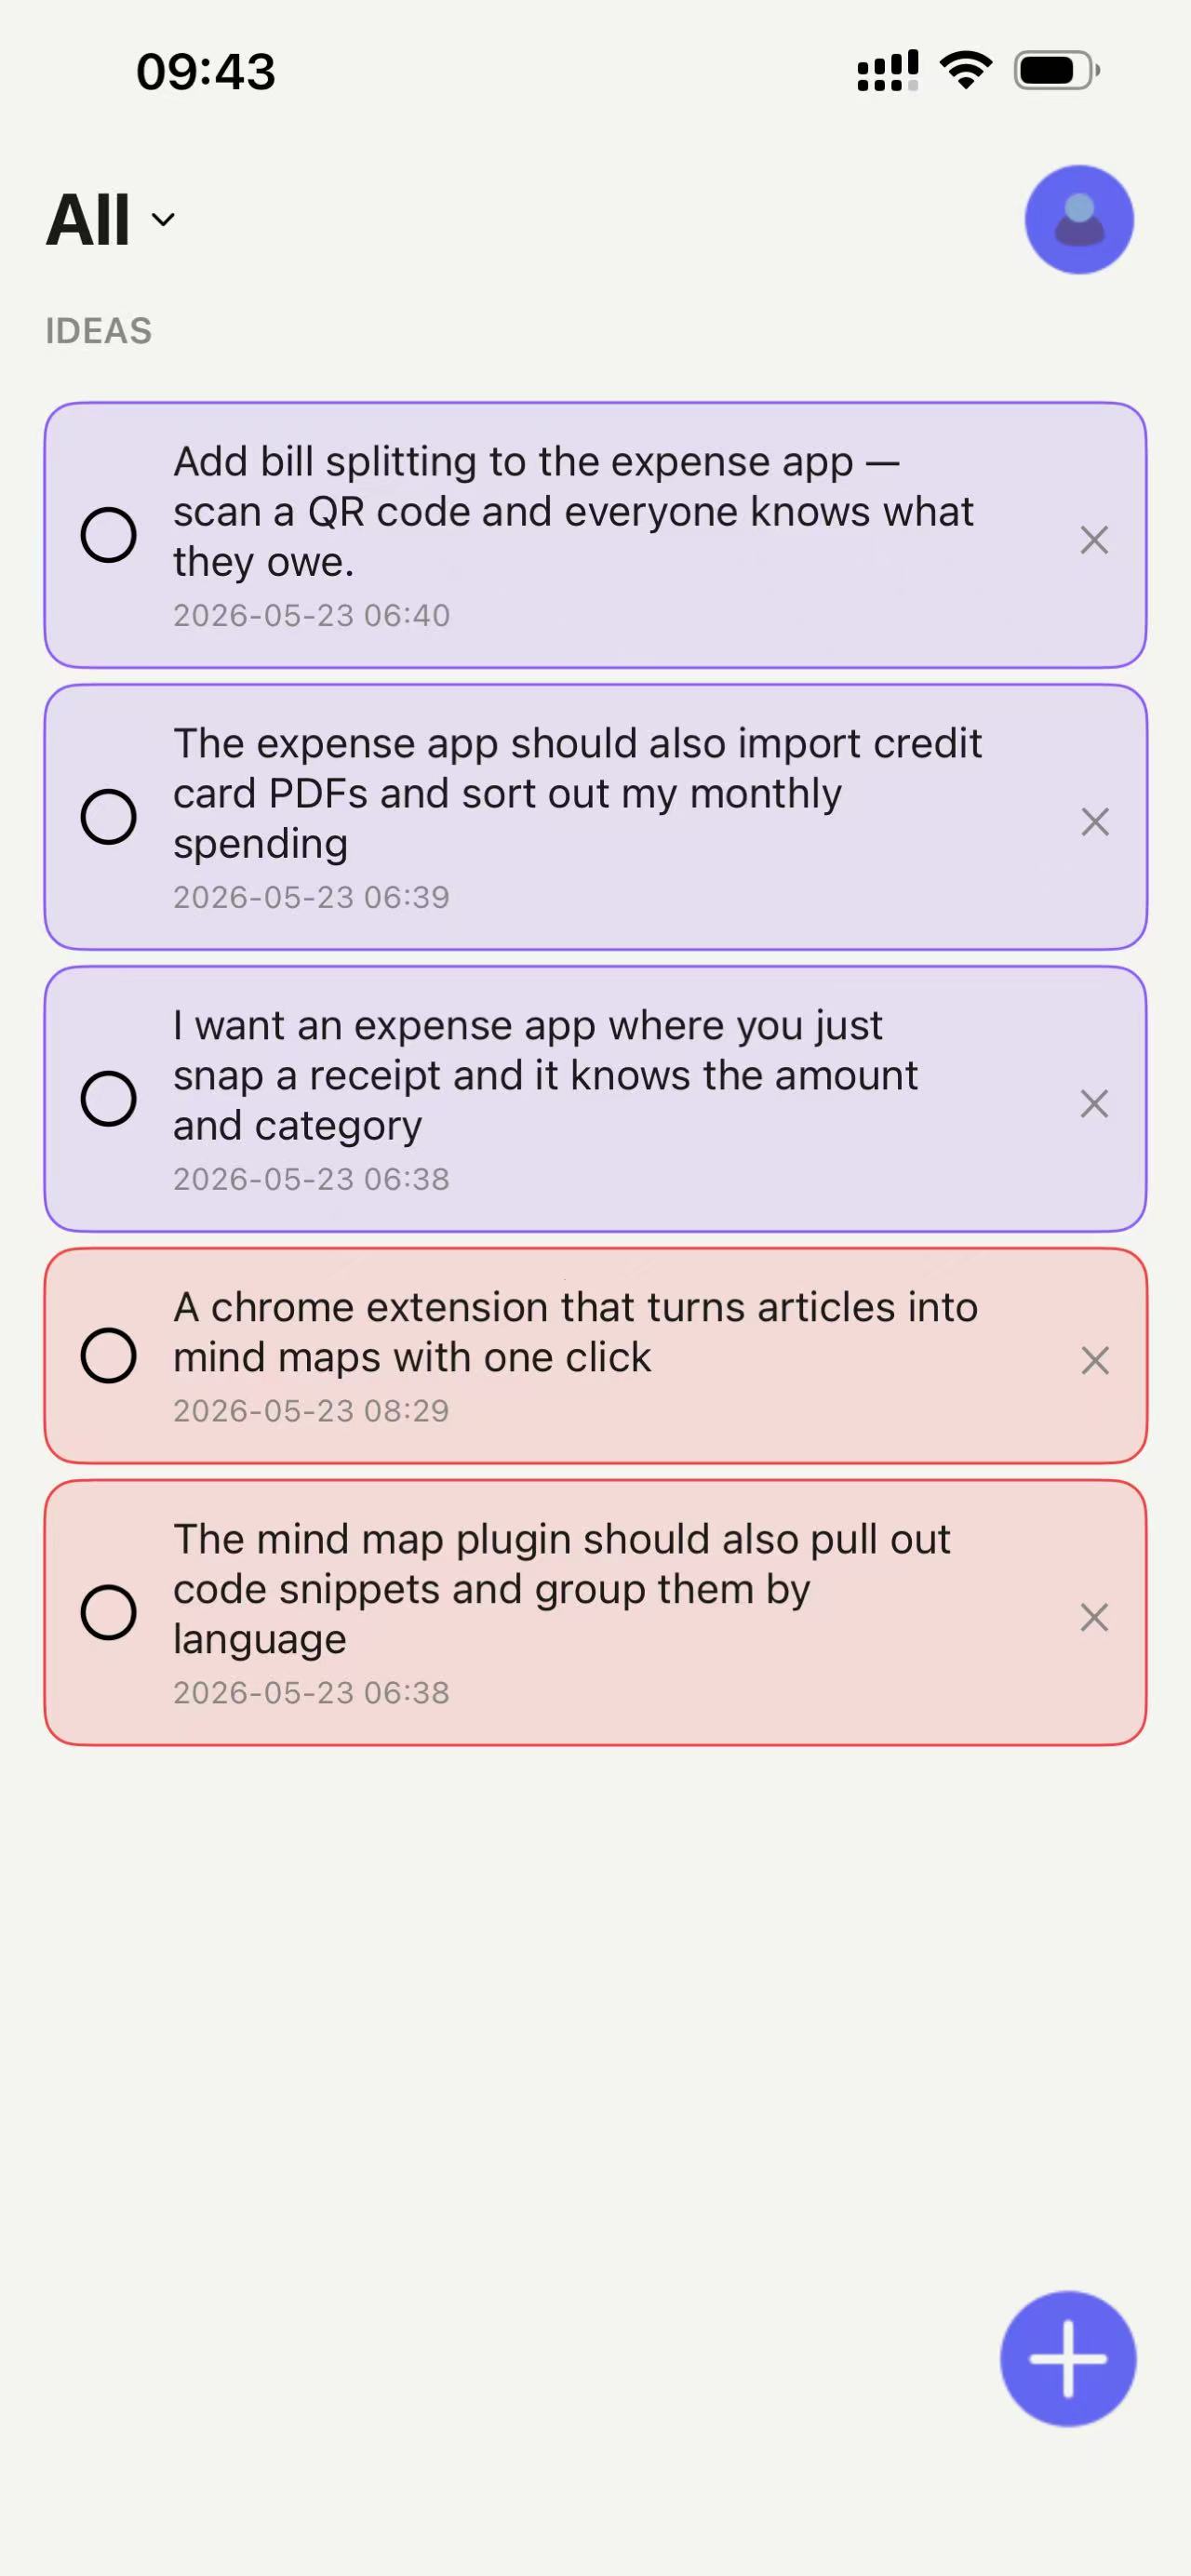
You can select multiple ideas in the list and set them to the same color to mark them as a group.
Sorting and Merging Ideas
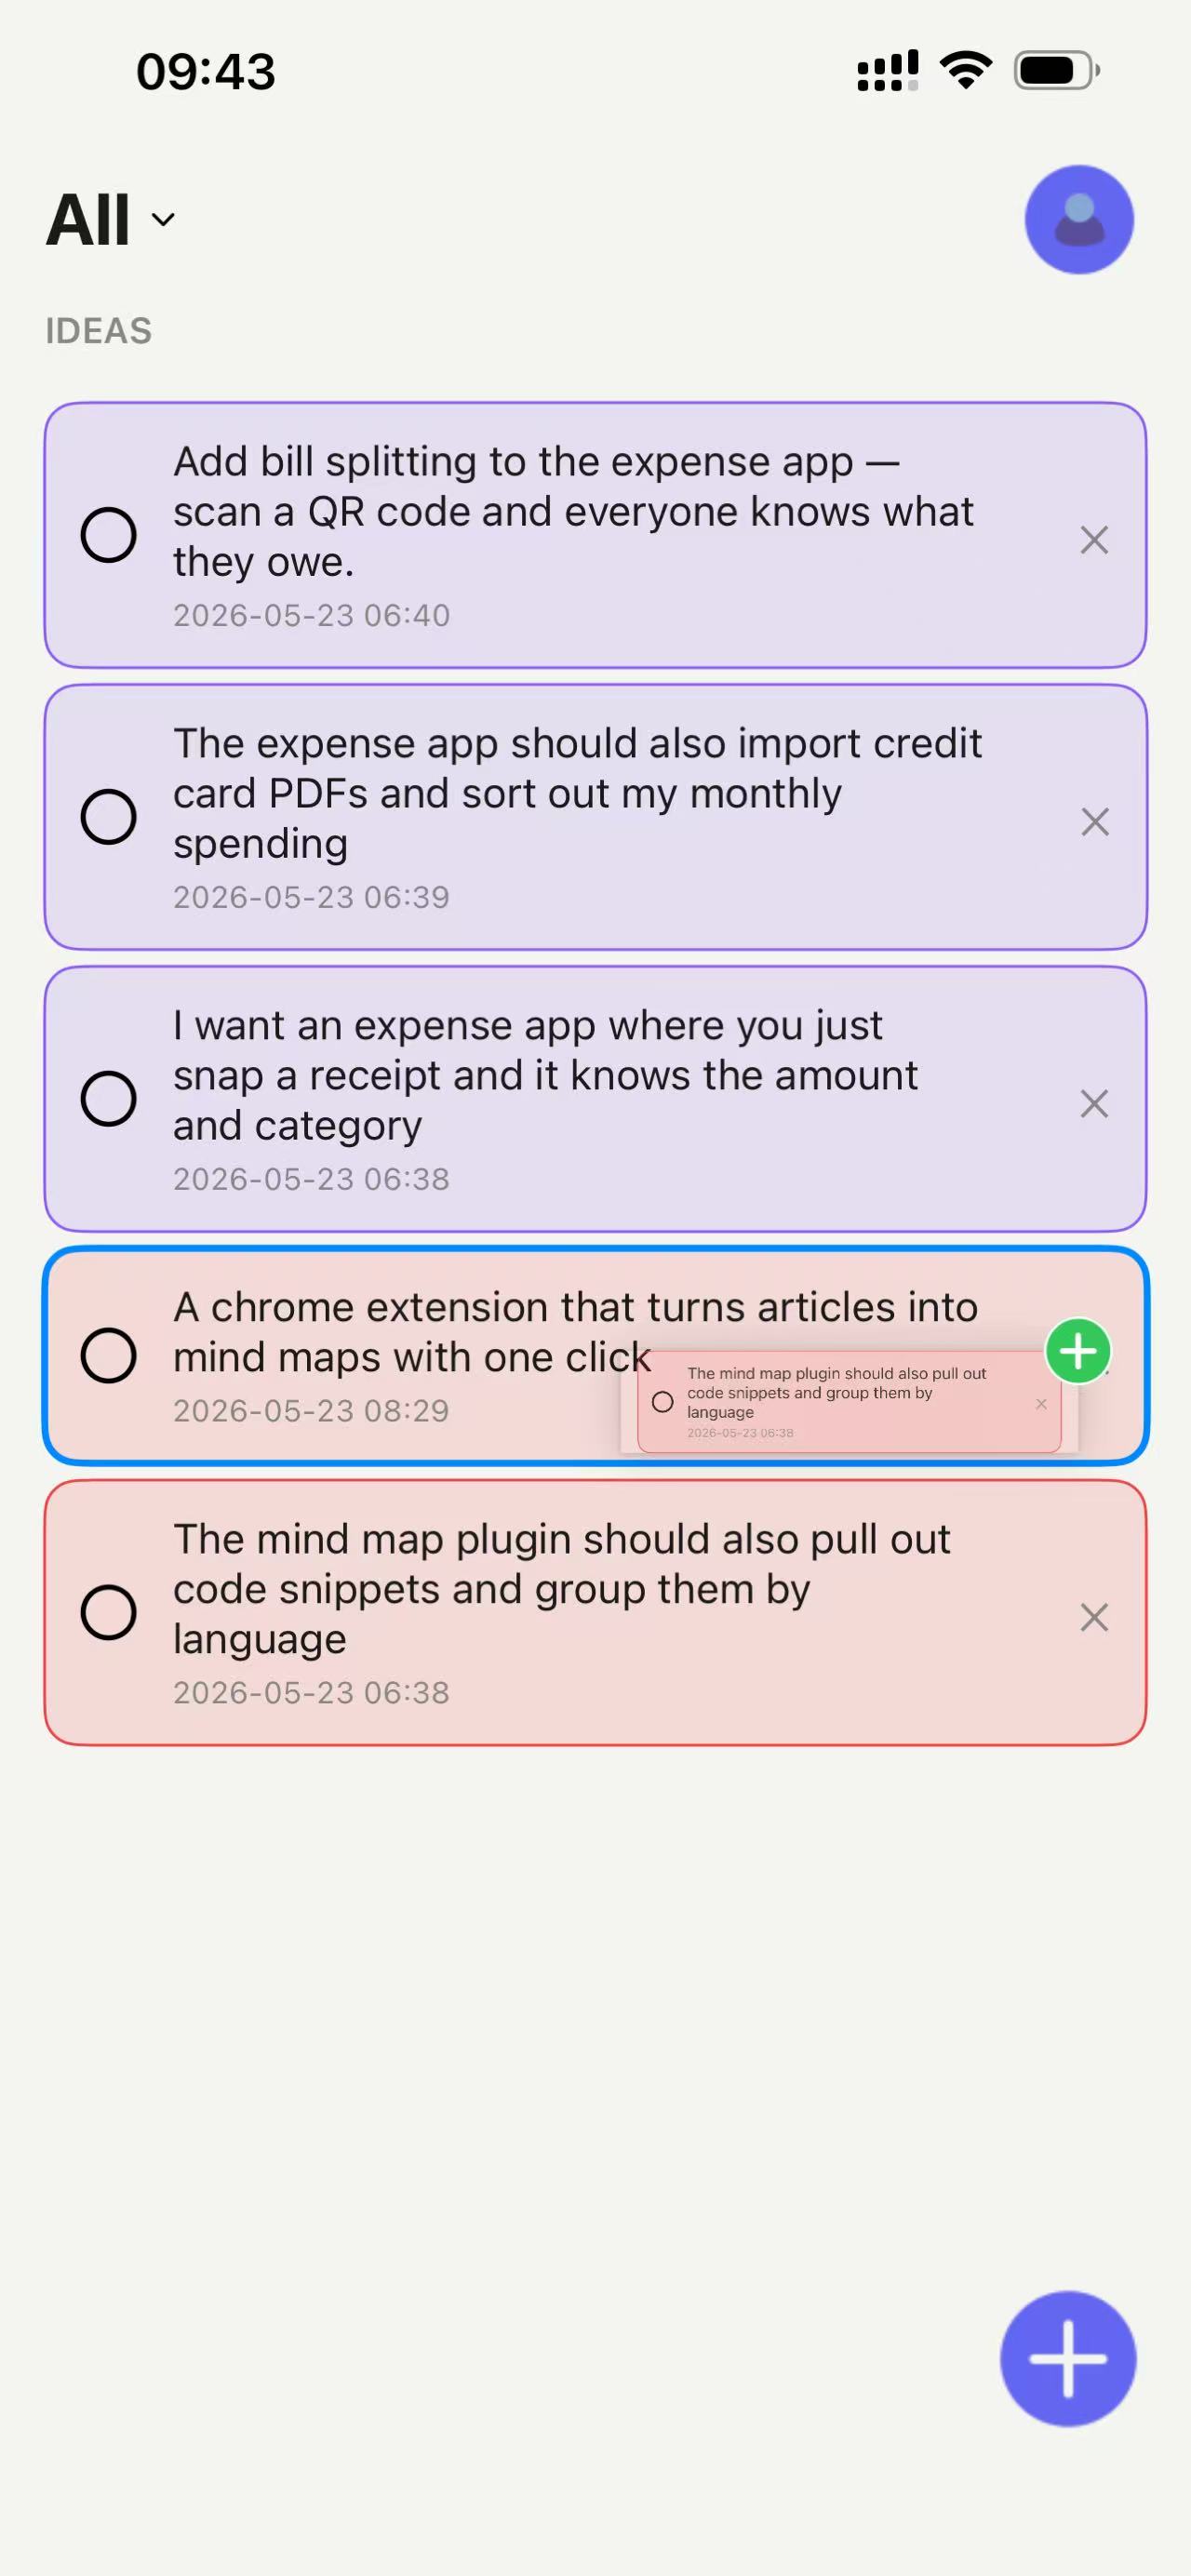
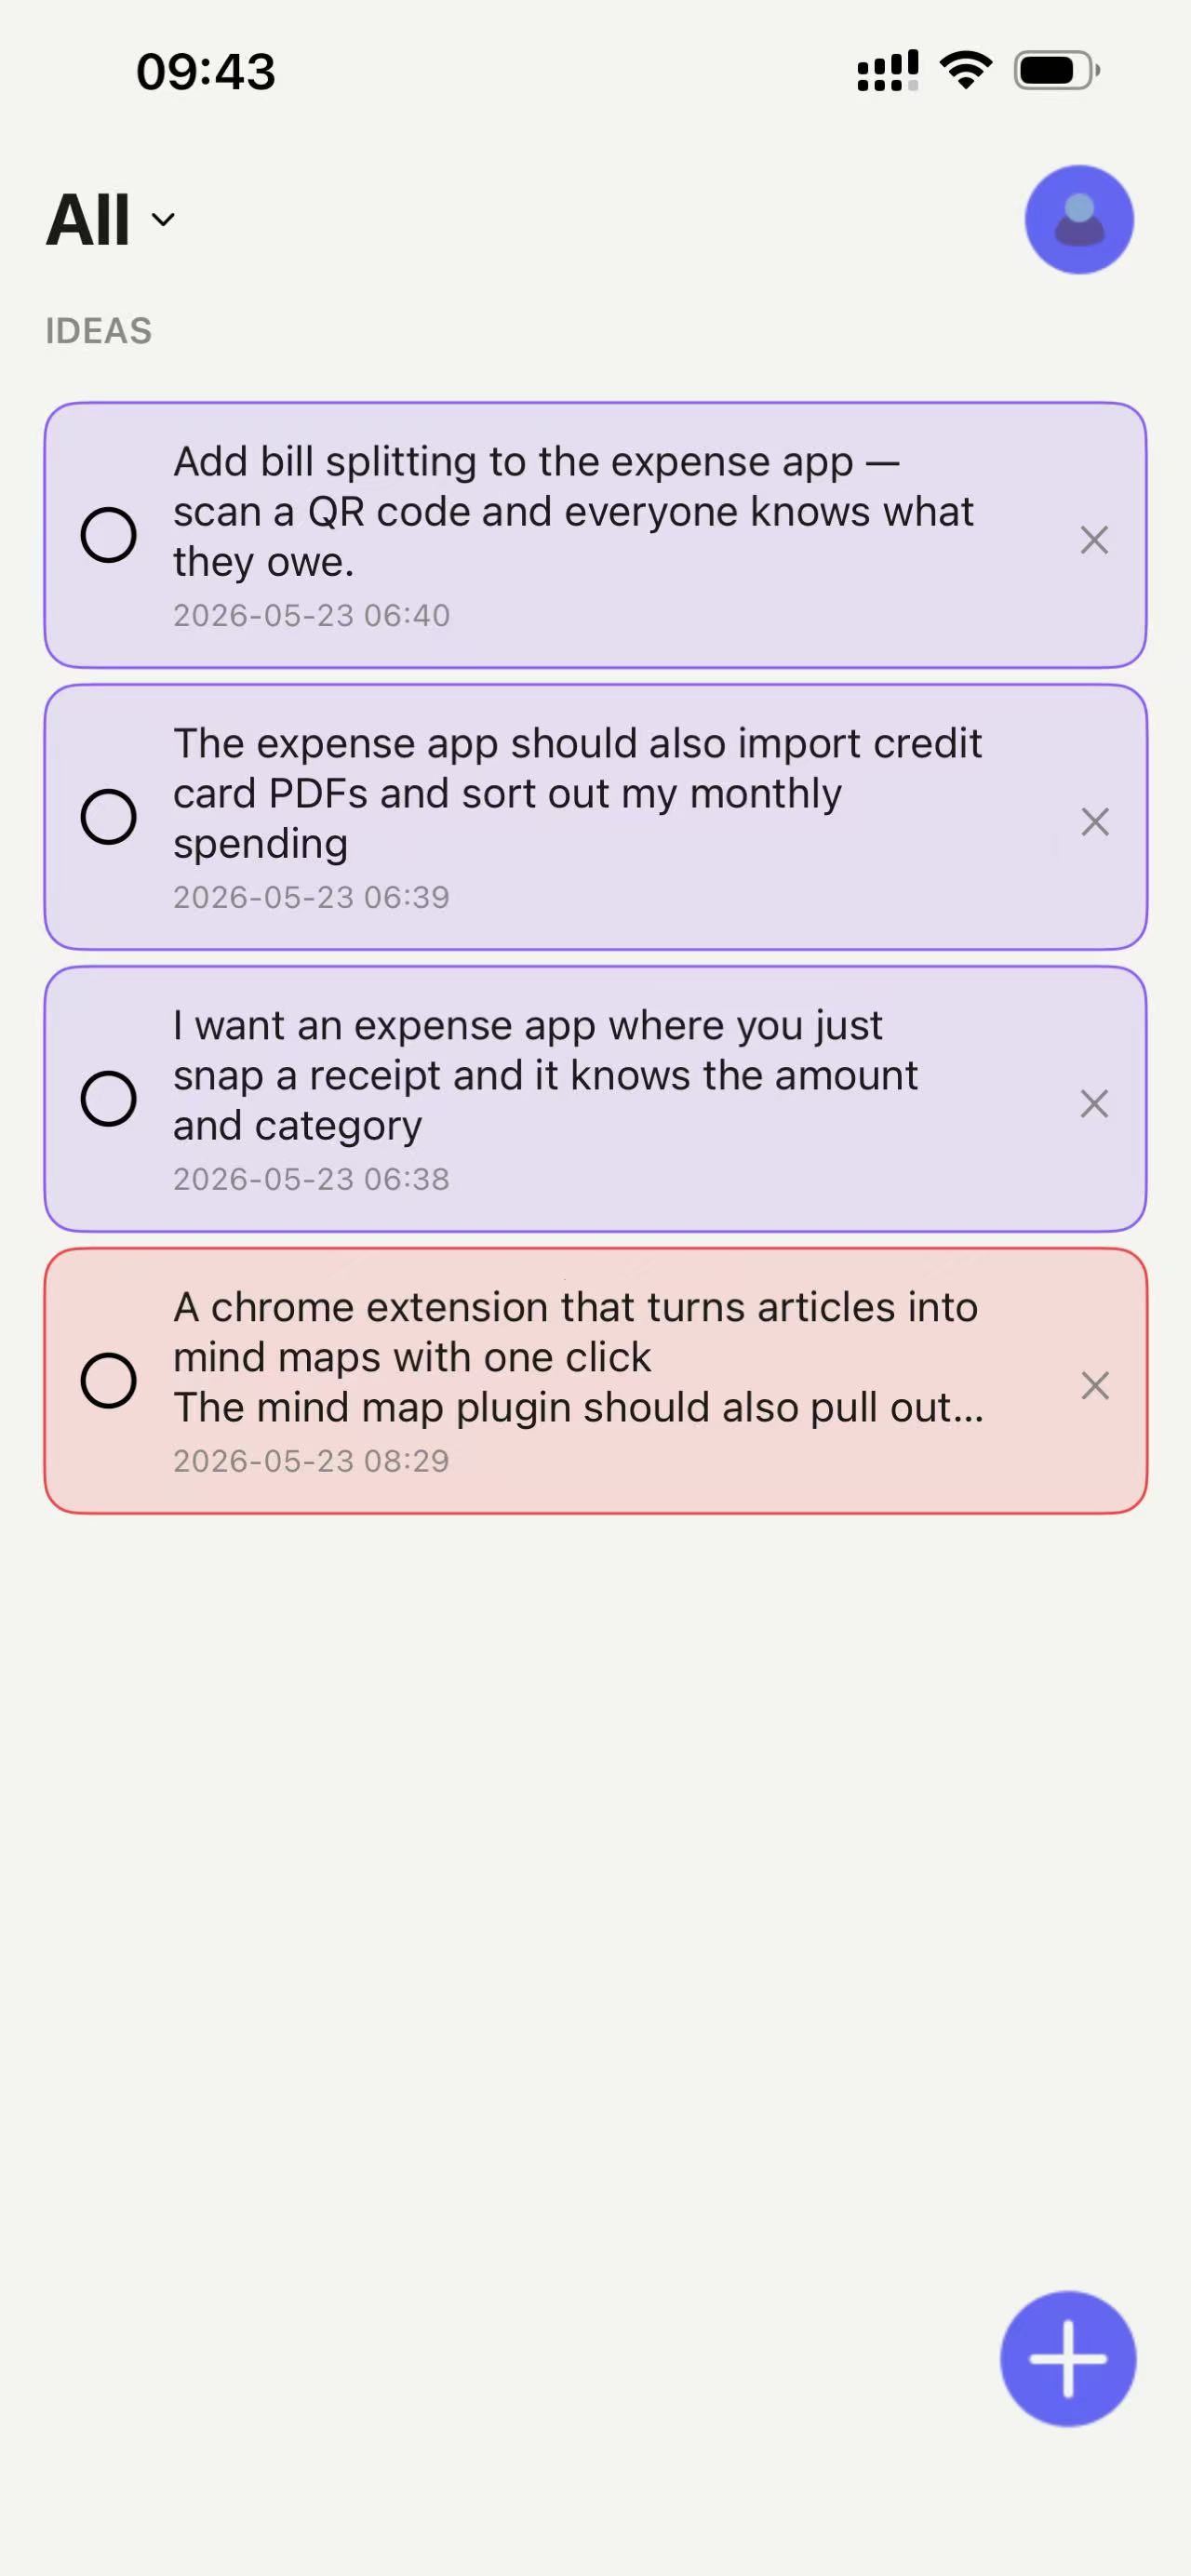
You can drag idea cards to insert them before or after other cards. Or drag them onto another card to merge ideas.
Implementing Ideas
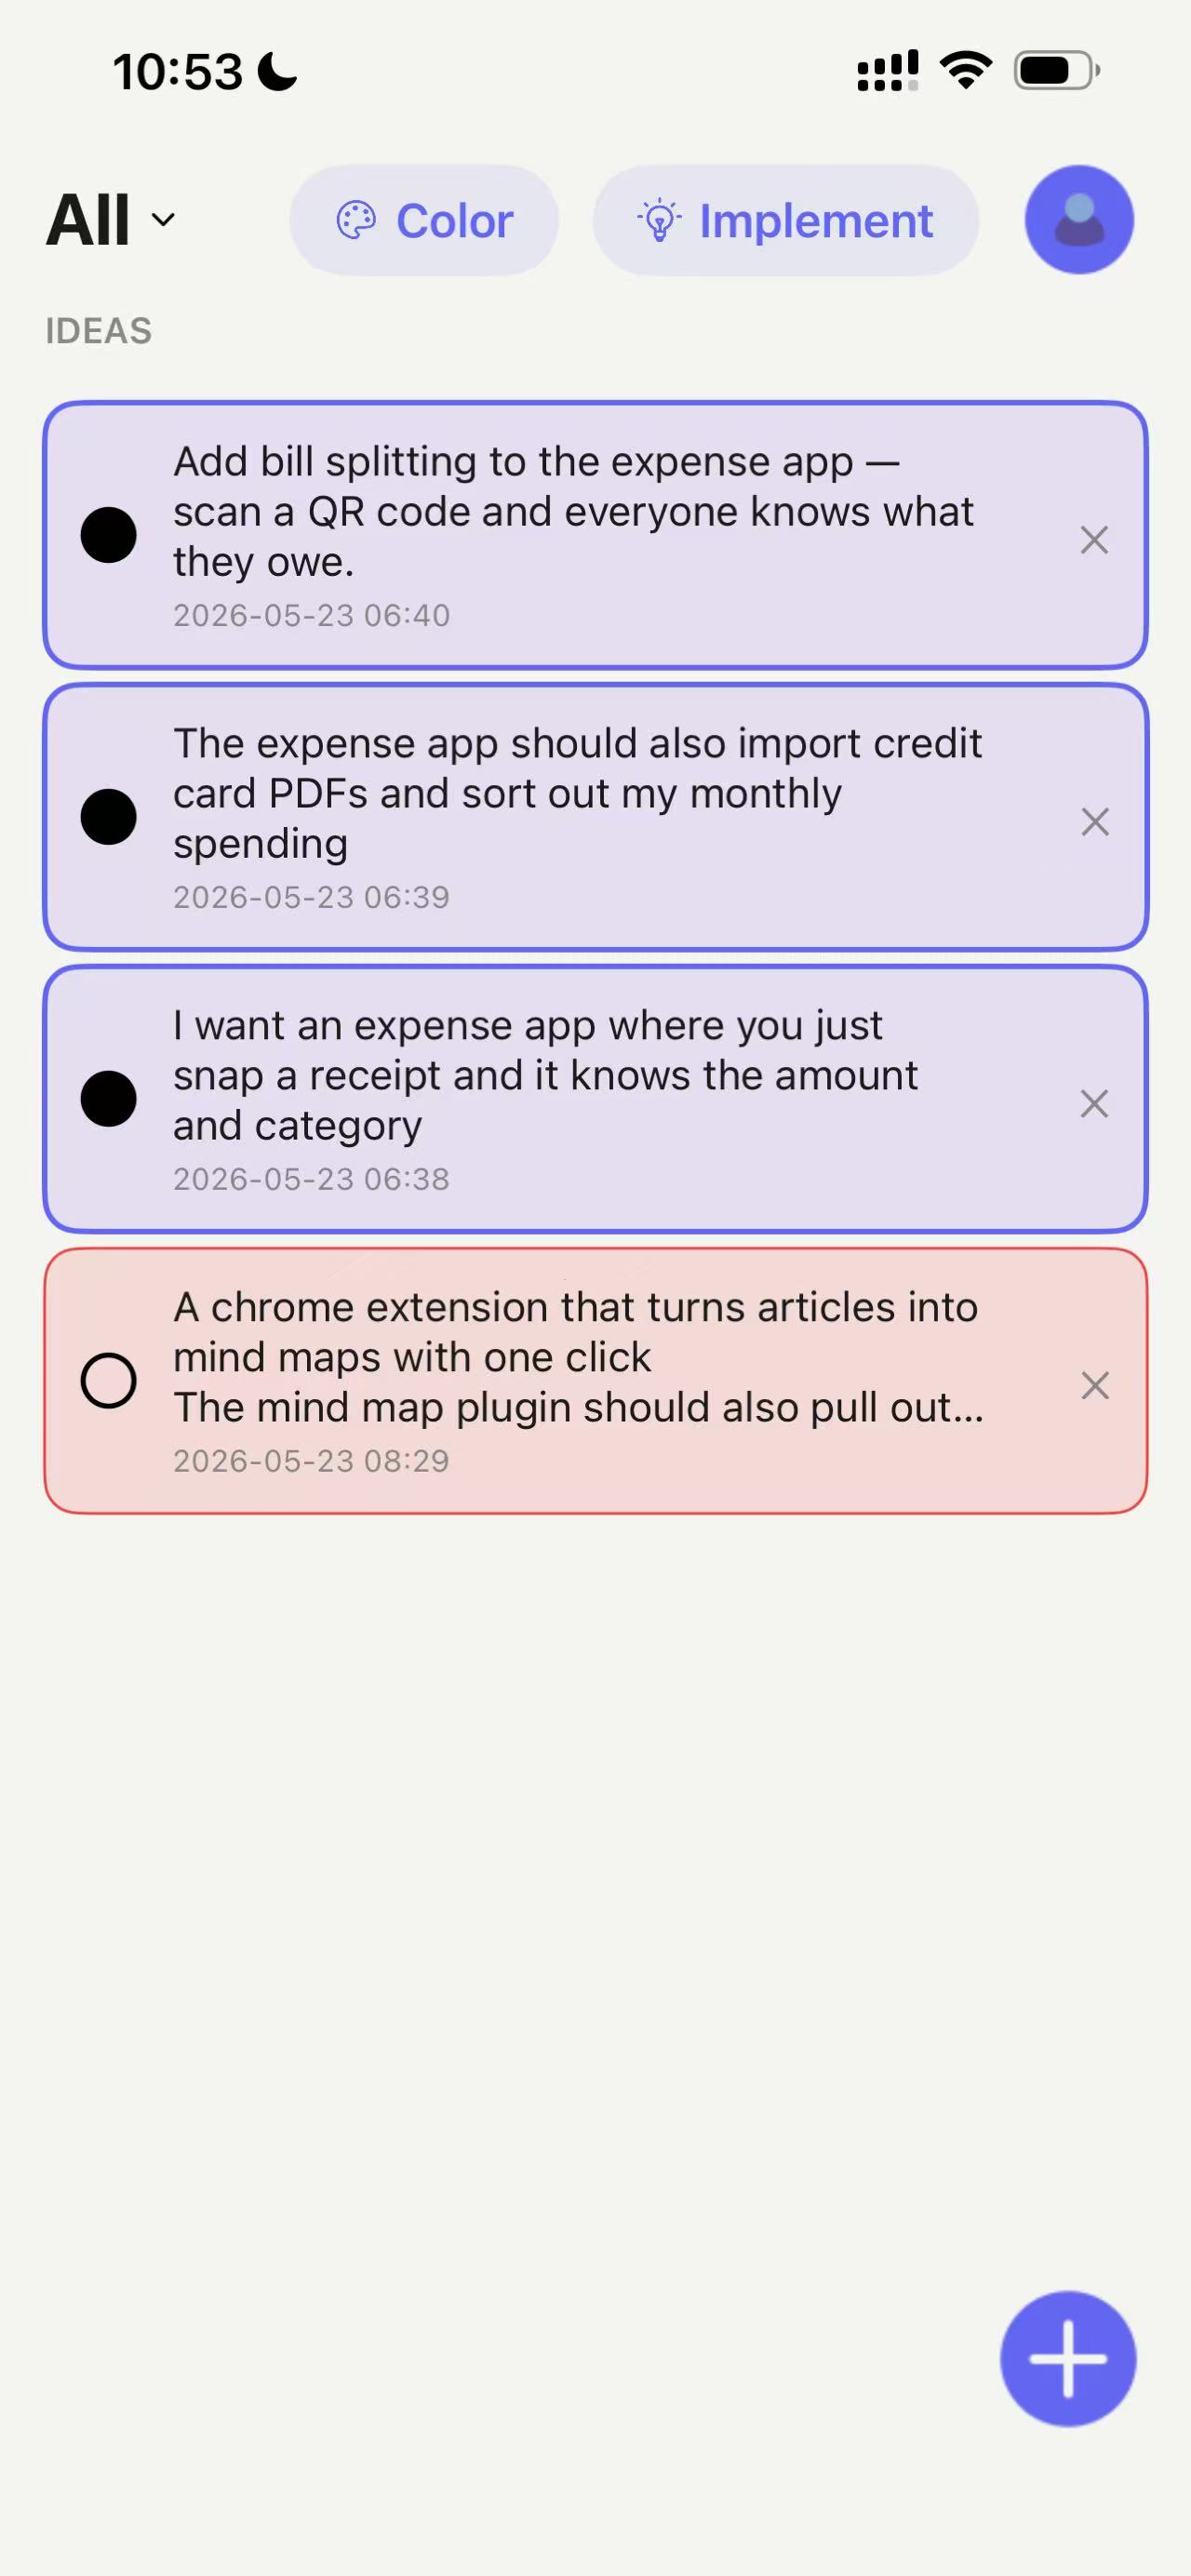
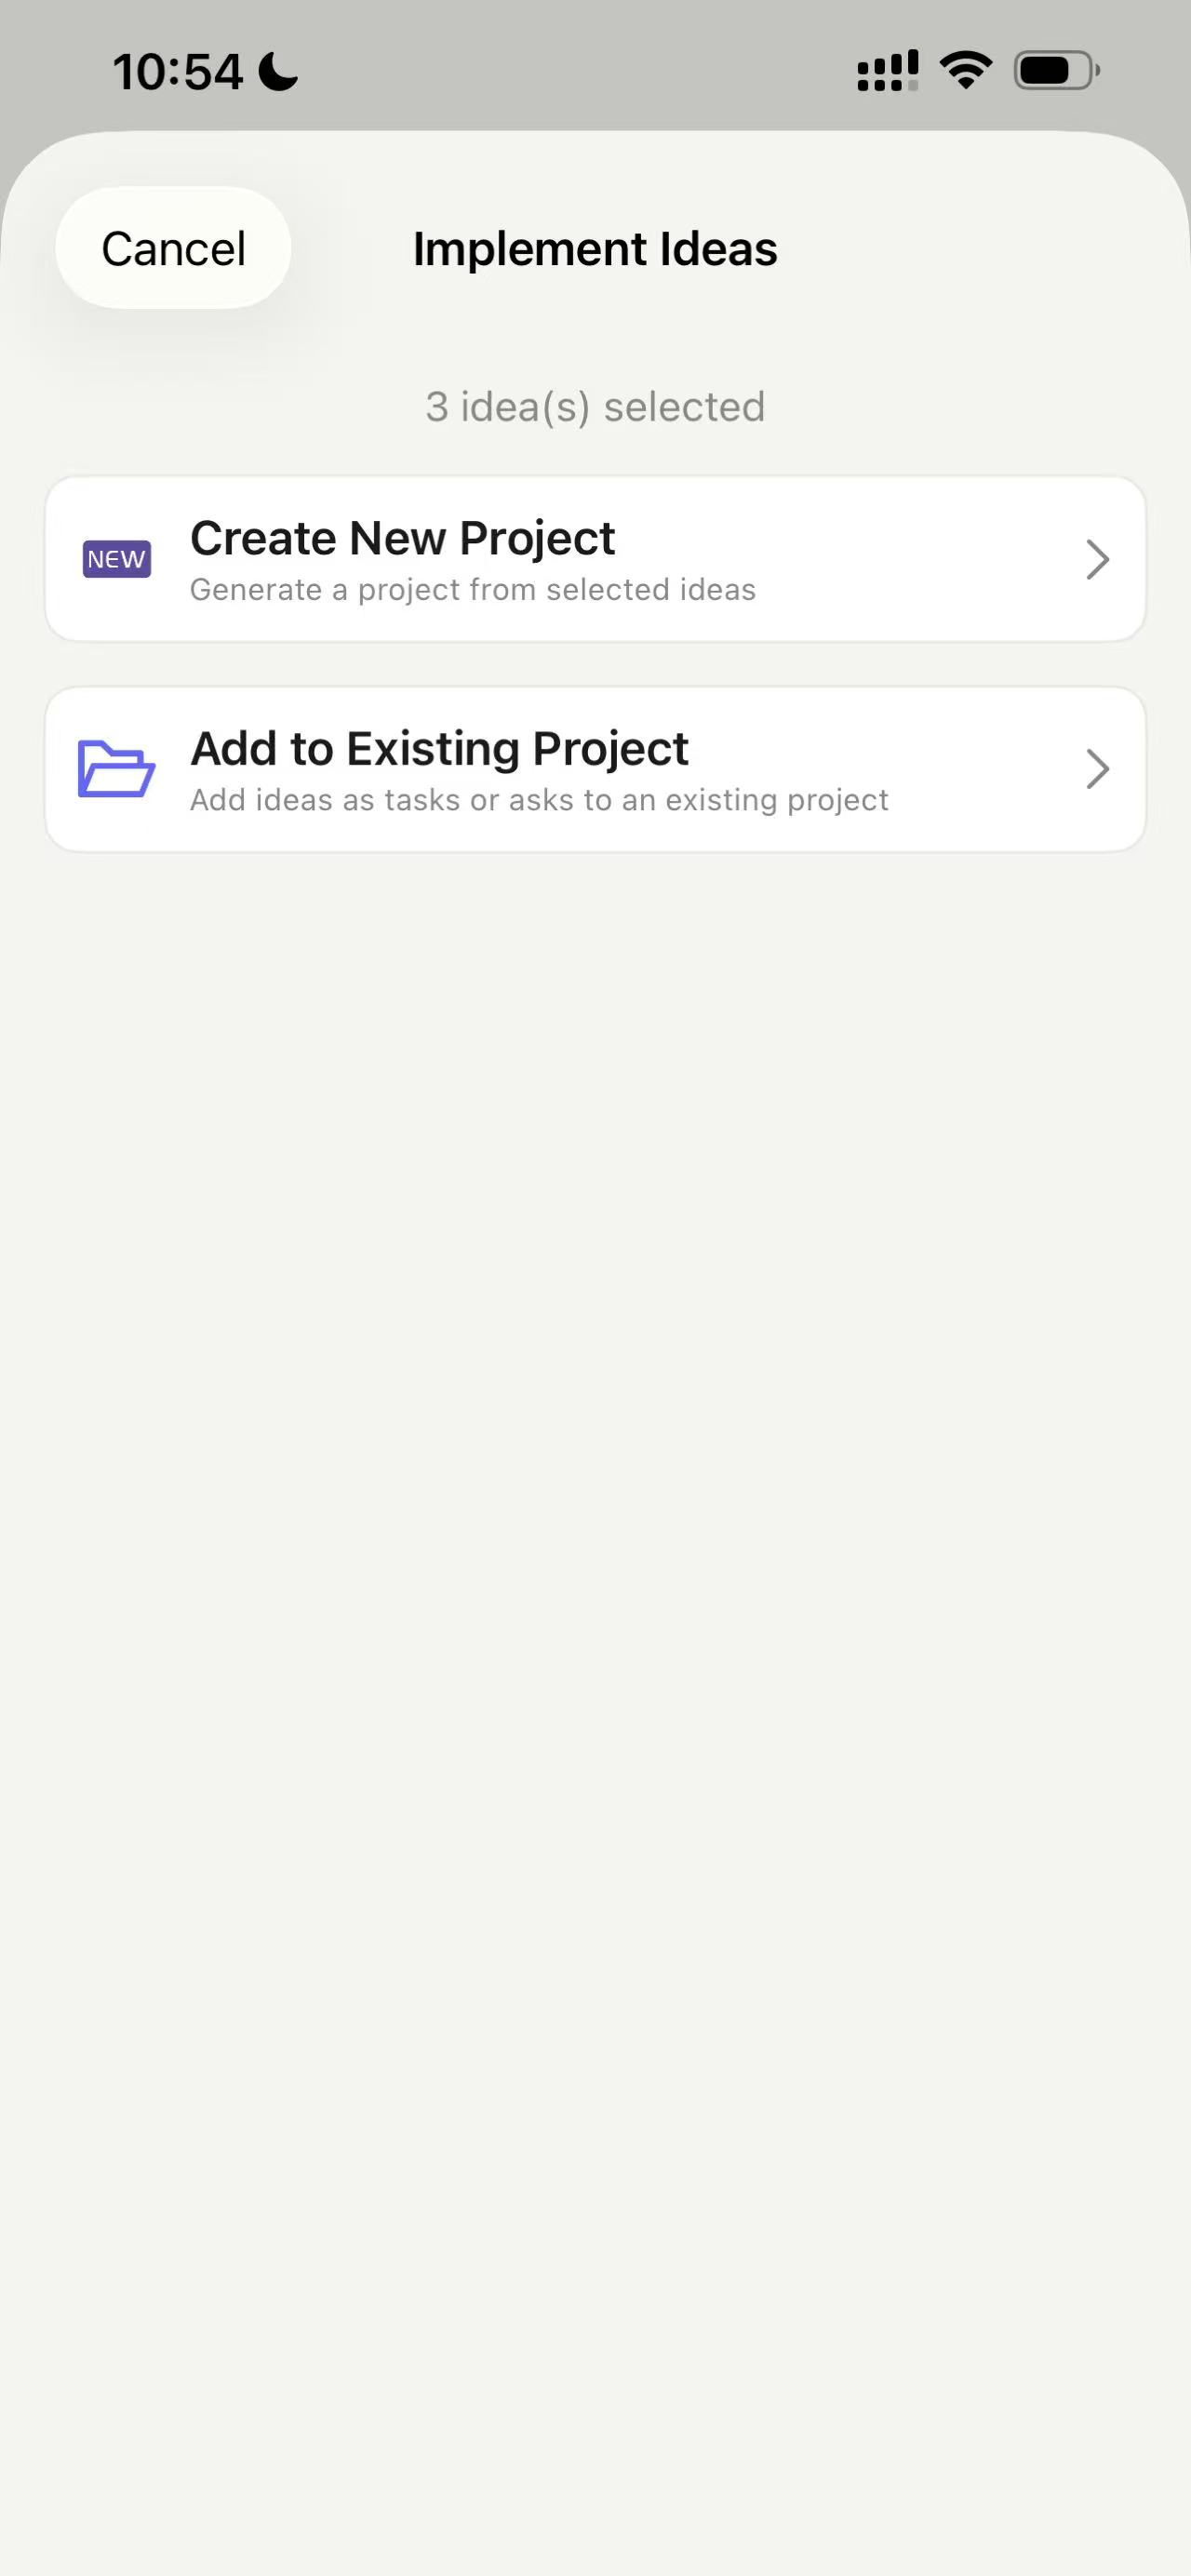
Select the ideas you want to implement and tap “Implement”. You can choose to create a new project or add the ideas to an existing project.
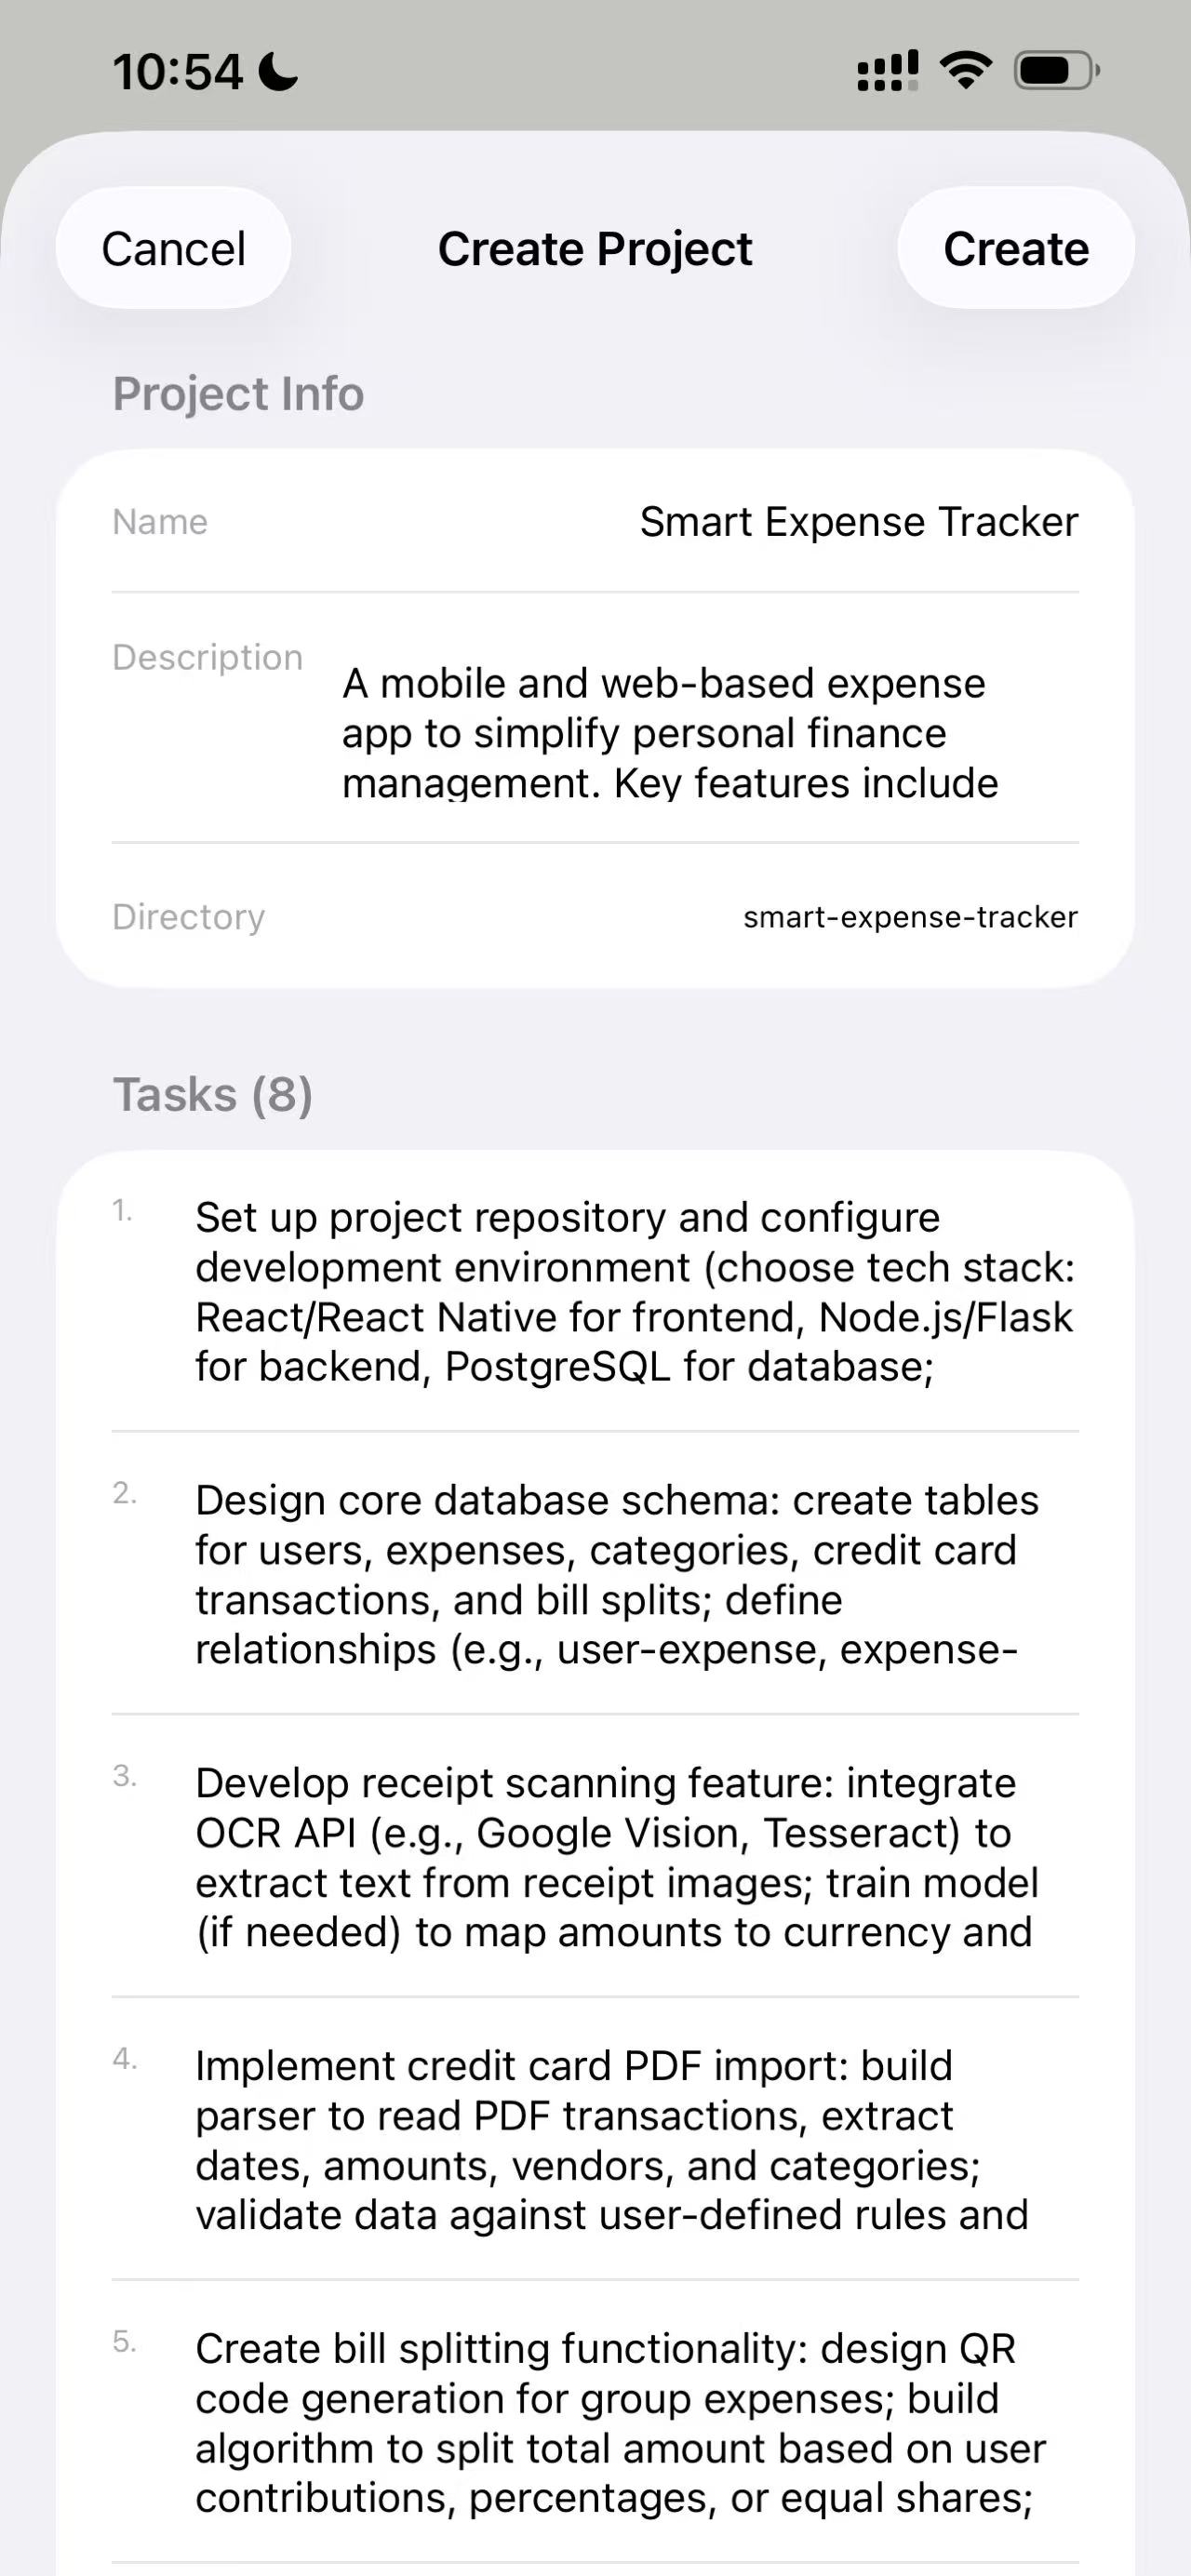
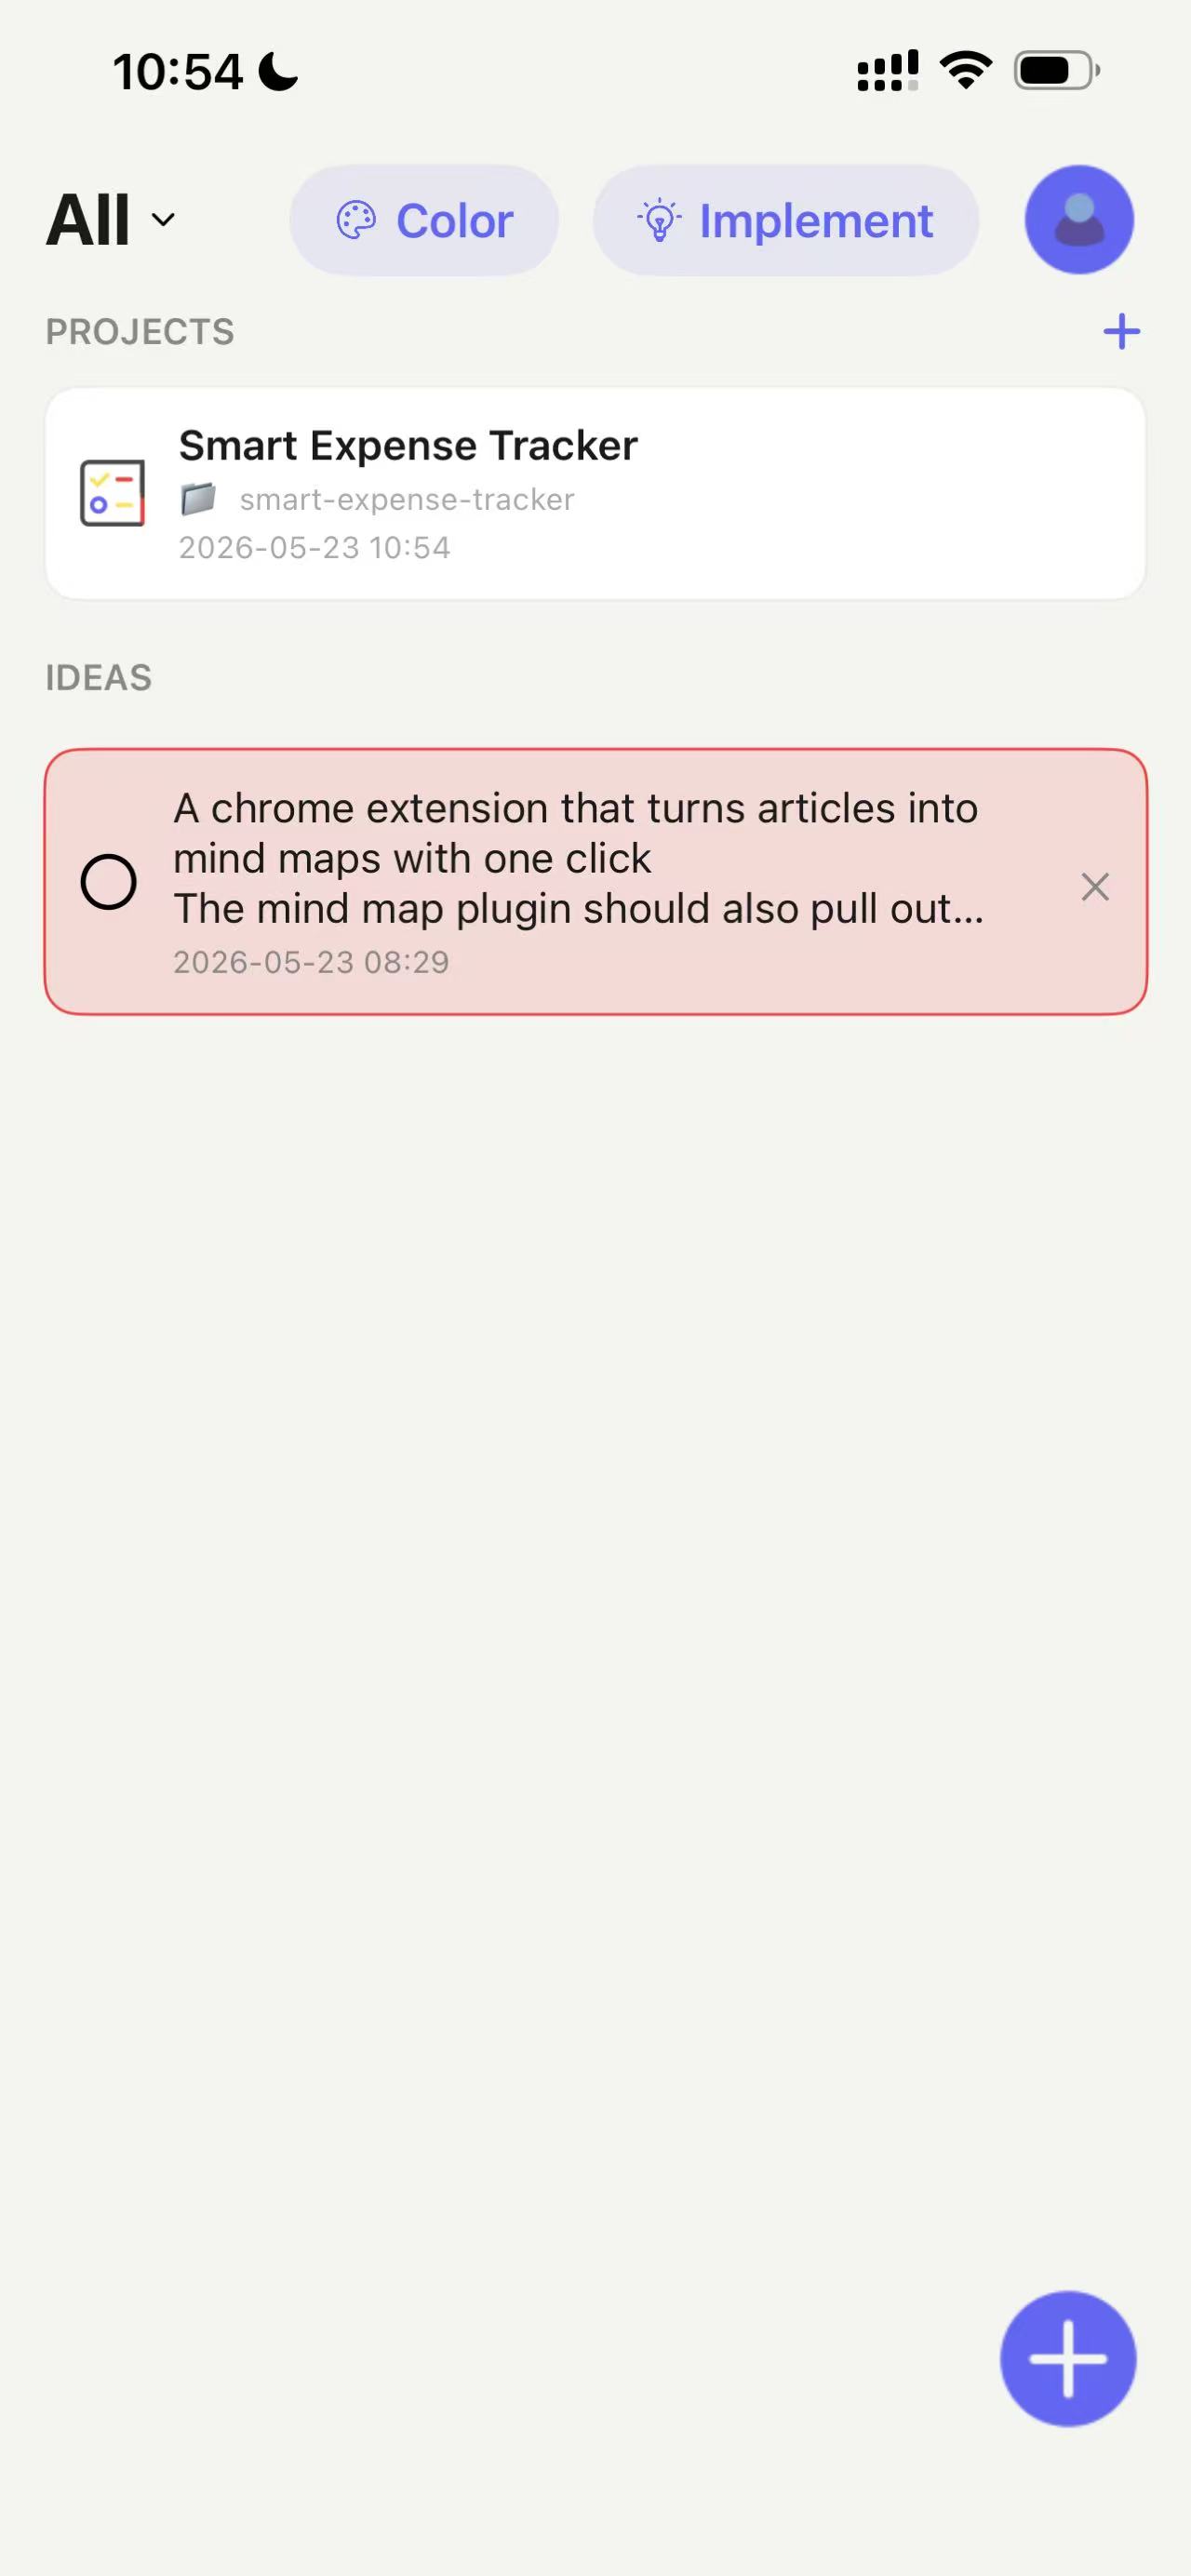
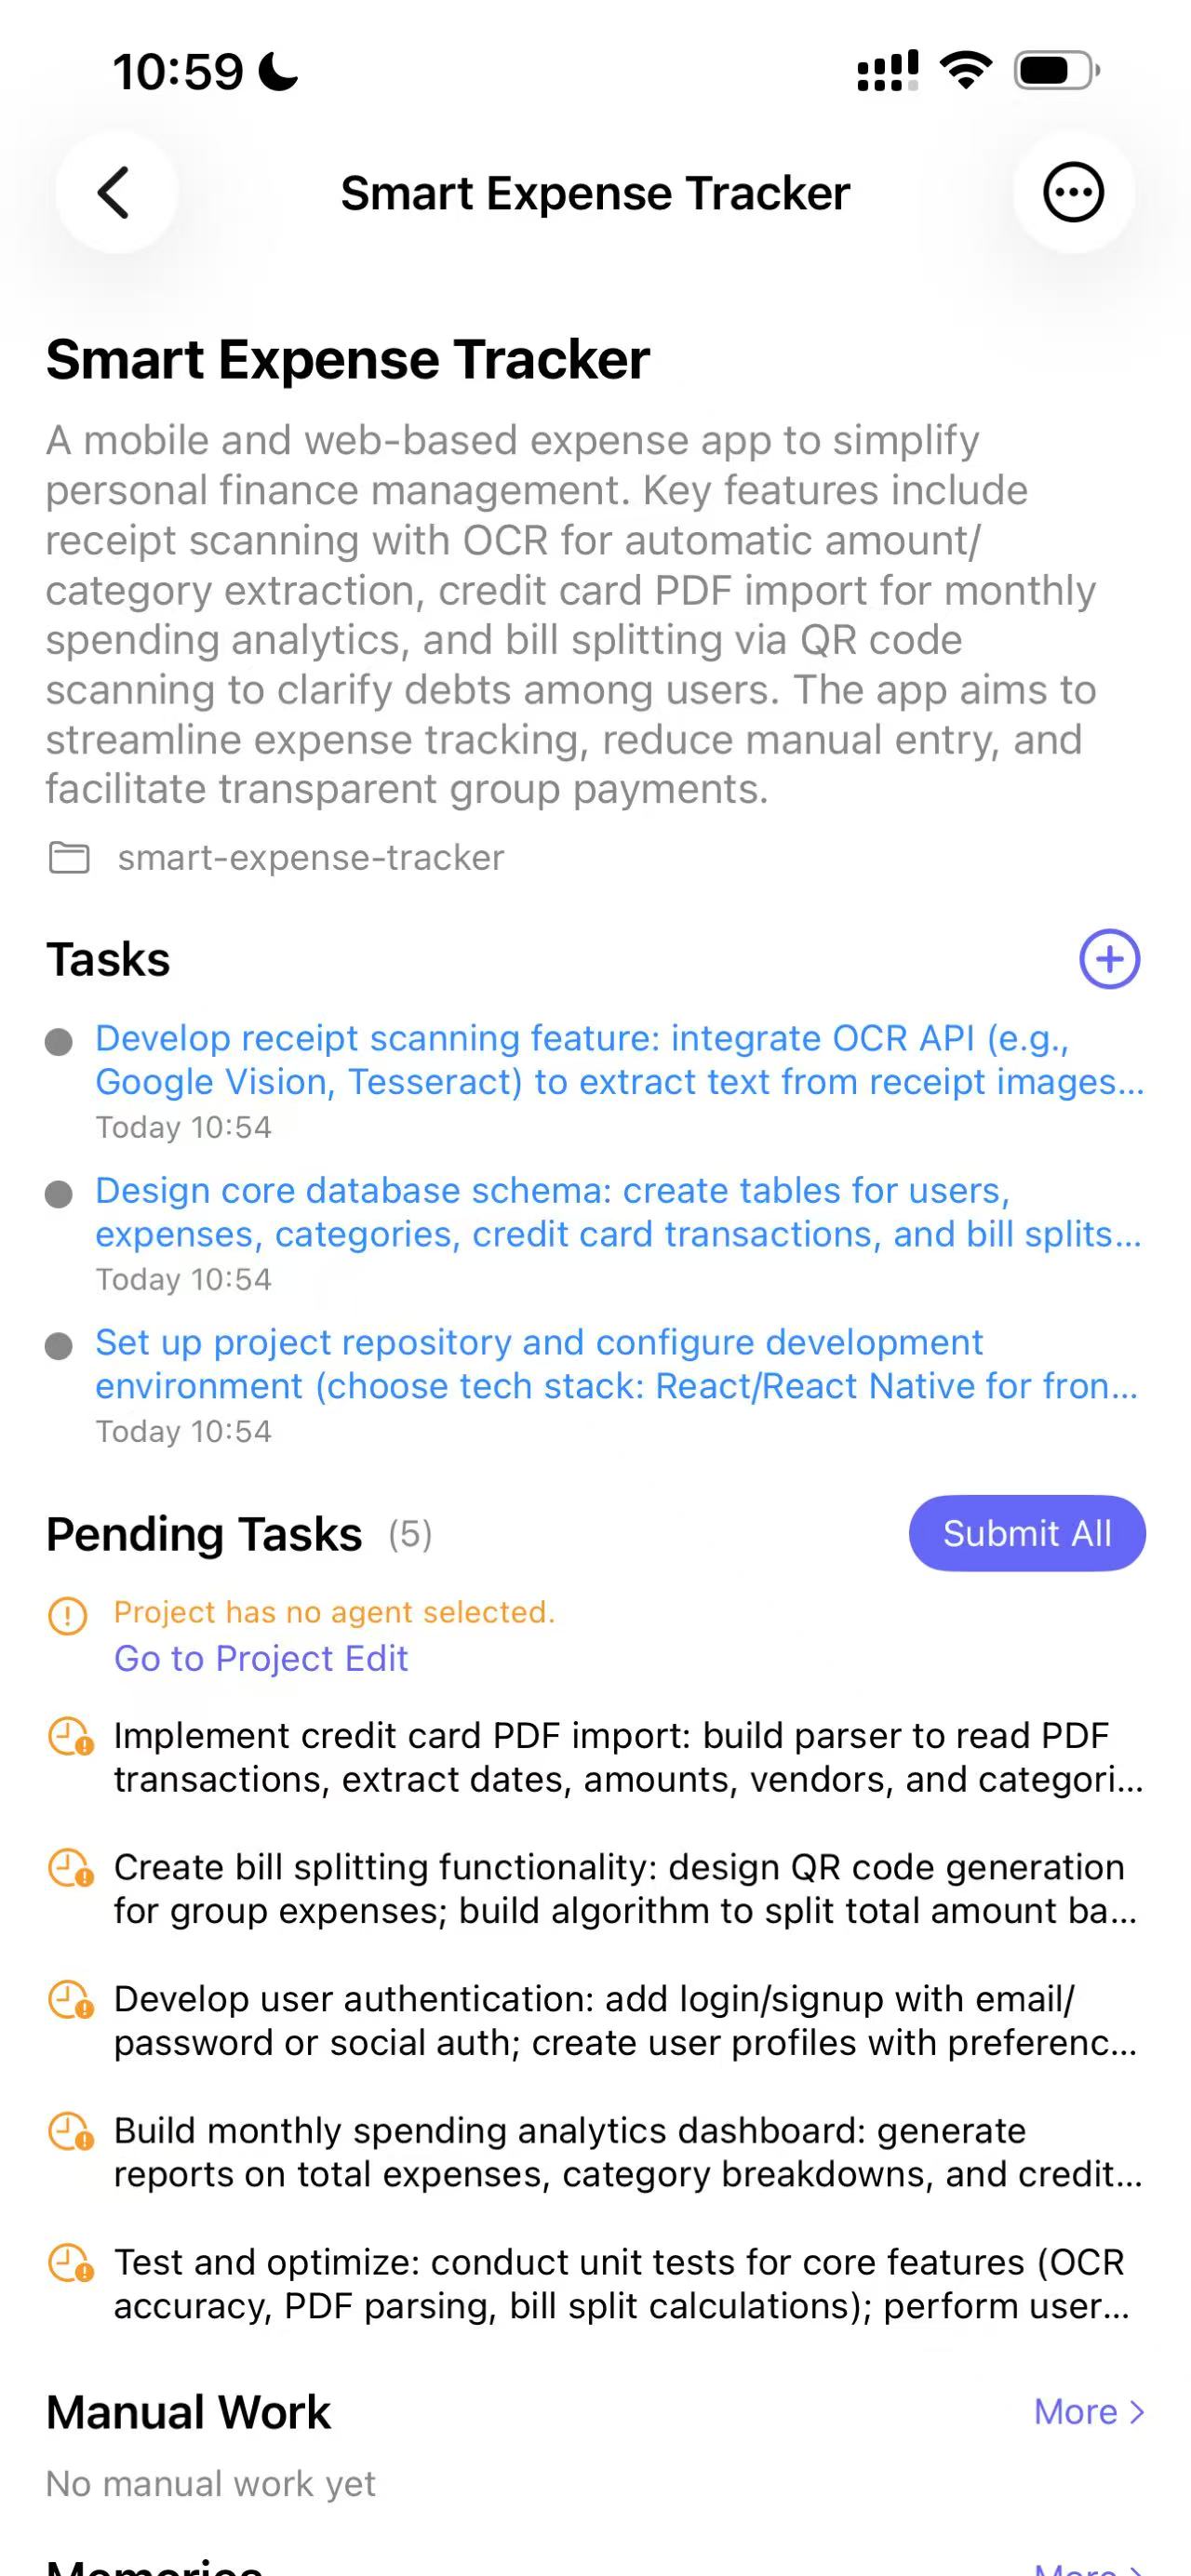
Projects
Creating a project is just the first step to implementing an idea. You need an AI Agent to help you execute it. When you enter the project details page, you’ll notice that the status icons in front of tasks are gray, and some tasks are waiting. This is because the AI Agent hasn’t been configured yet. Tap the prompt in a waiting task, or click the icon in the upper right corner to edit.
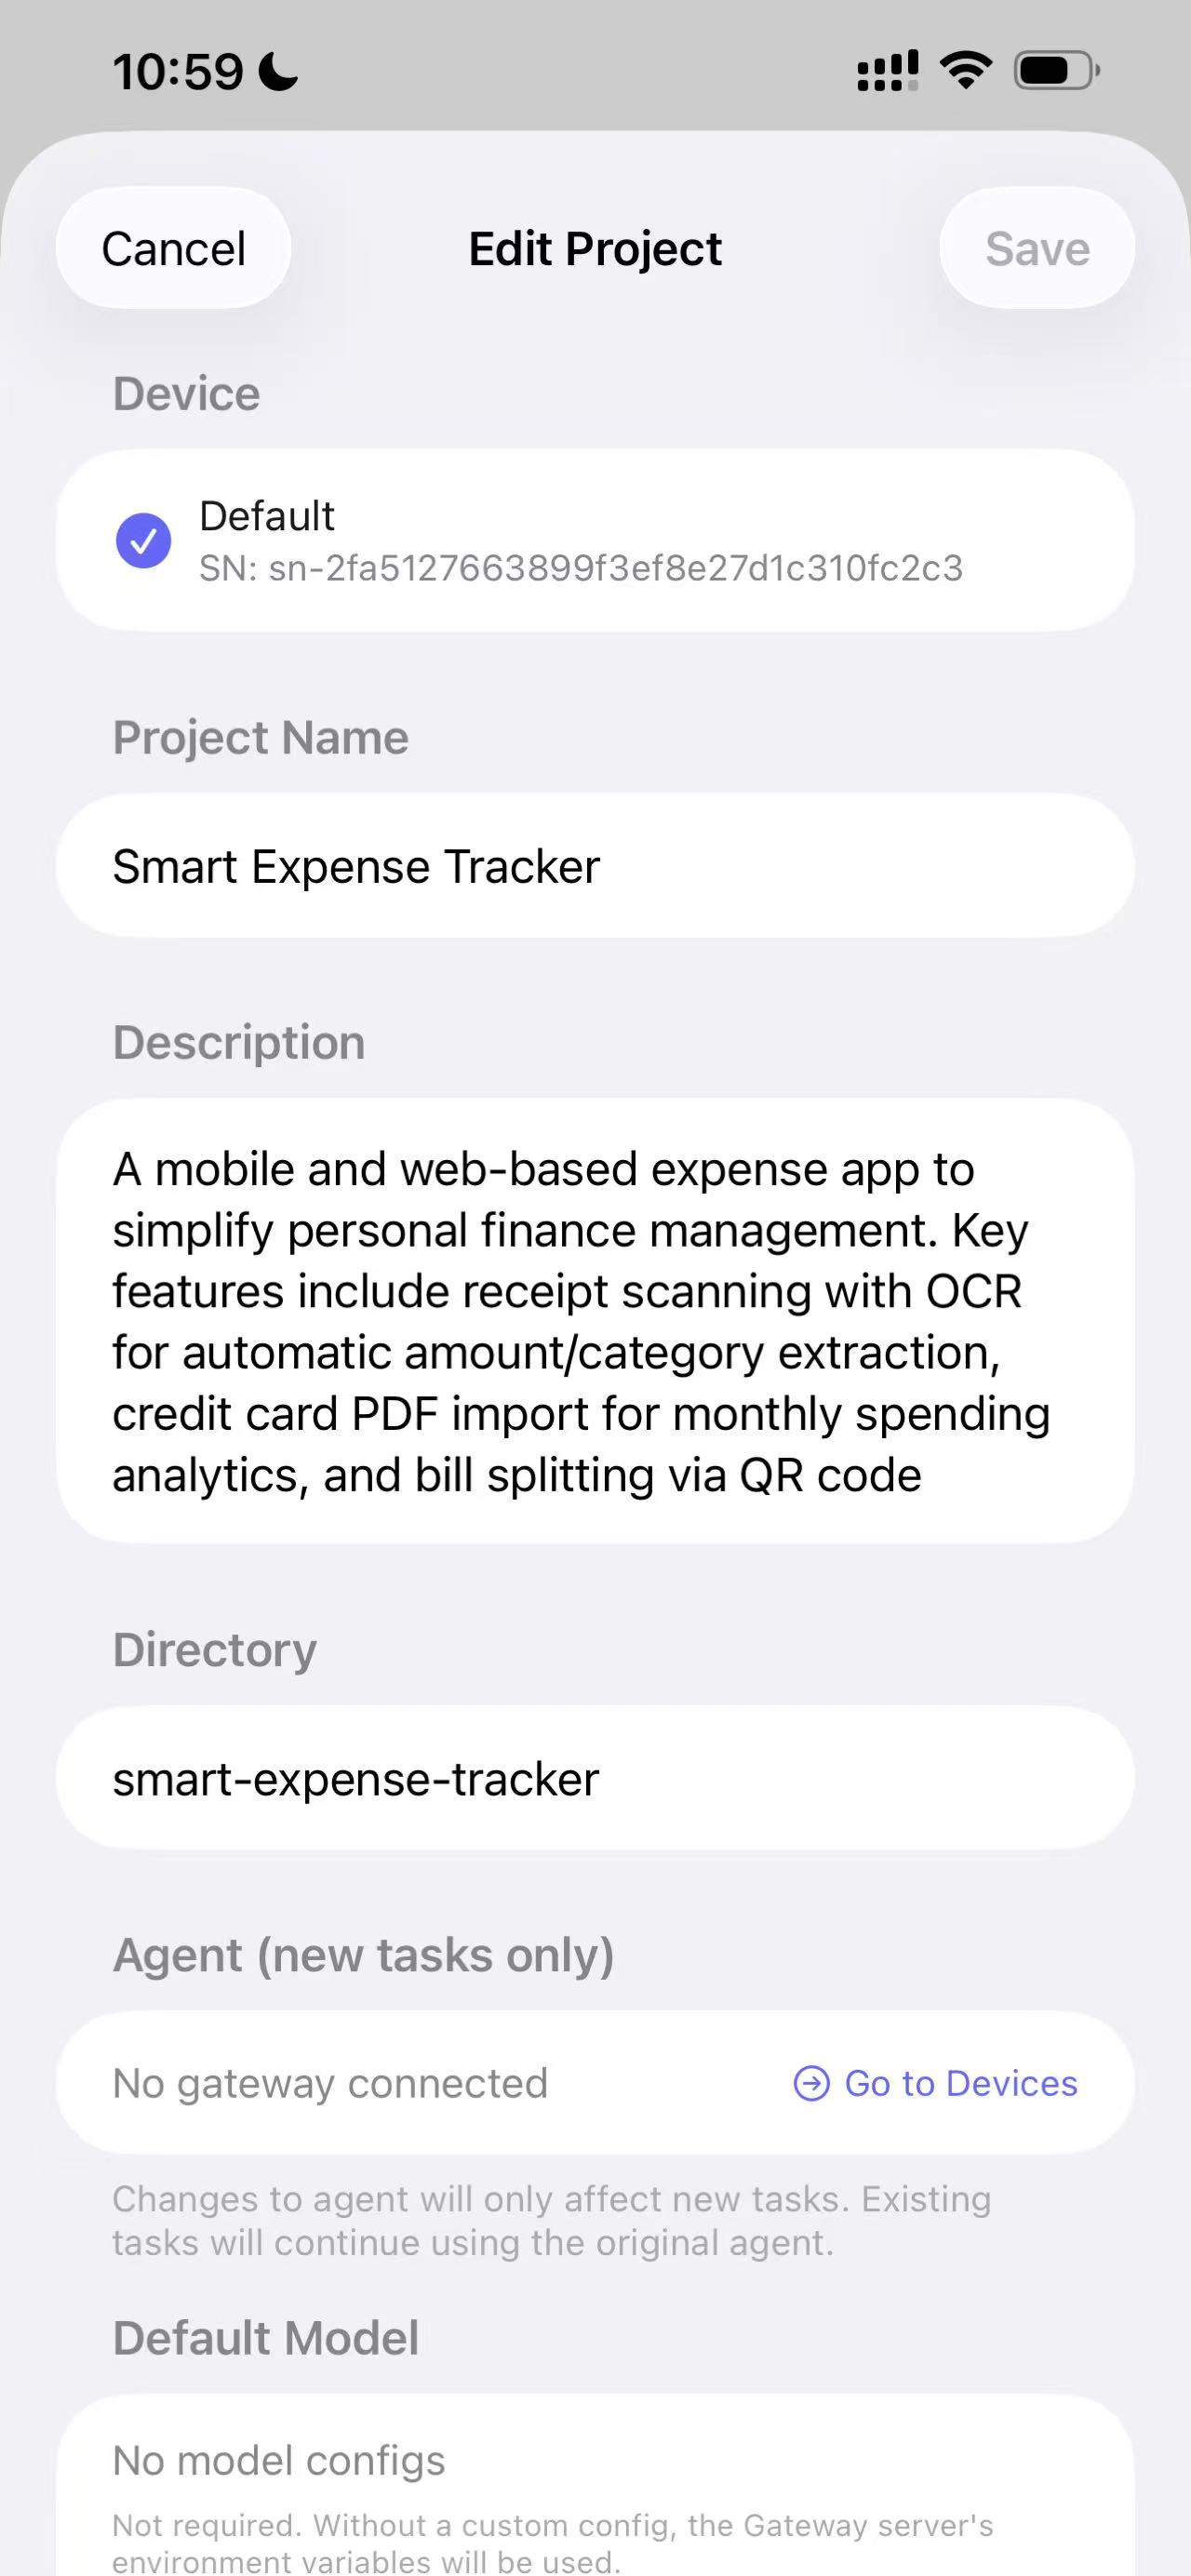
Editing Projects
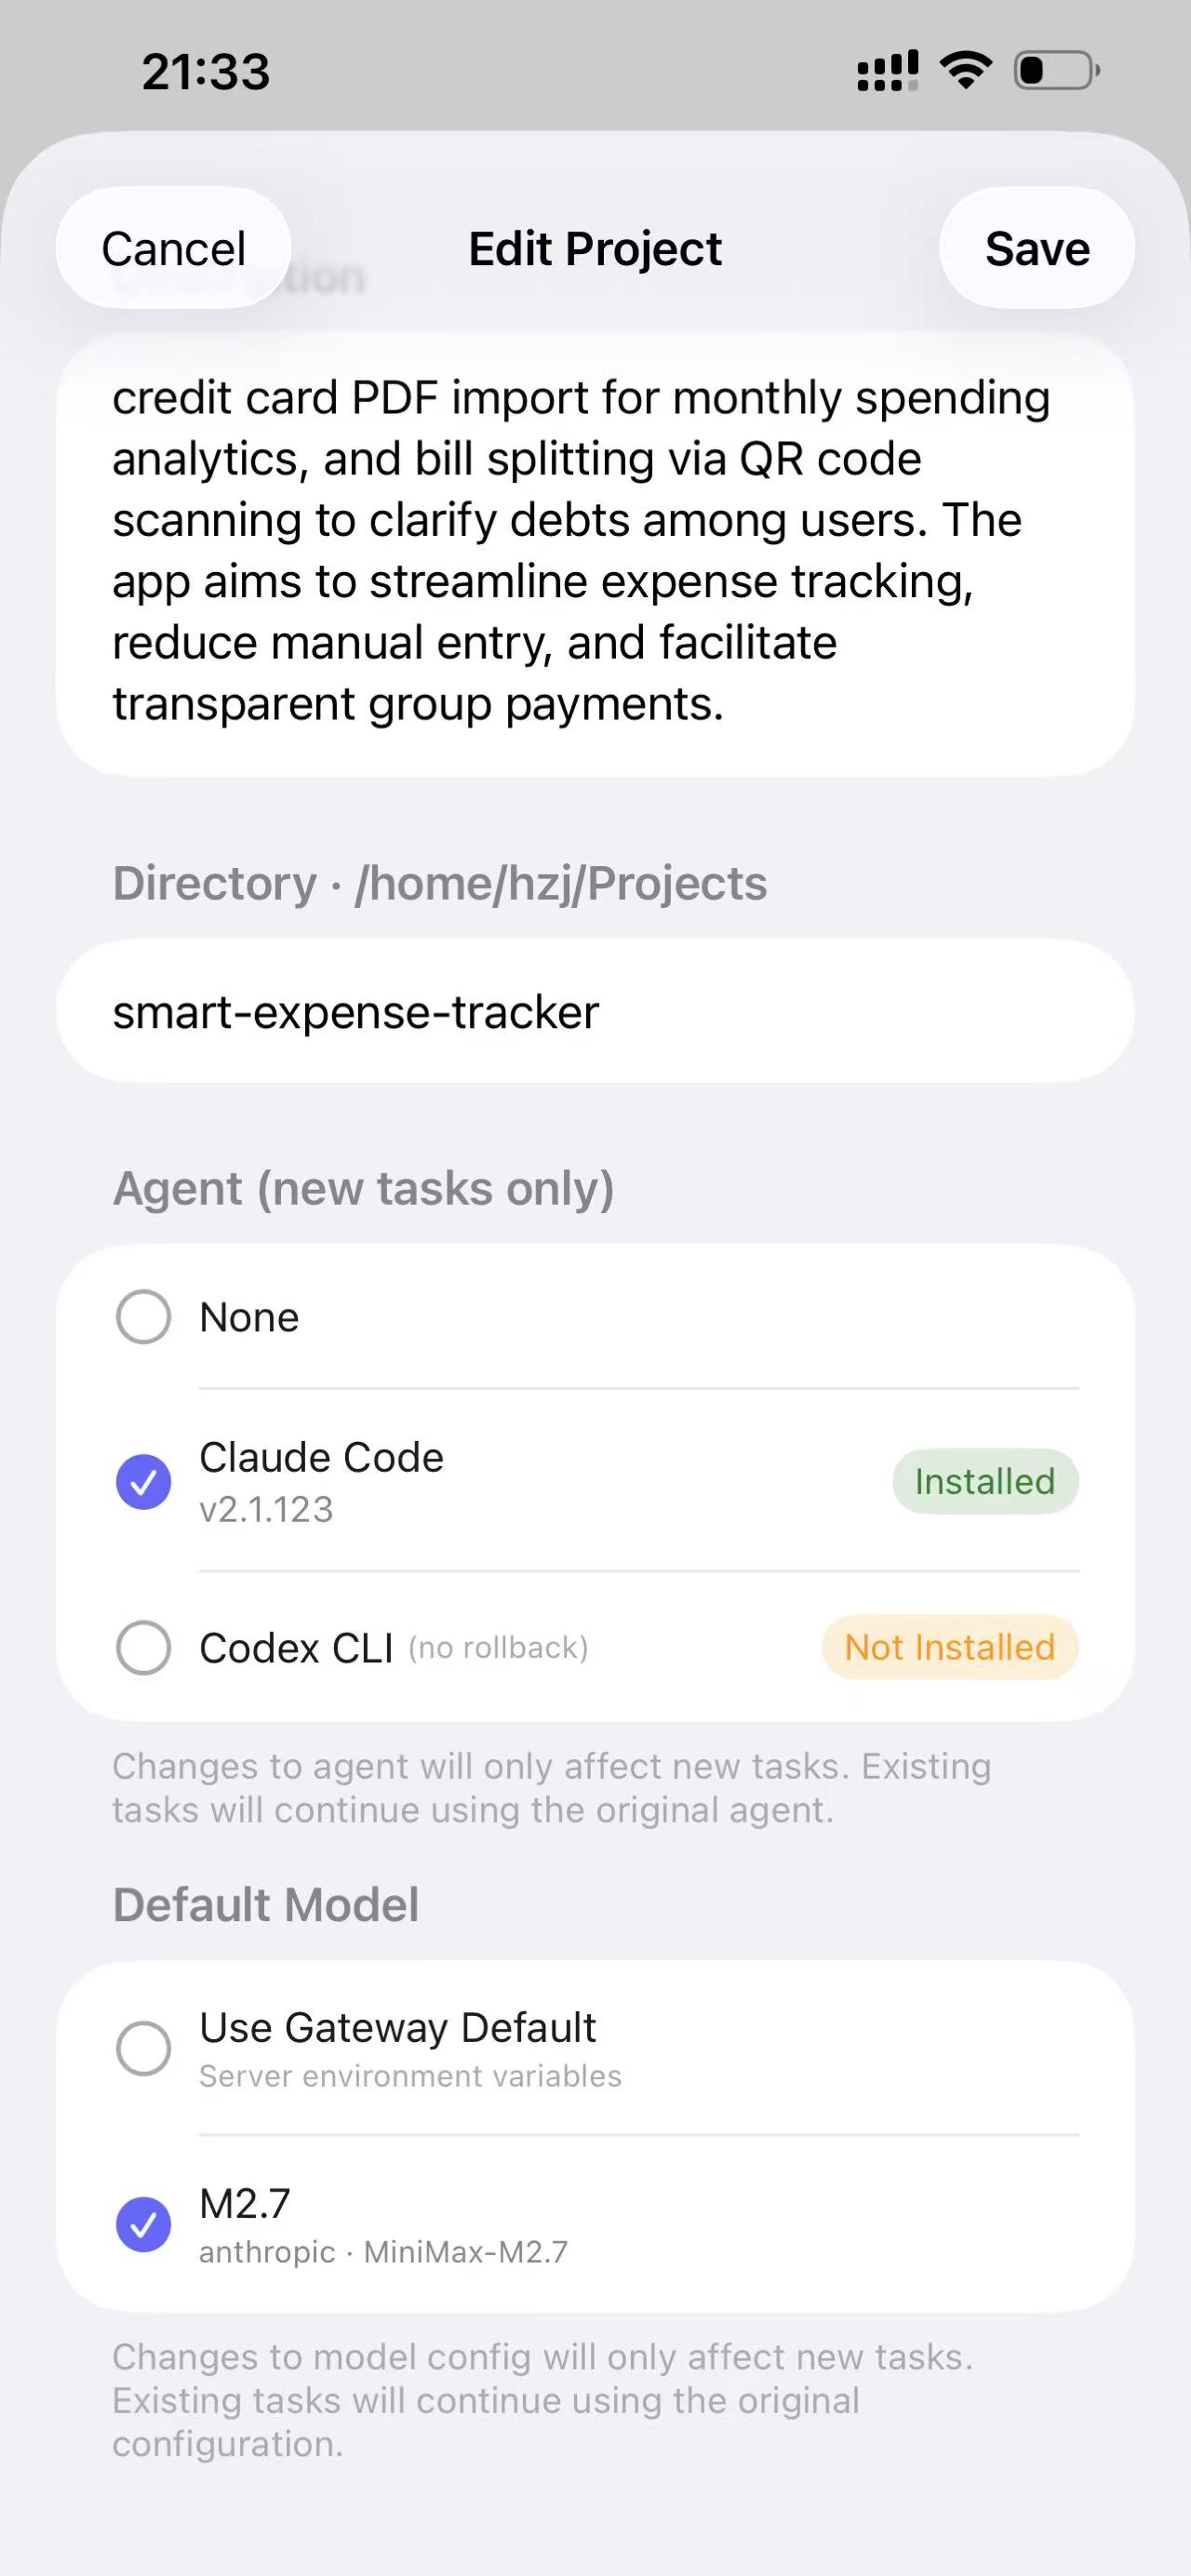
Here you can select the device, Agent, and model. If you can’t find an Agent, you may not have Gateway installed. Tap the prompt to go to the device management page.
Device Management
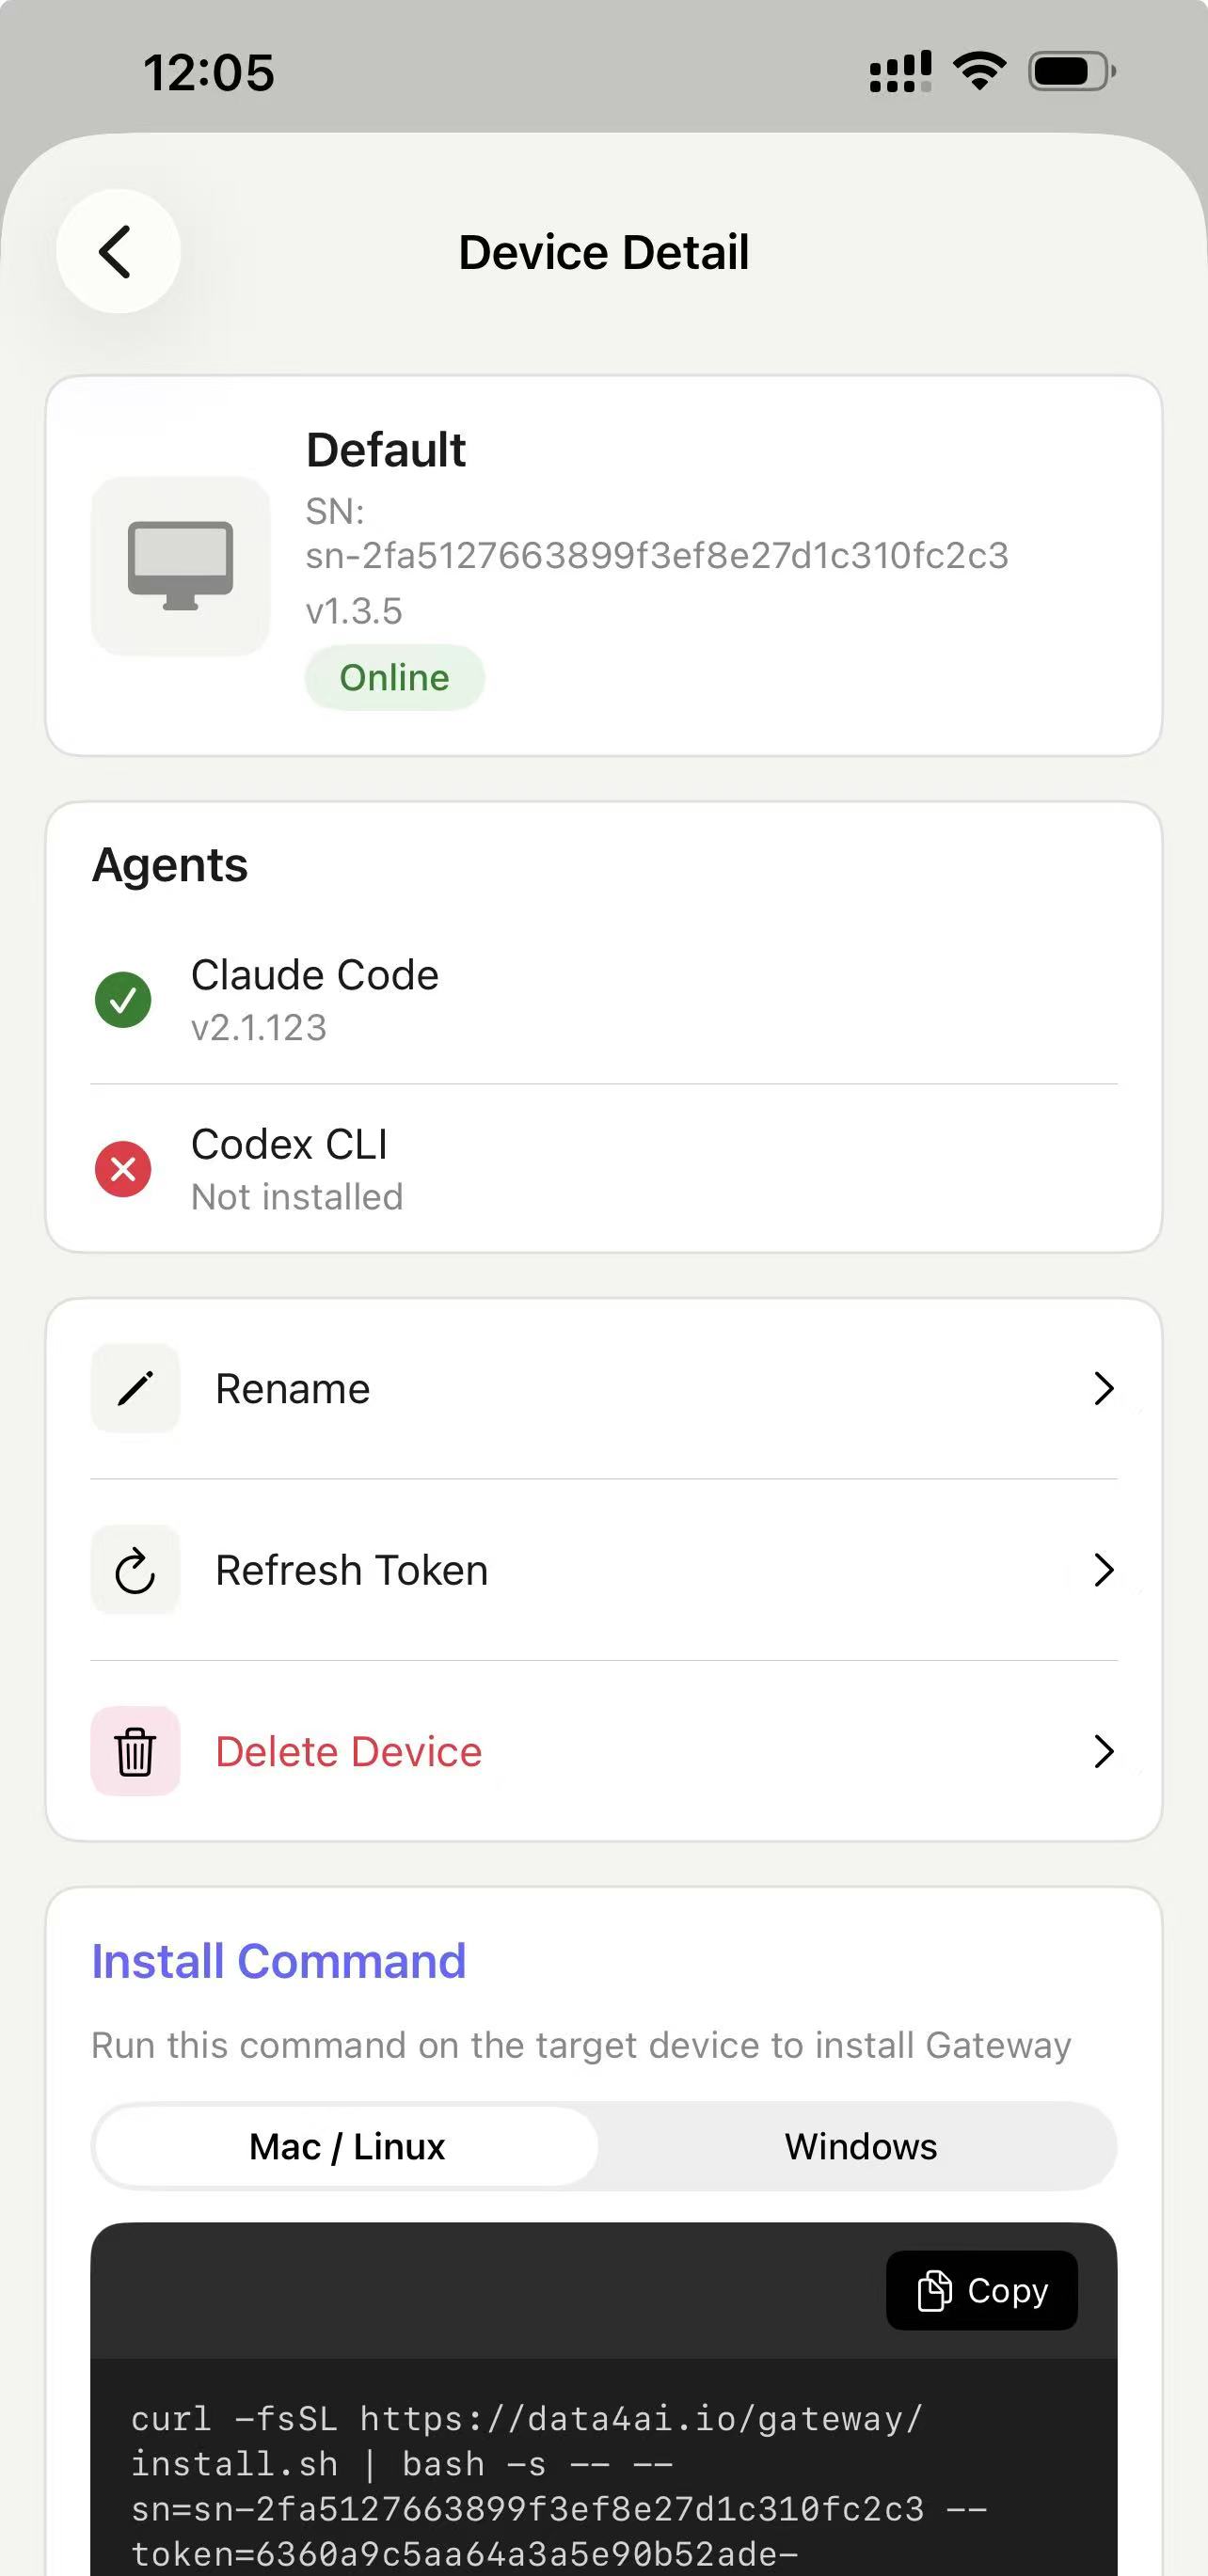
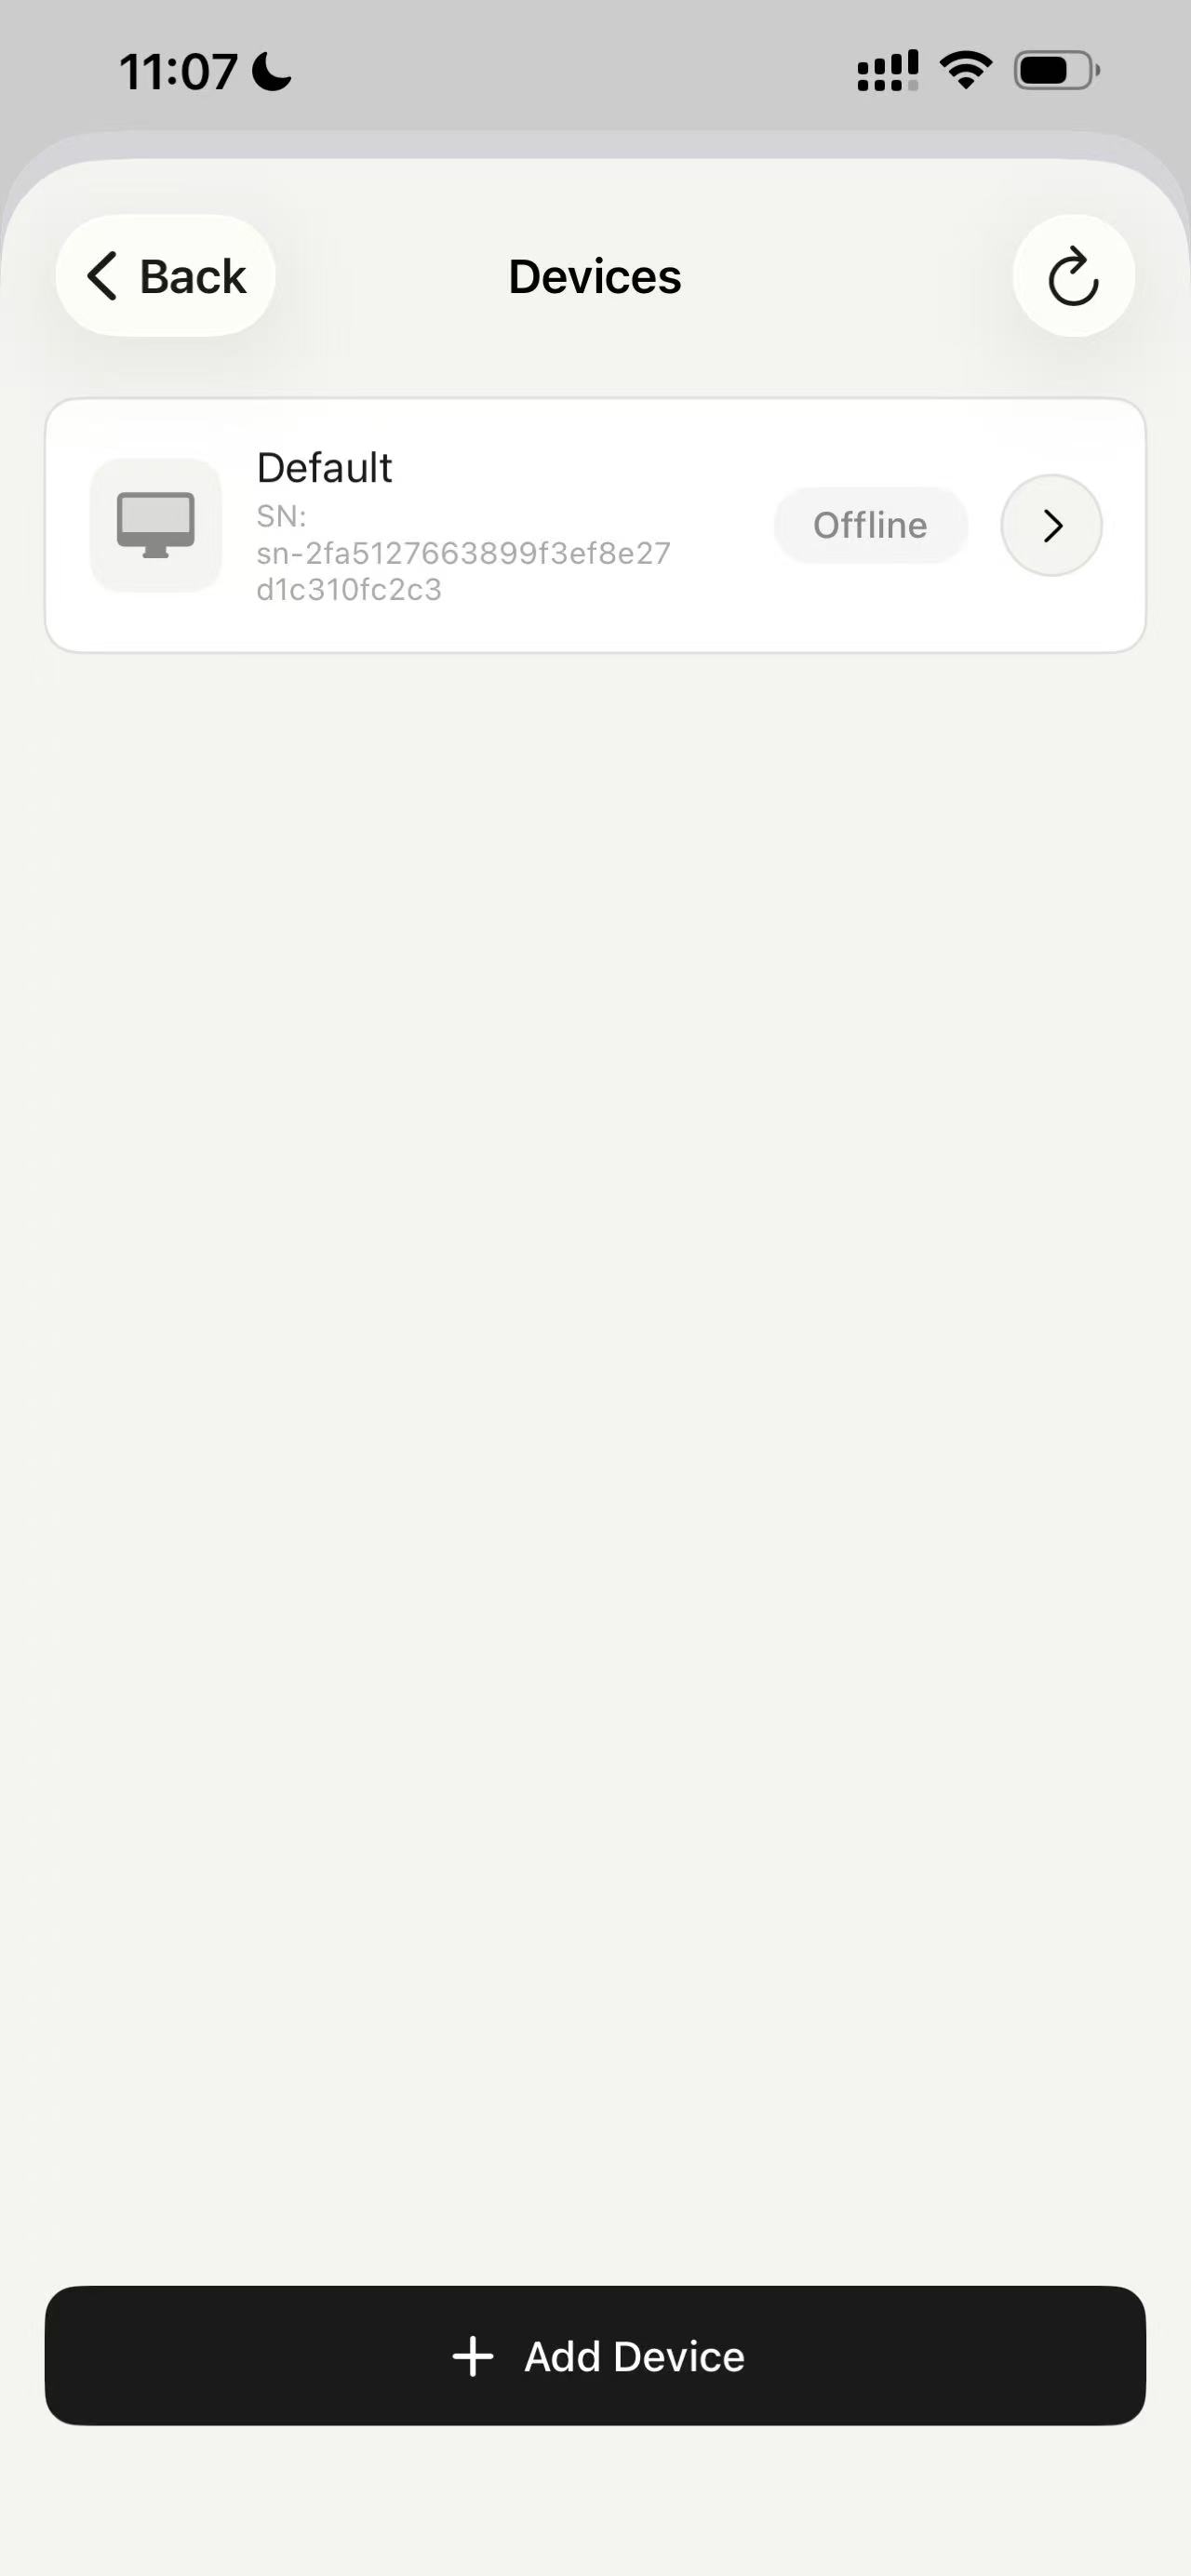
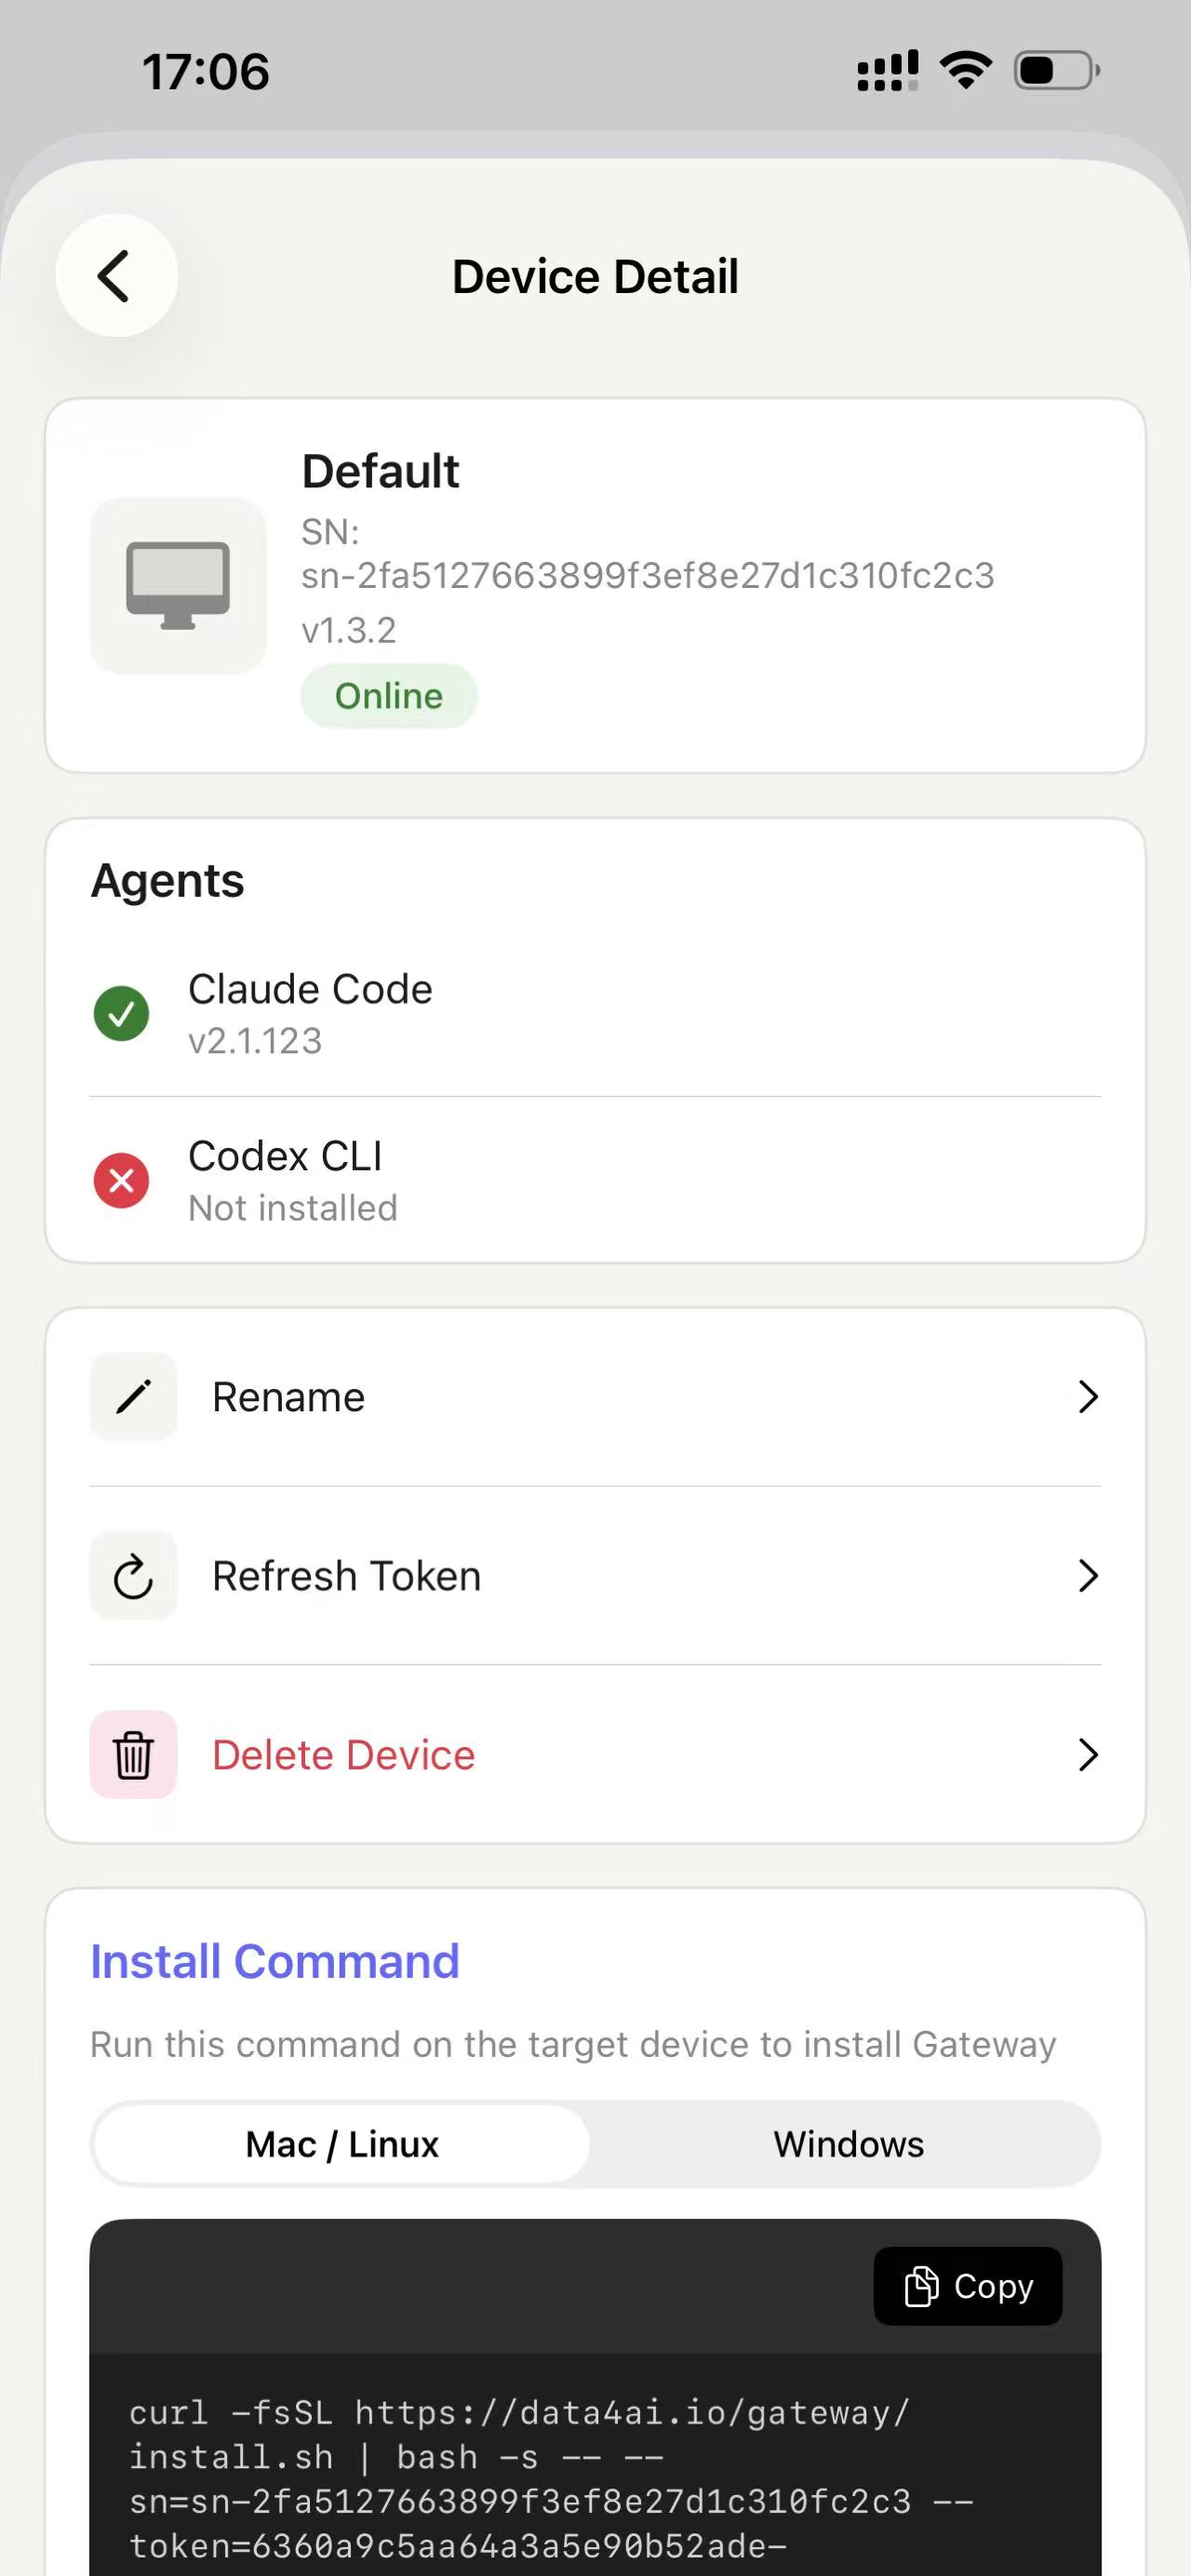
We create a default device for every user. After entering the device edit page, you can edit its name to make it more recognizable.
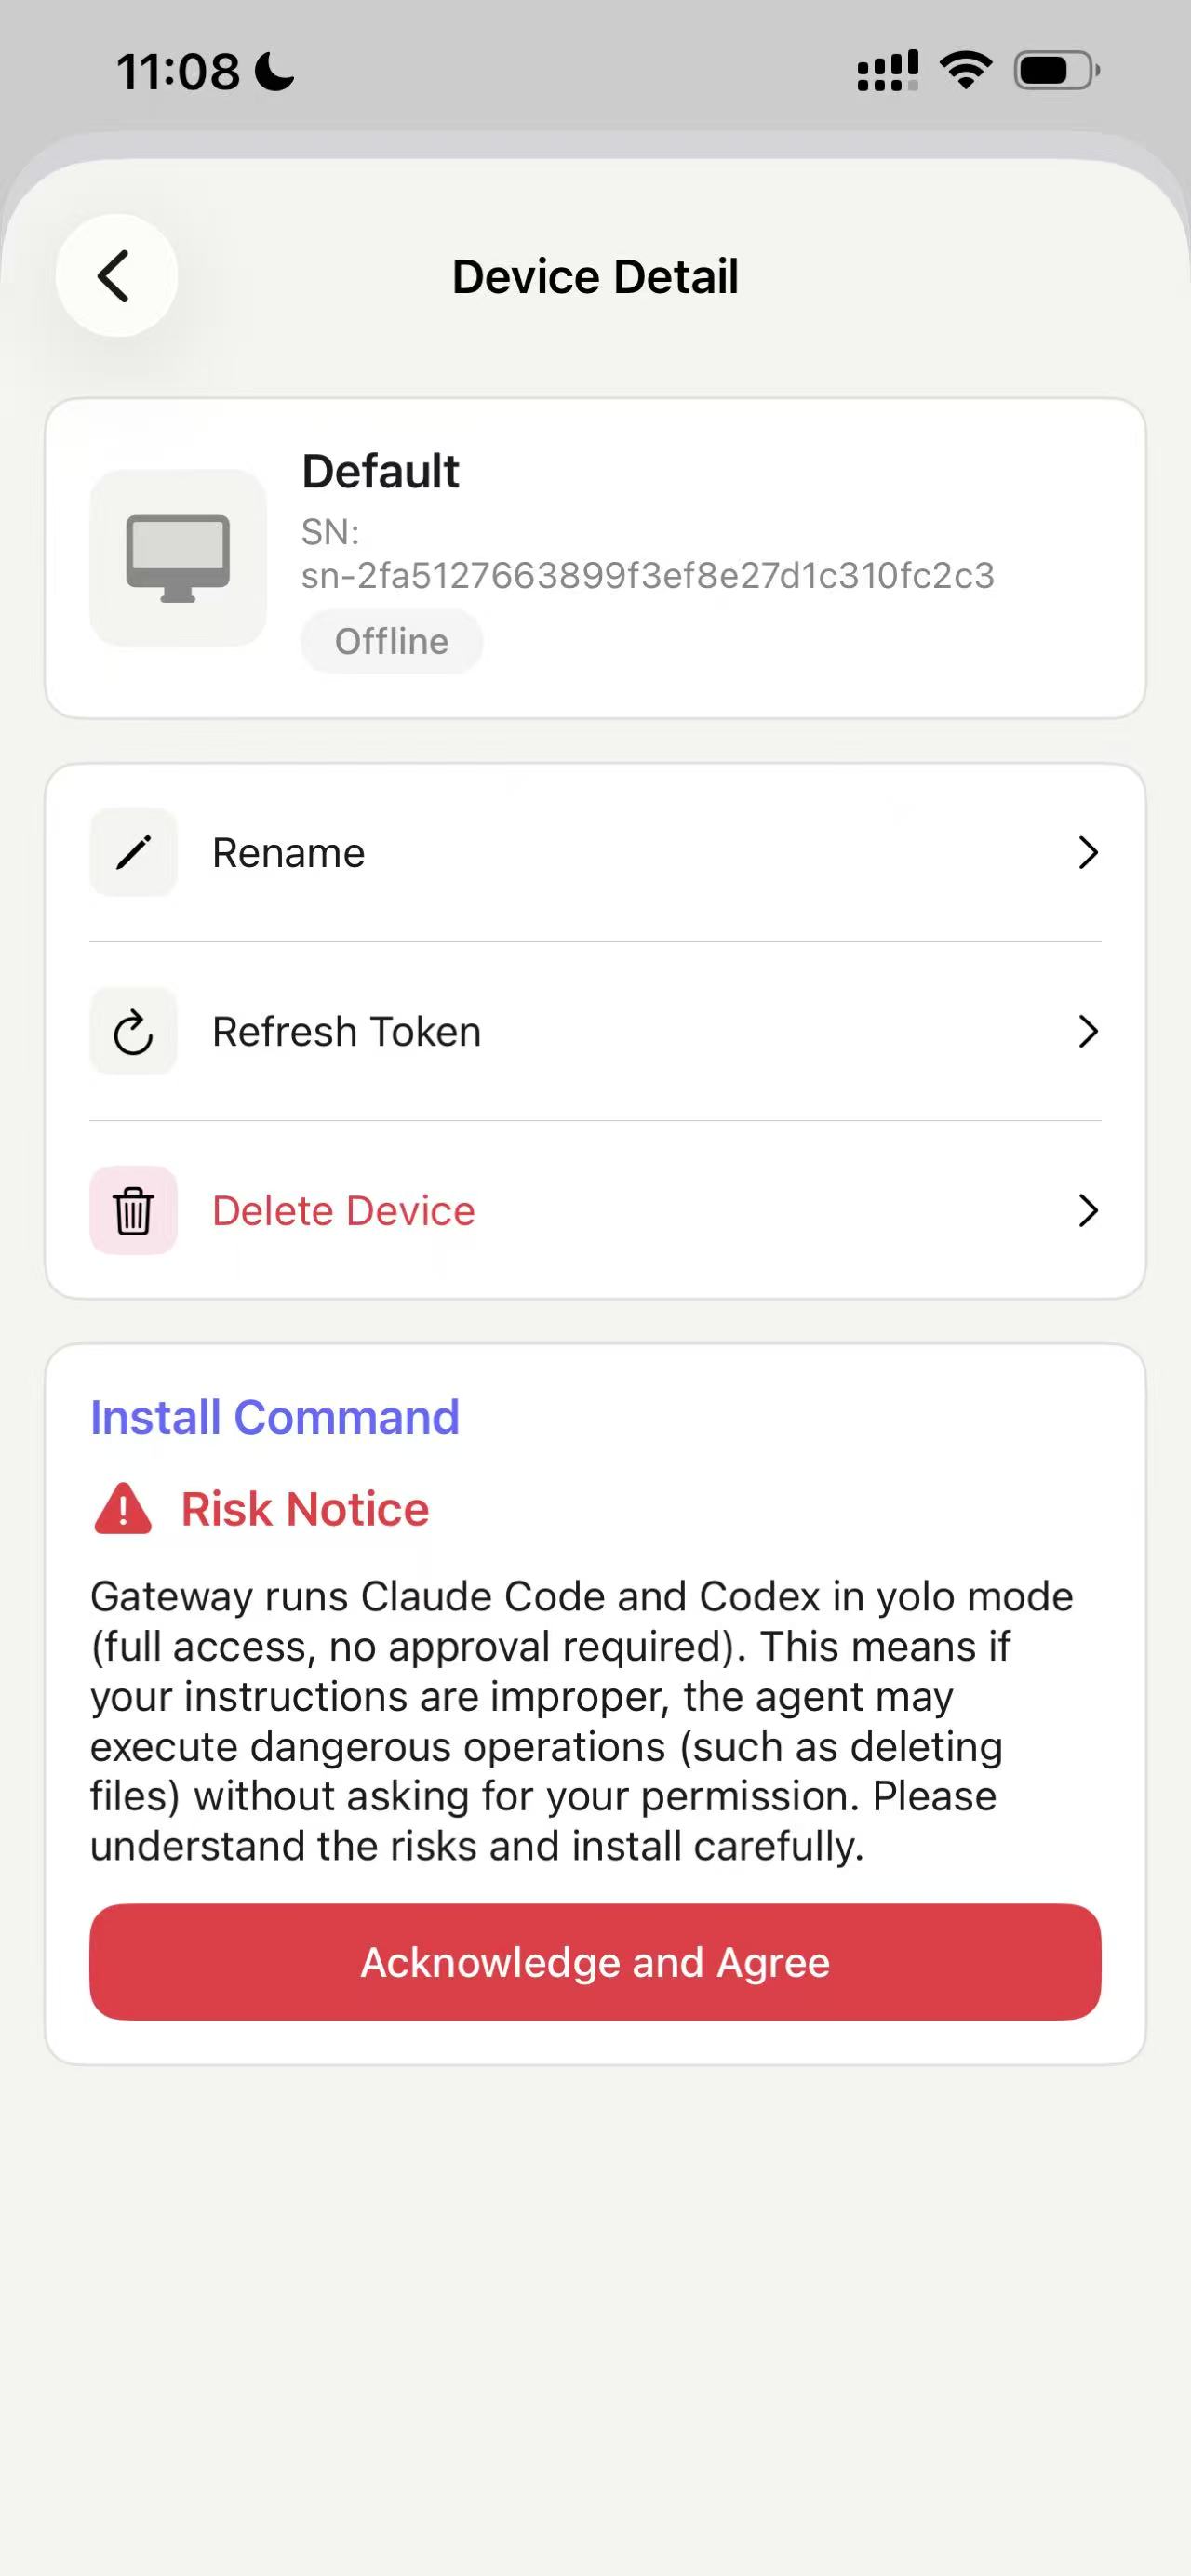
Before getting the Gateway installation command to run, you need to be aware of and confirm the possible risks.
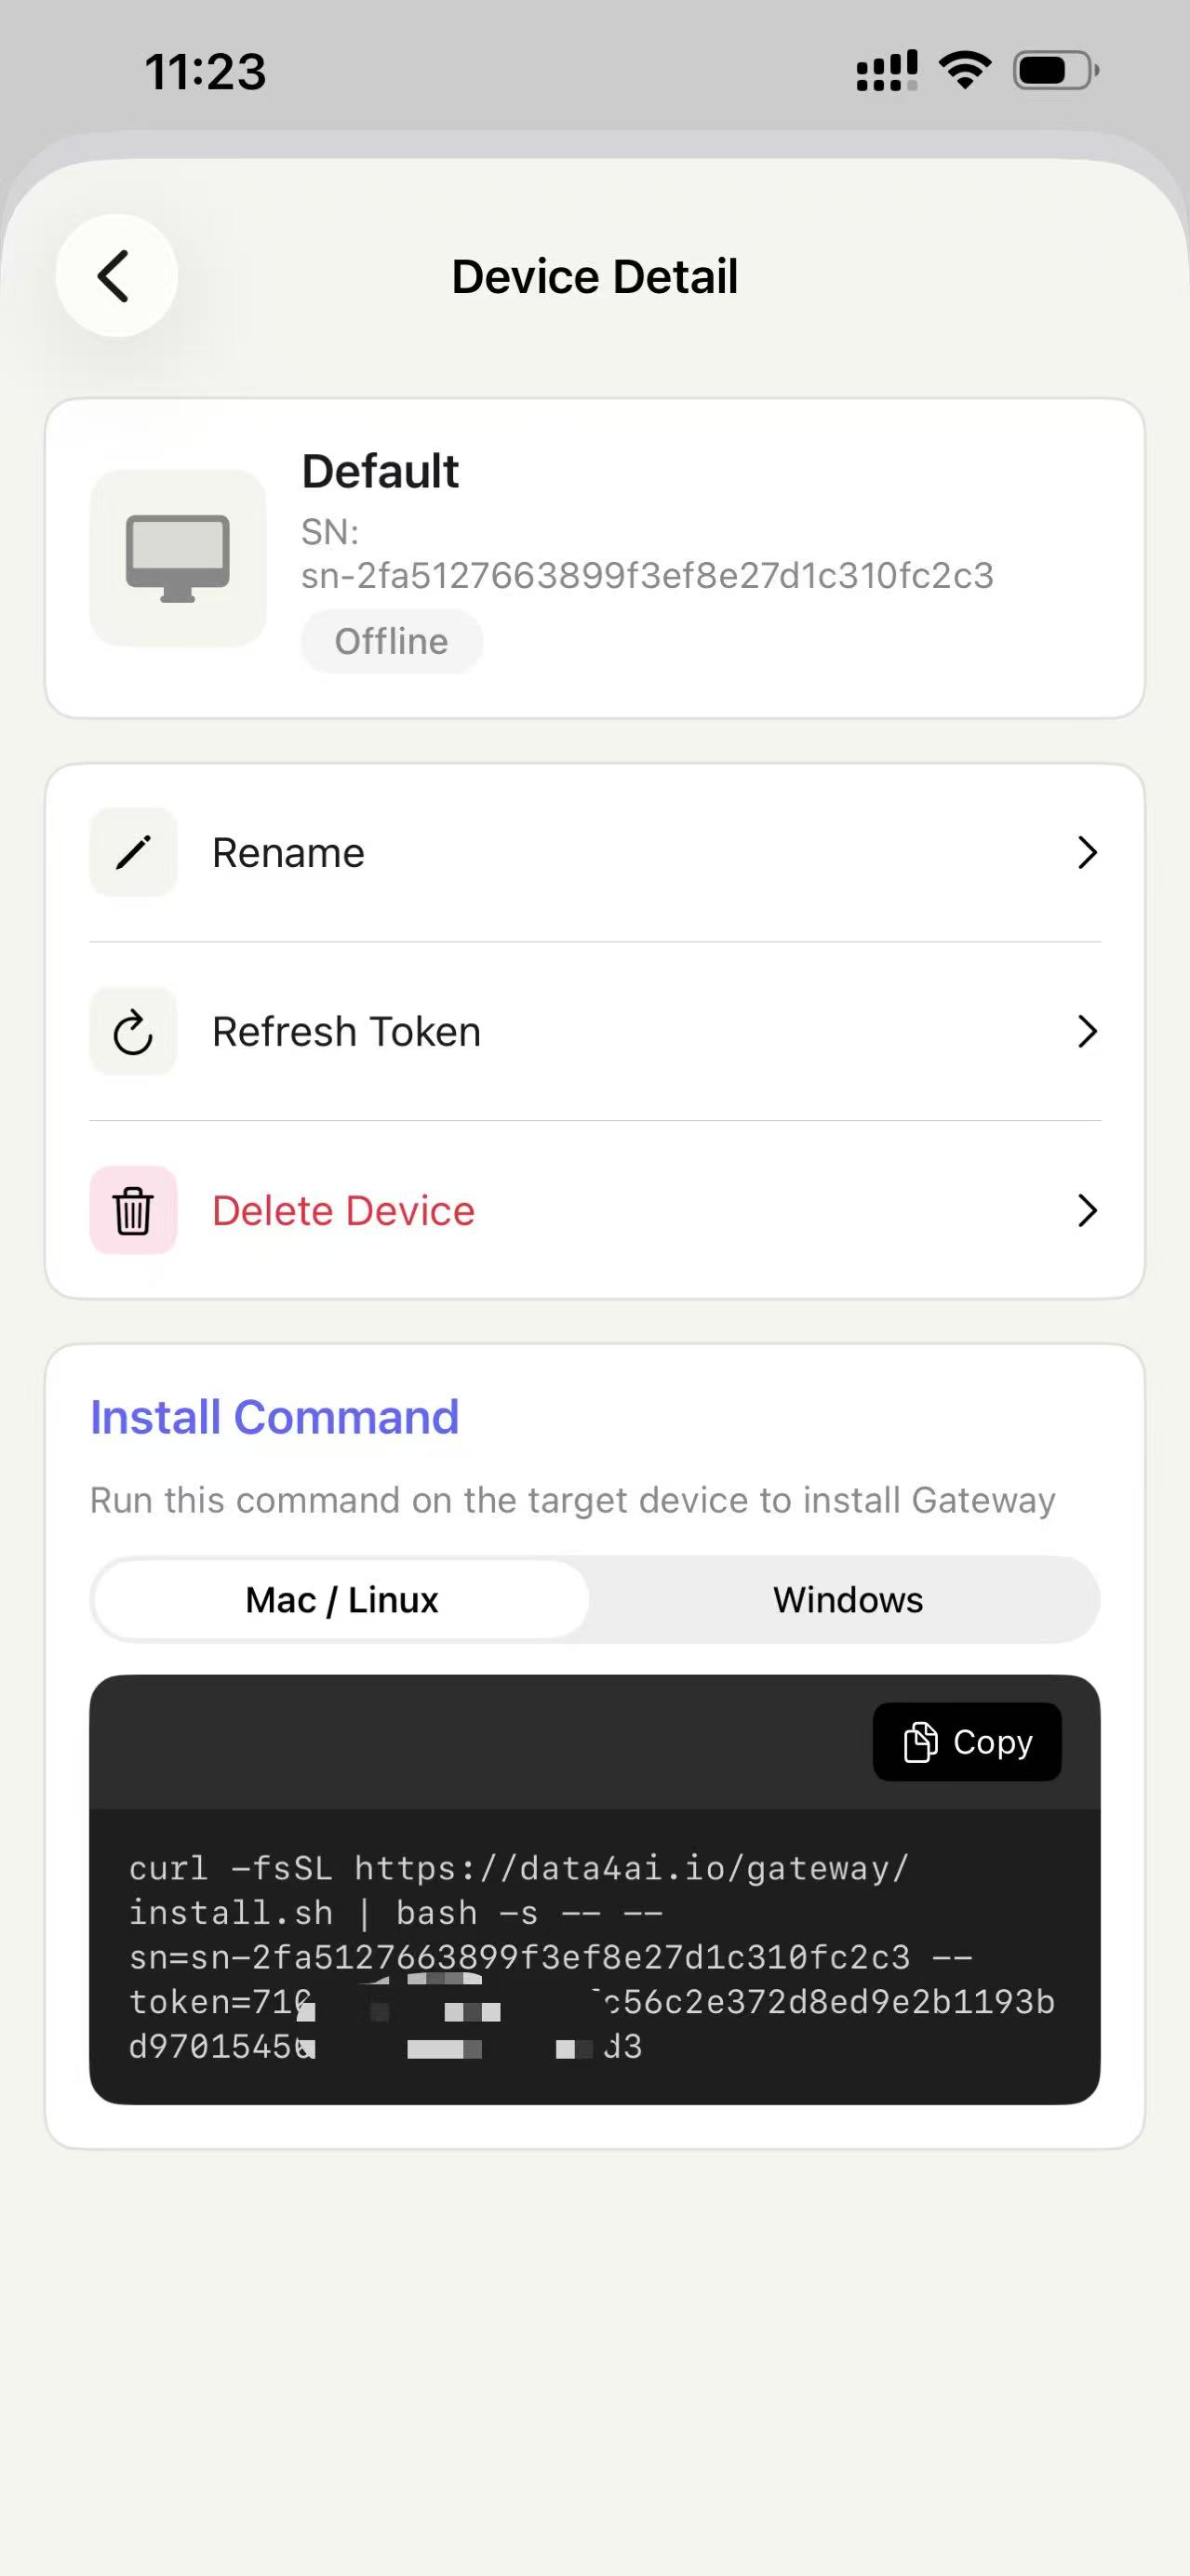
Copy the installation command and run it on your machine. But please note: protect your device token!
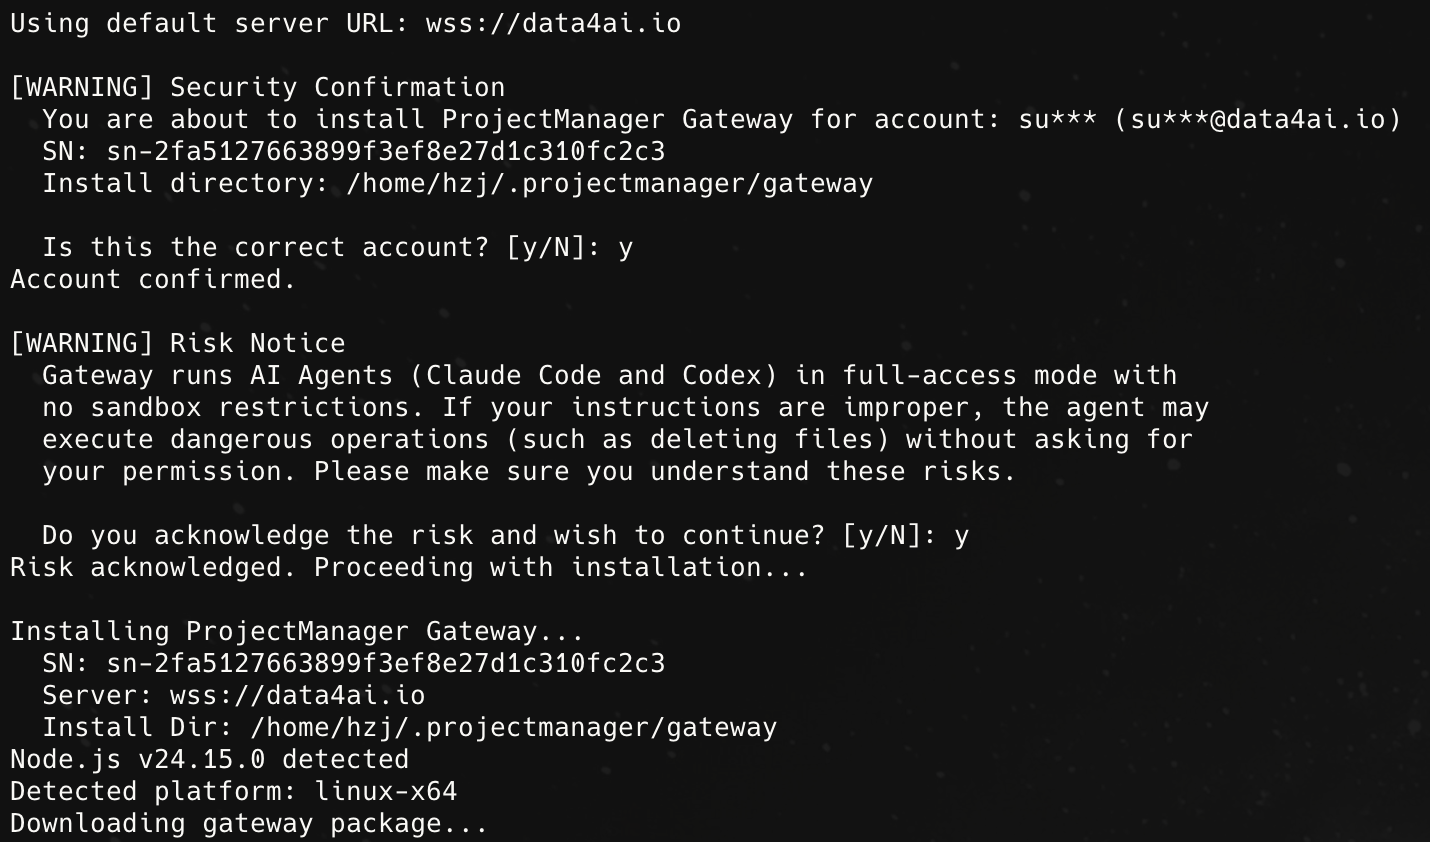
Follow the instructions to install Gateway, for example:
If you see the error “Error: Node.js 20+ is required but not installed.”, please refer to https://nodejs.org/en/download to install it. Node.js 24 or higher is recommended.
Agent Installation
On the computer where Gateway is running, you need to install Claude Code (recommended because it supports rollback) or Codex Cli. Here are the installation commands:
Claude Code:
npm install -g @anthropic-ai/claude-code
Codex Cli:
npm install -g @openai/codex
After Gateway and Agent are successfully installed, you can see them in the client:
Model Settings
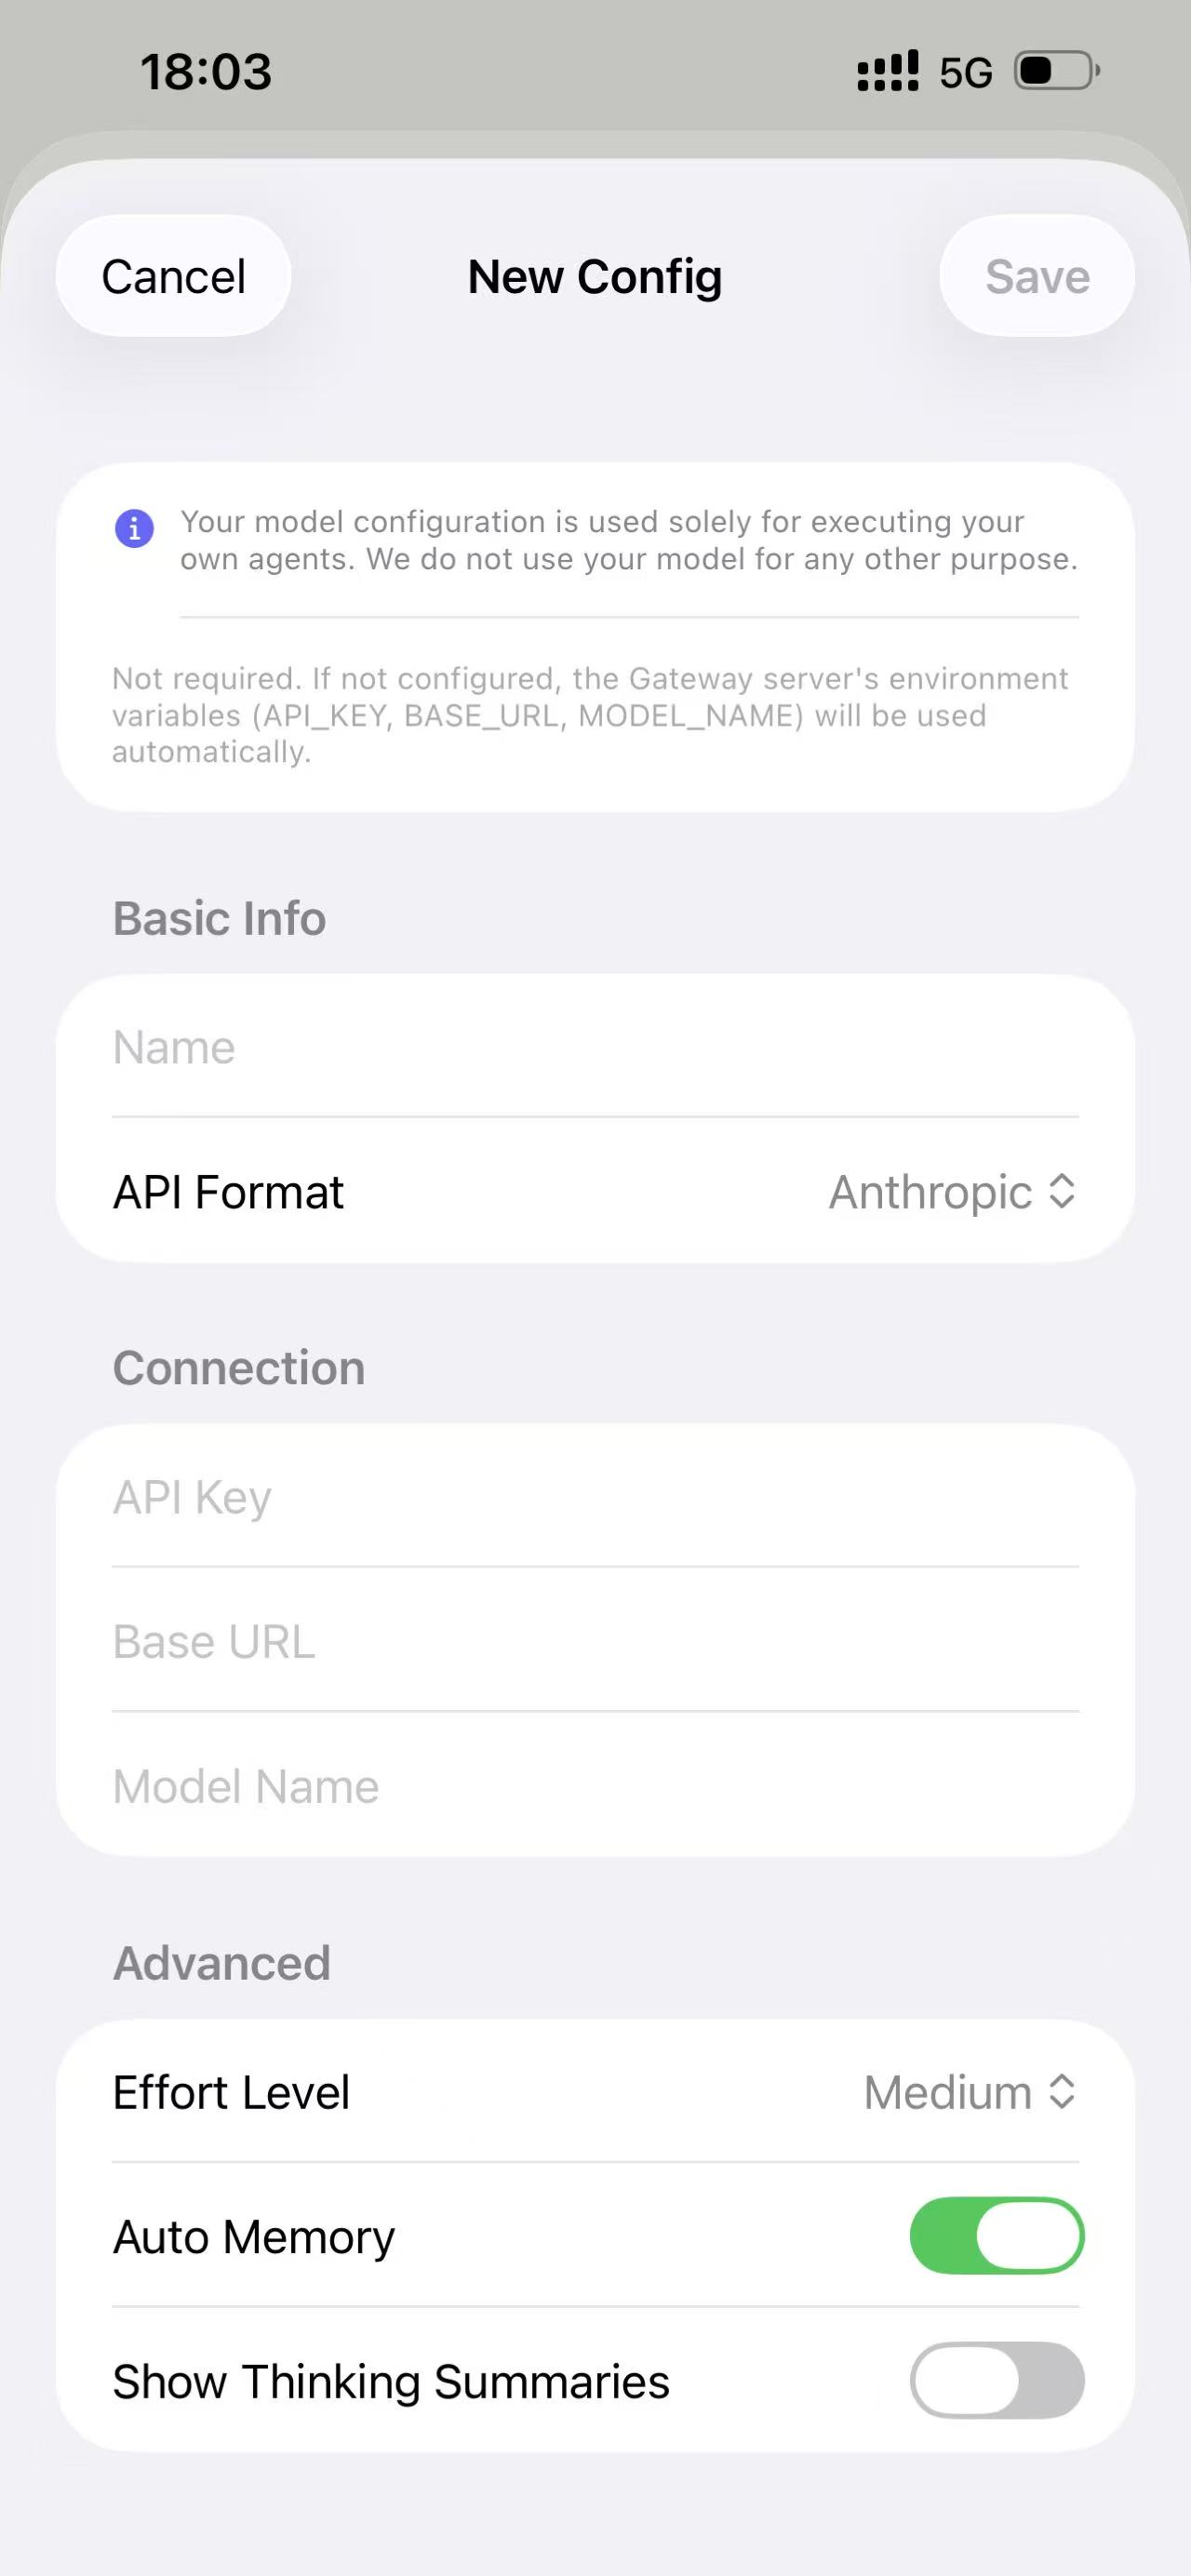
Agents rely on model settings, which you can configure in Wishmere. Wishmere provides project-level and task-level model selection.
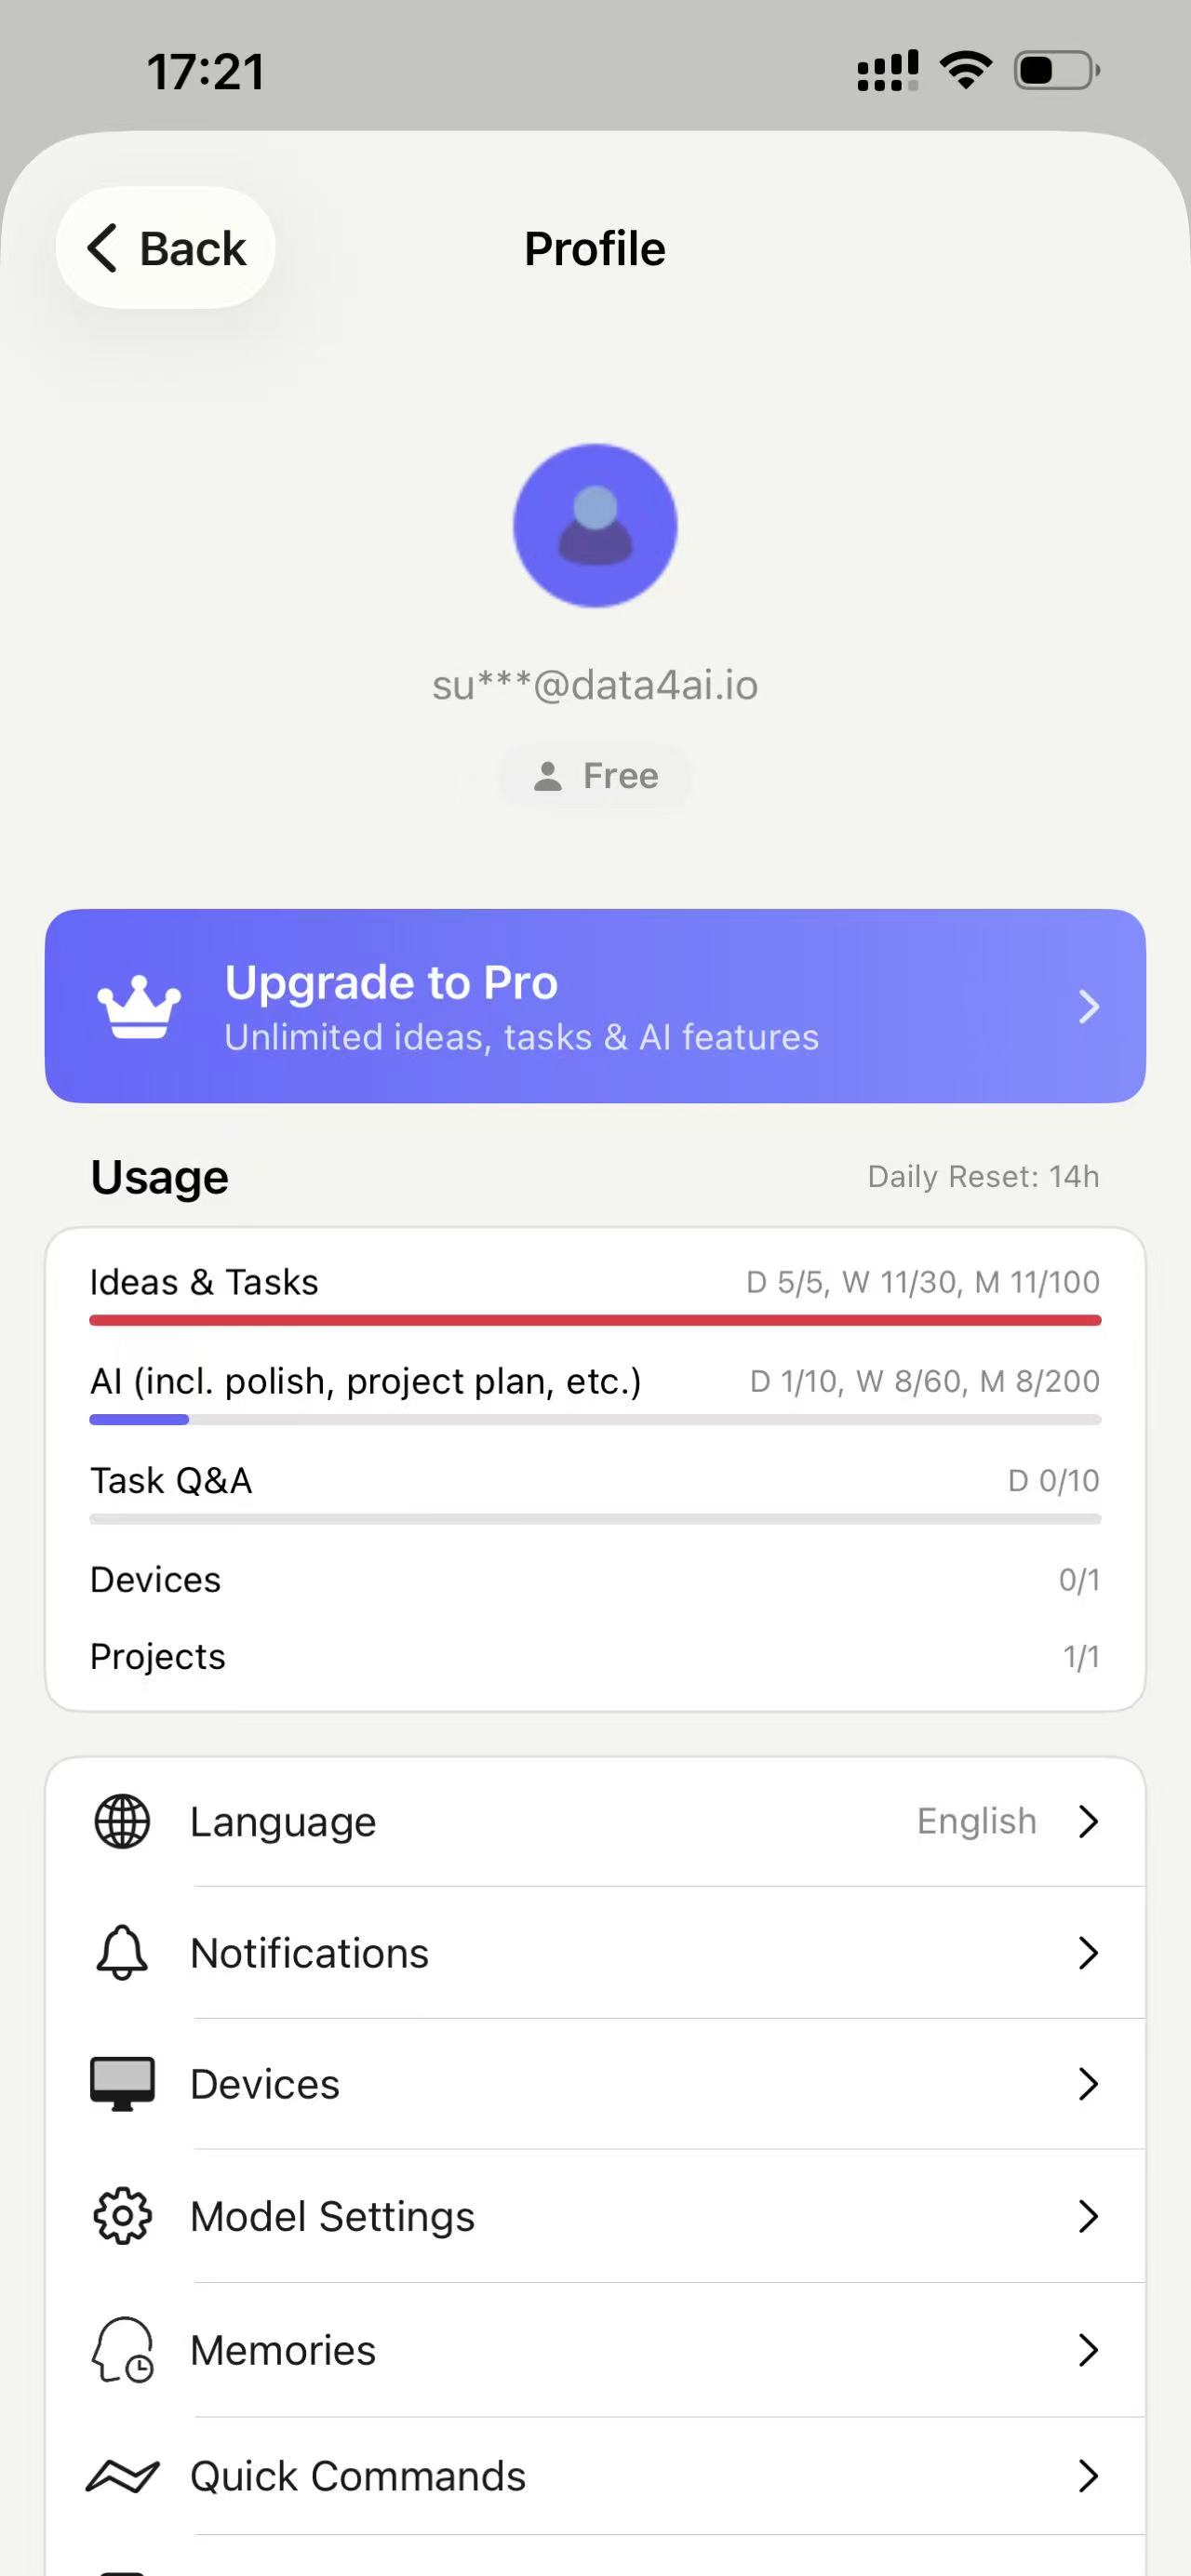
Tap the user avatar in the upper right corner of the home page to find the model settings entry:
Note that Claude Code uses the Anthropic API format, while Codex Cli uses the OpenAI API format.
After settings are configured, re-enter the project details page - edit, where you can select an Agent and model.
Tasks
After setting up the Agent and model, when you re-enter the project details, you should see the Agent and model names.
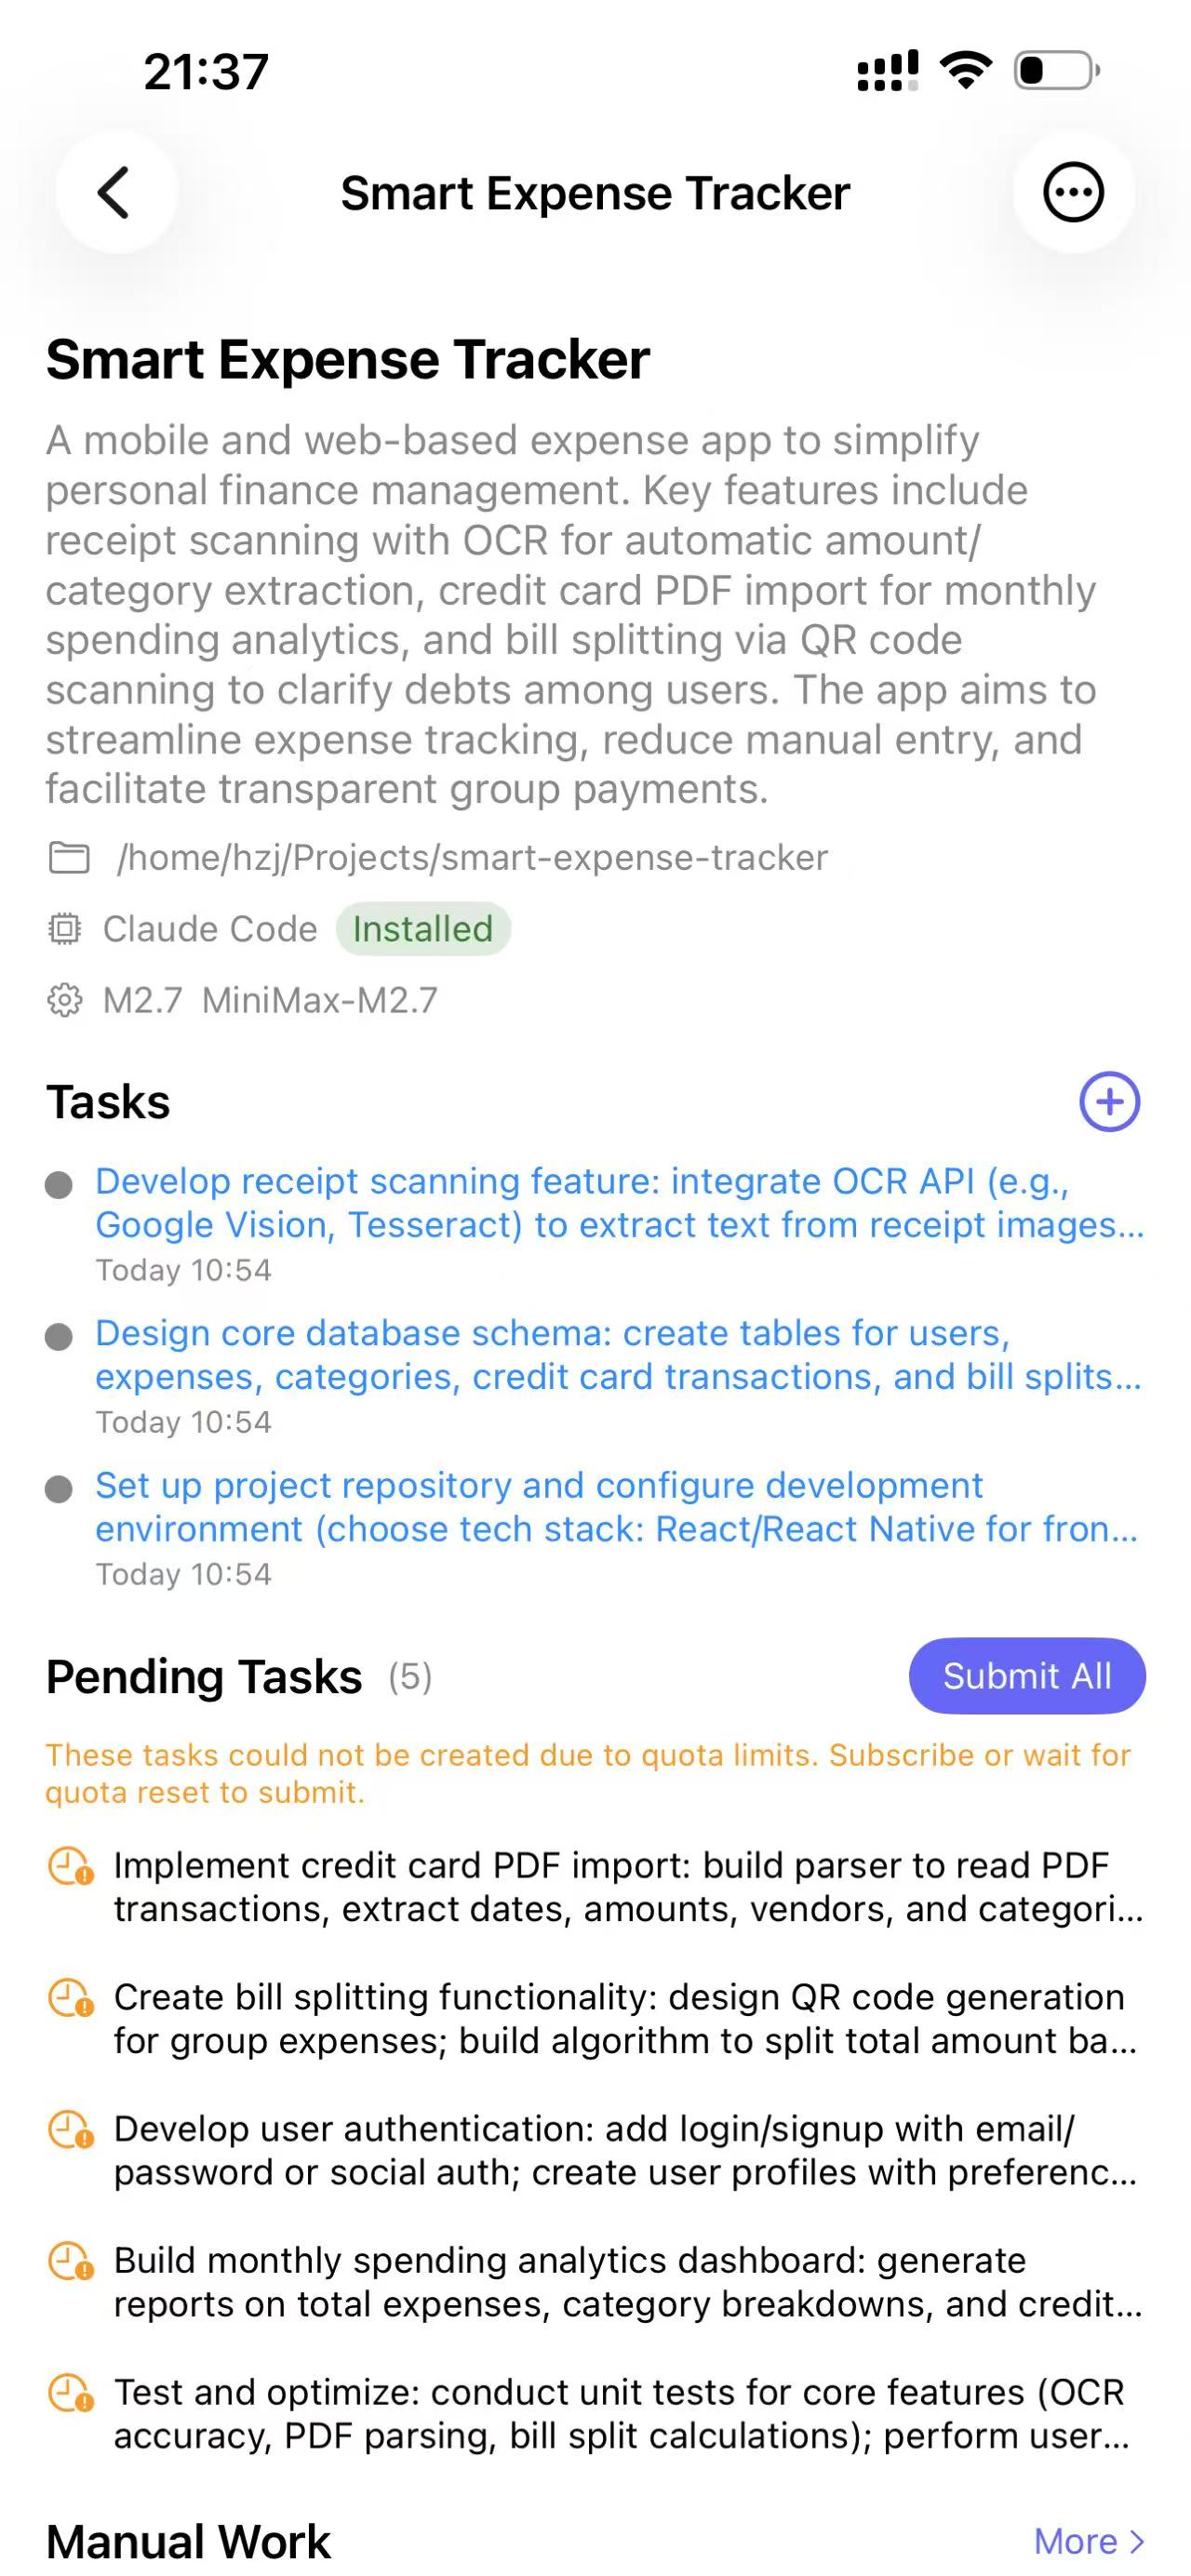
Then select a specific task to enter its details page. Tasks in draft status can be edited by you.
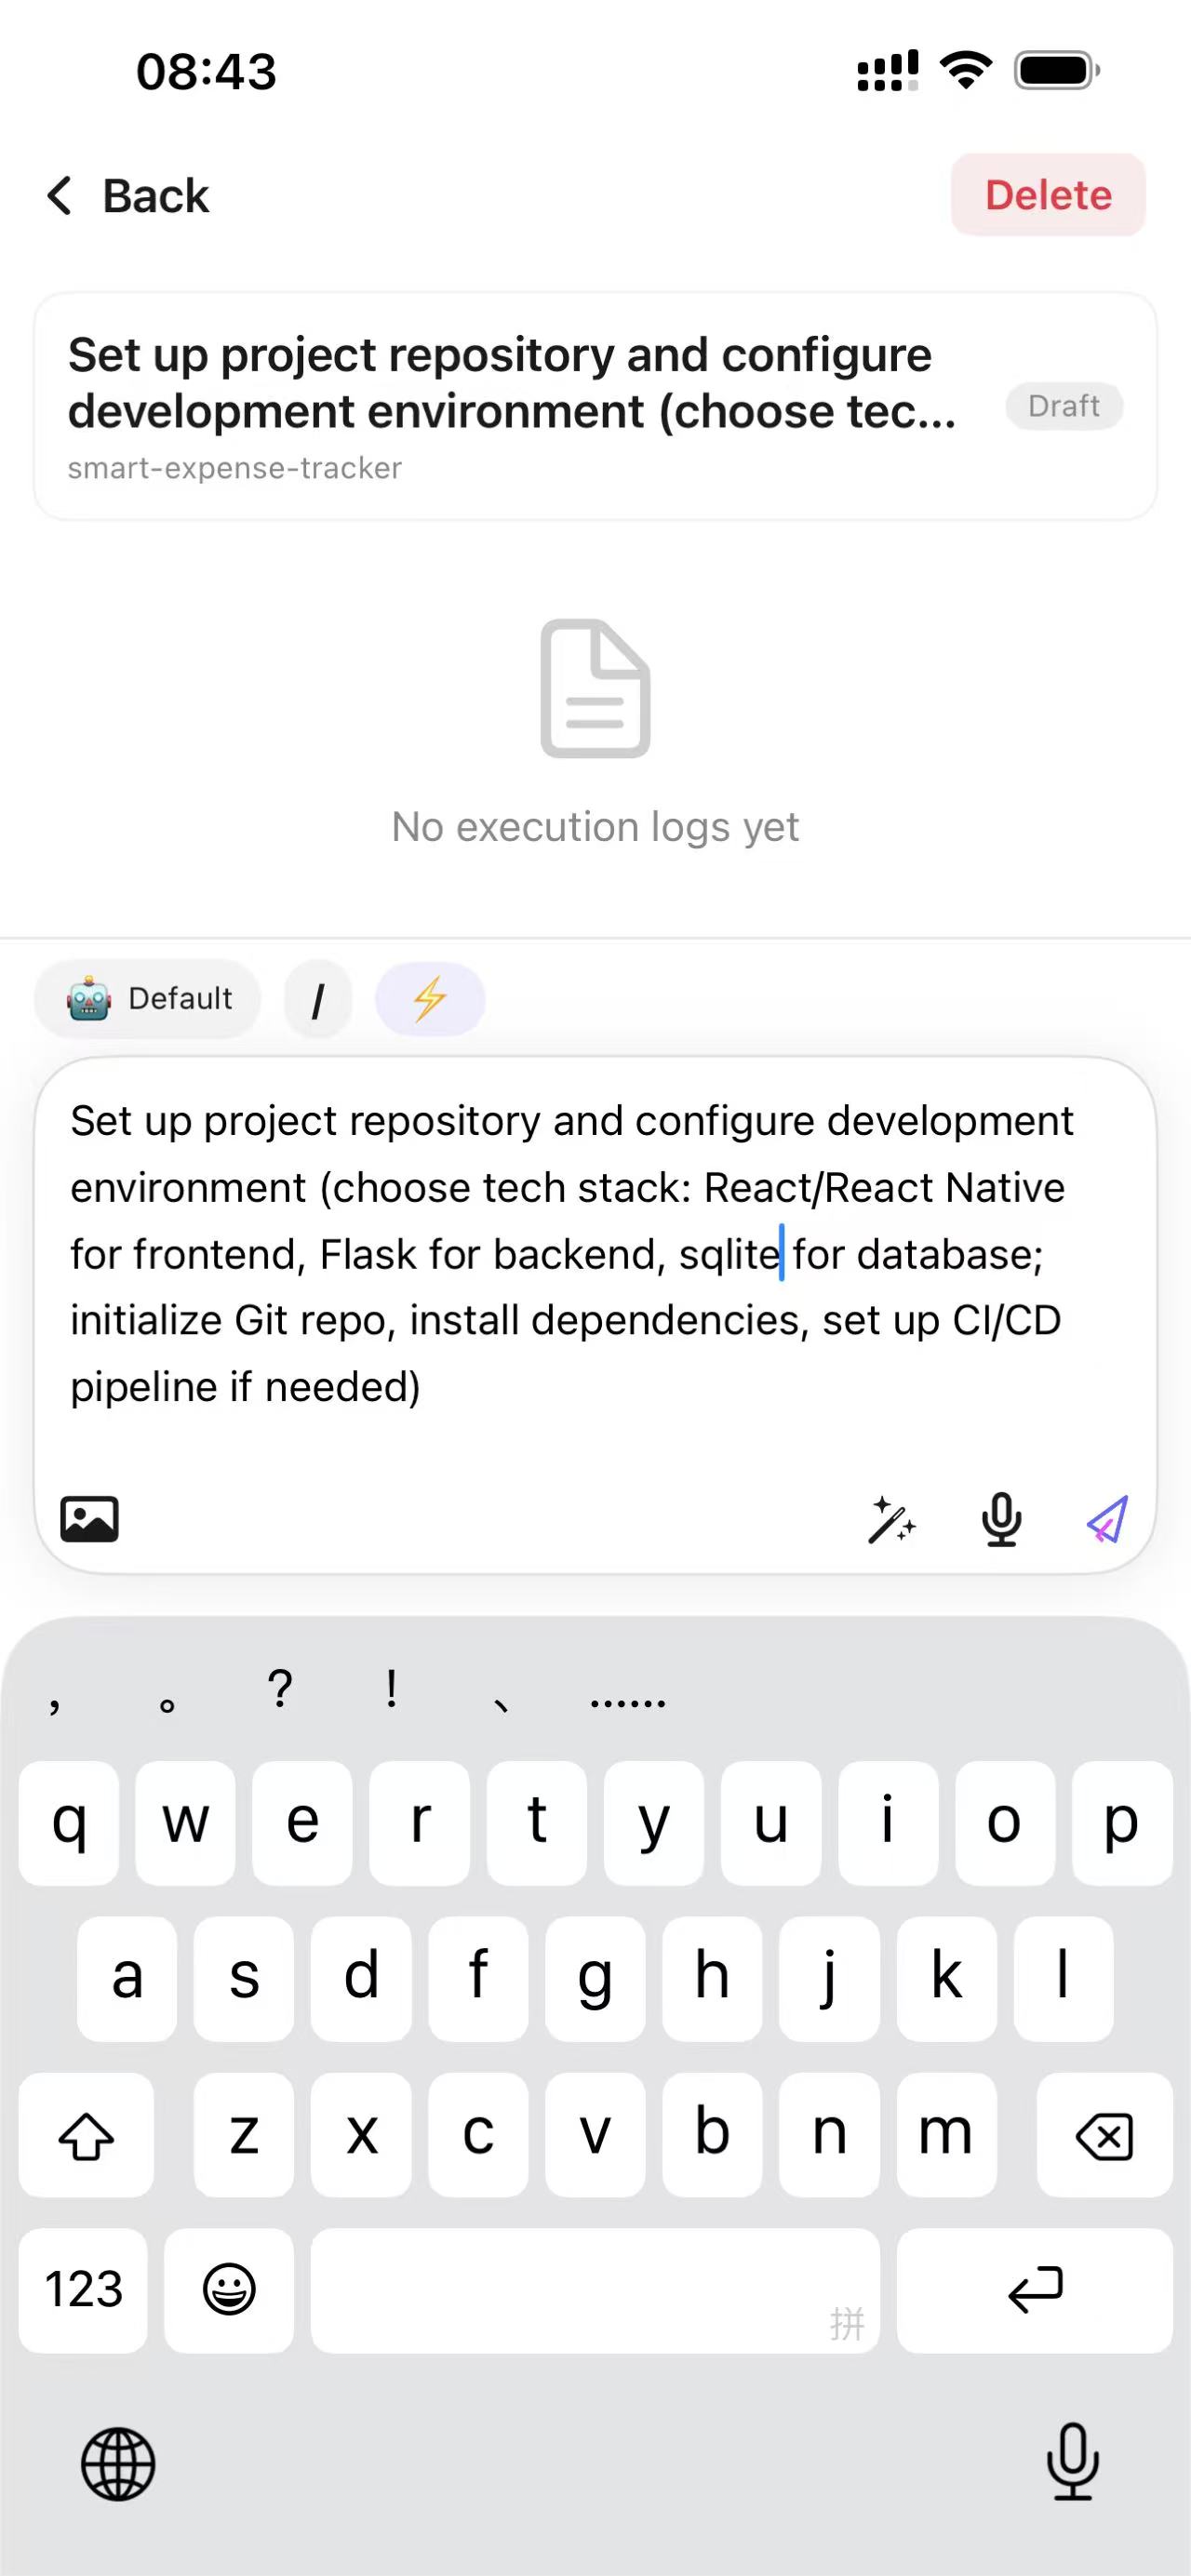
Then tap Send, and the task will be dispatched to your agent via Gateway for execution.
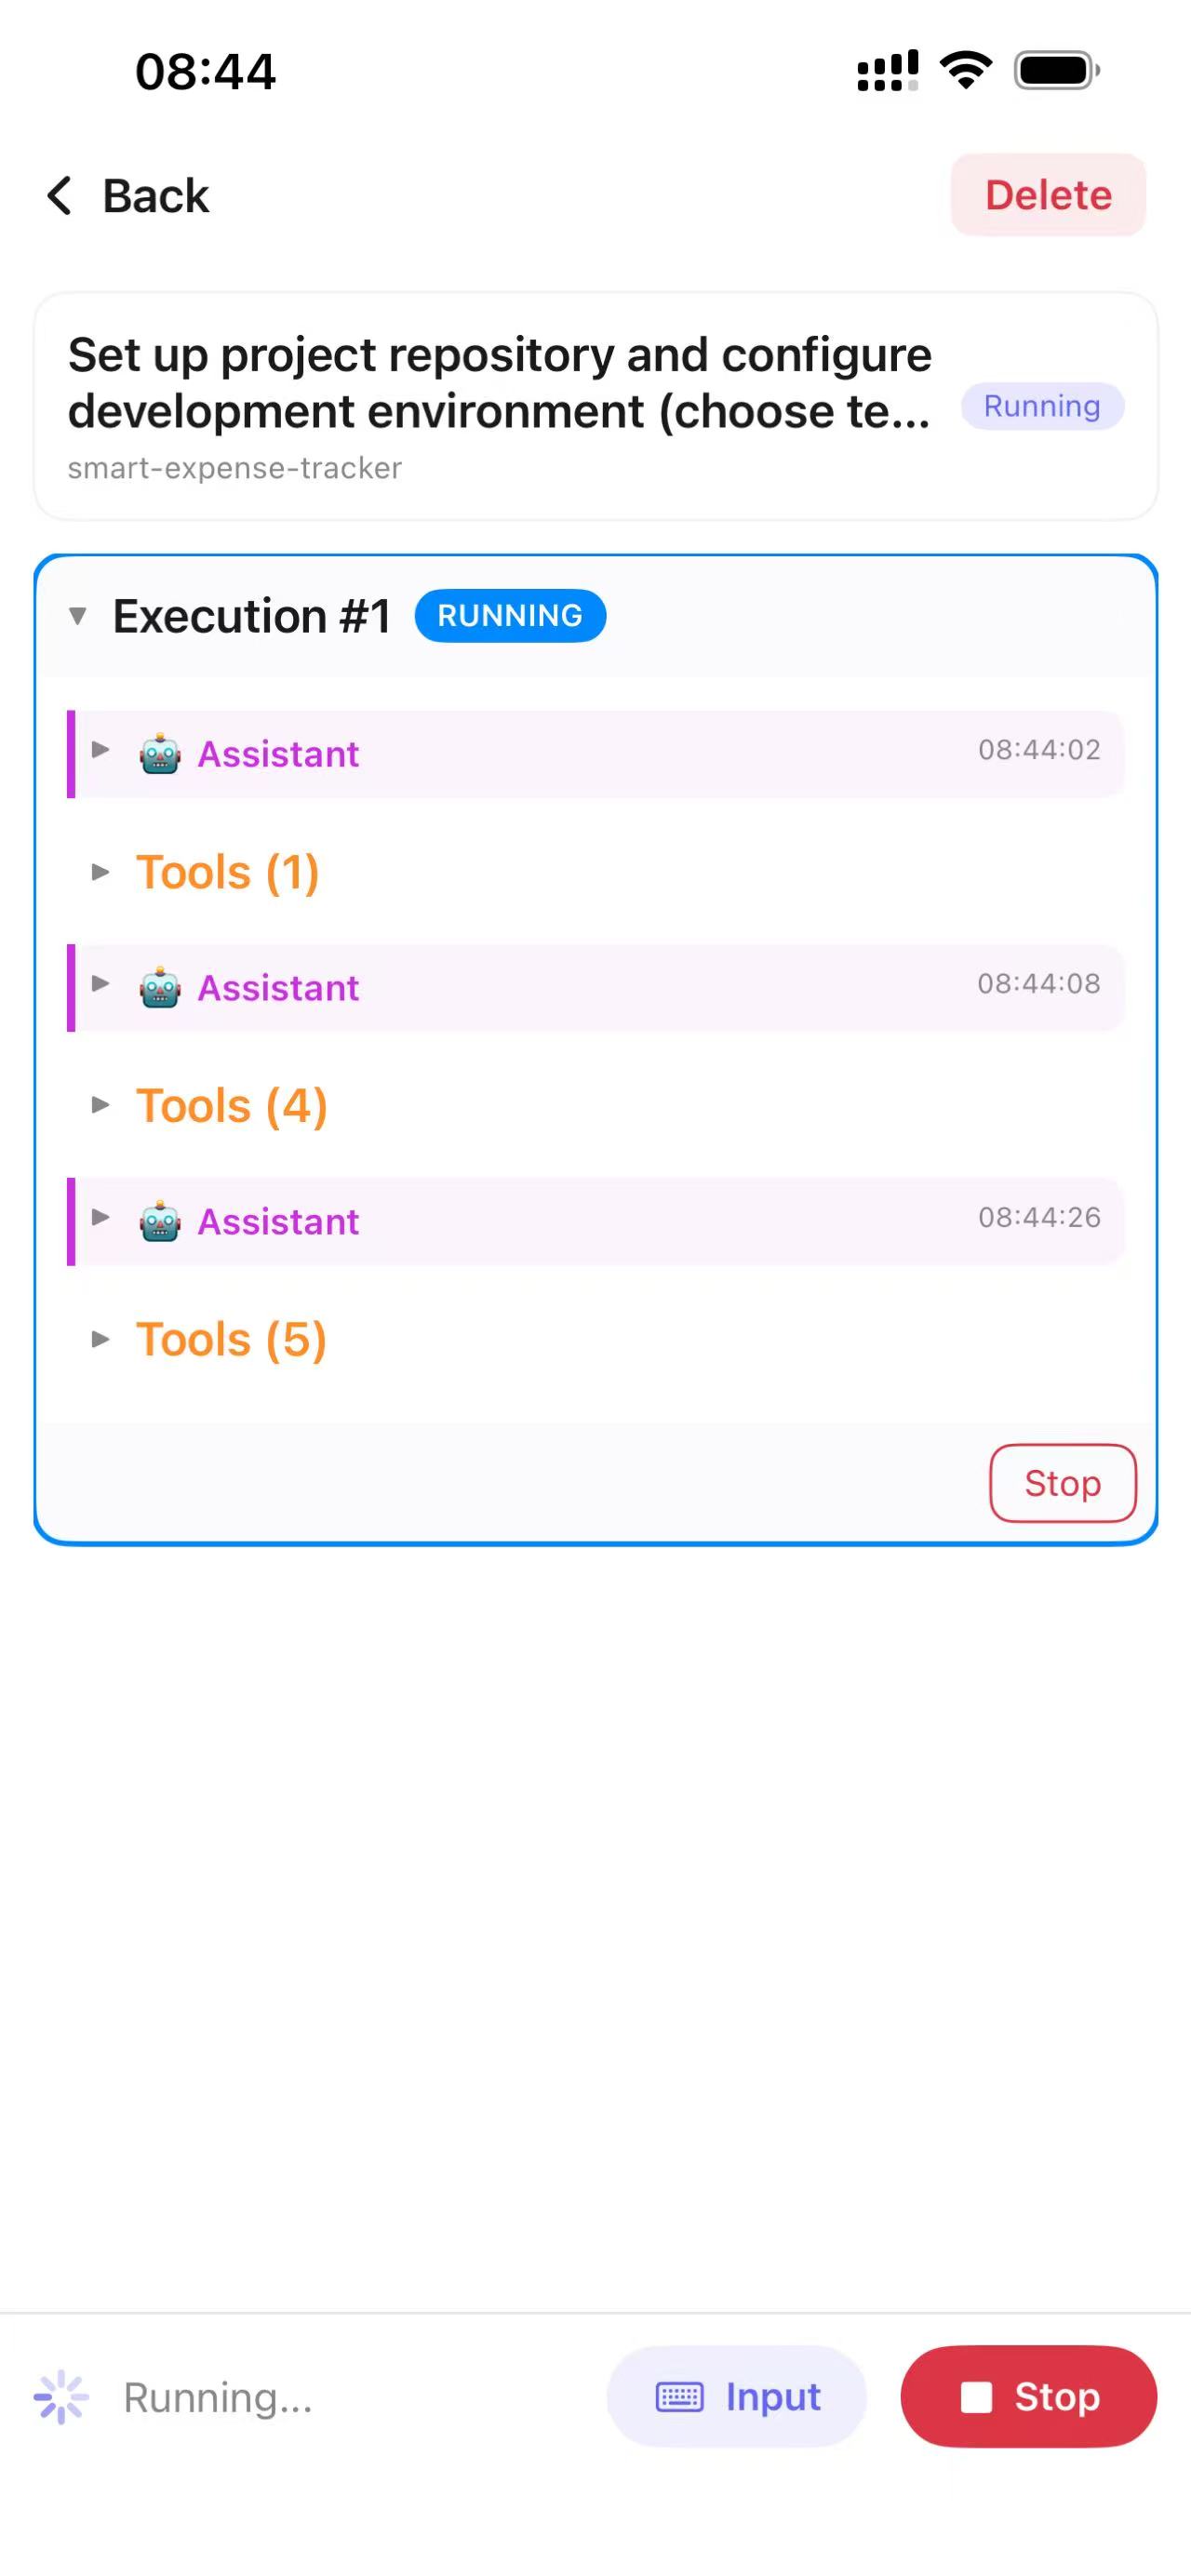
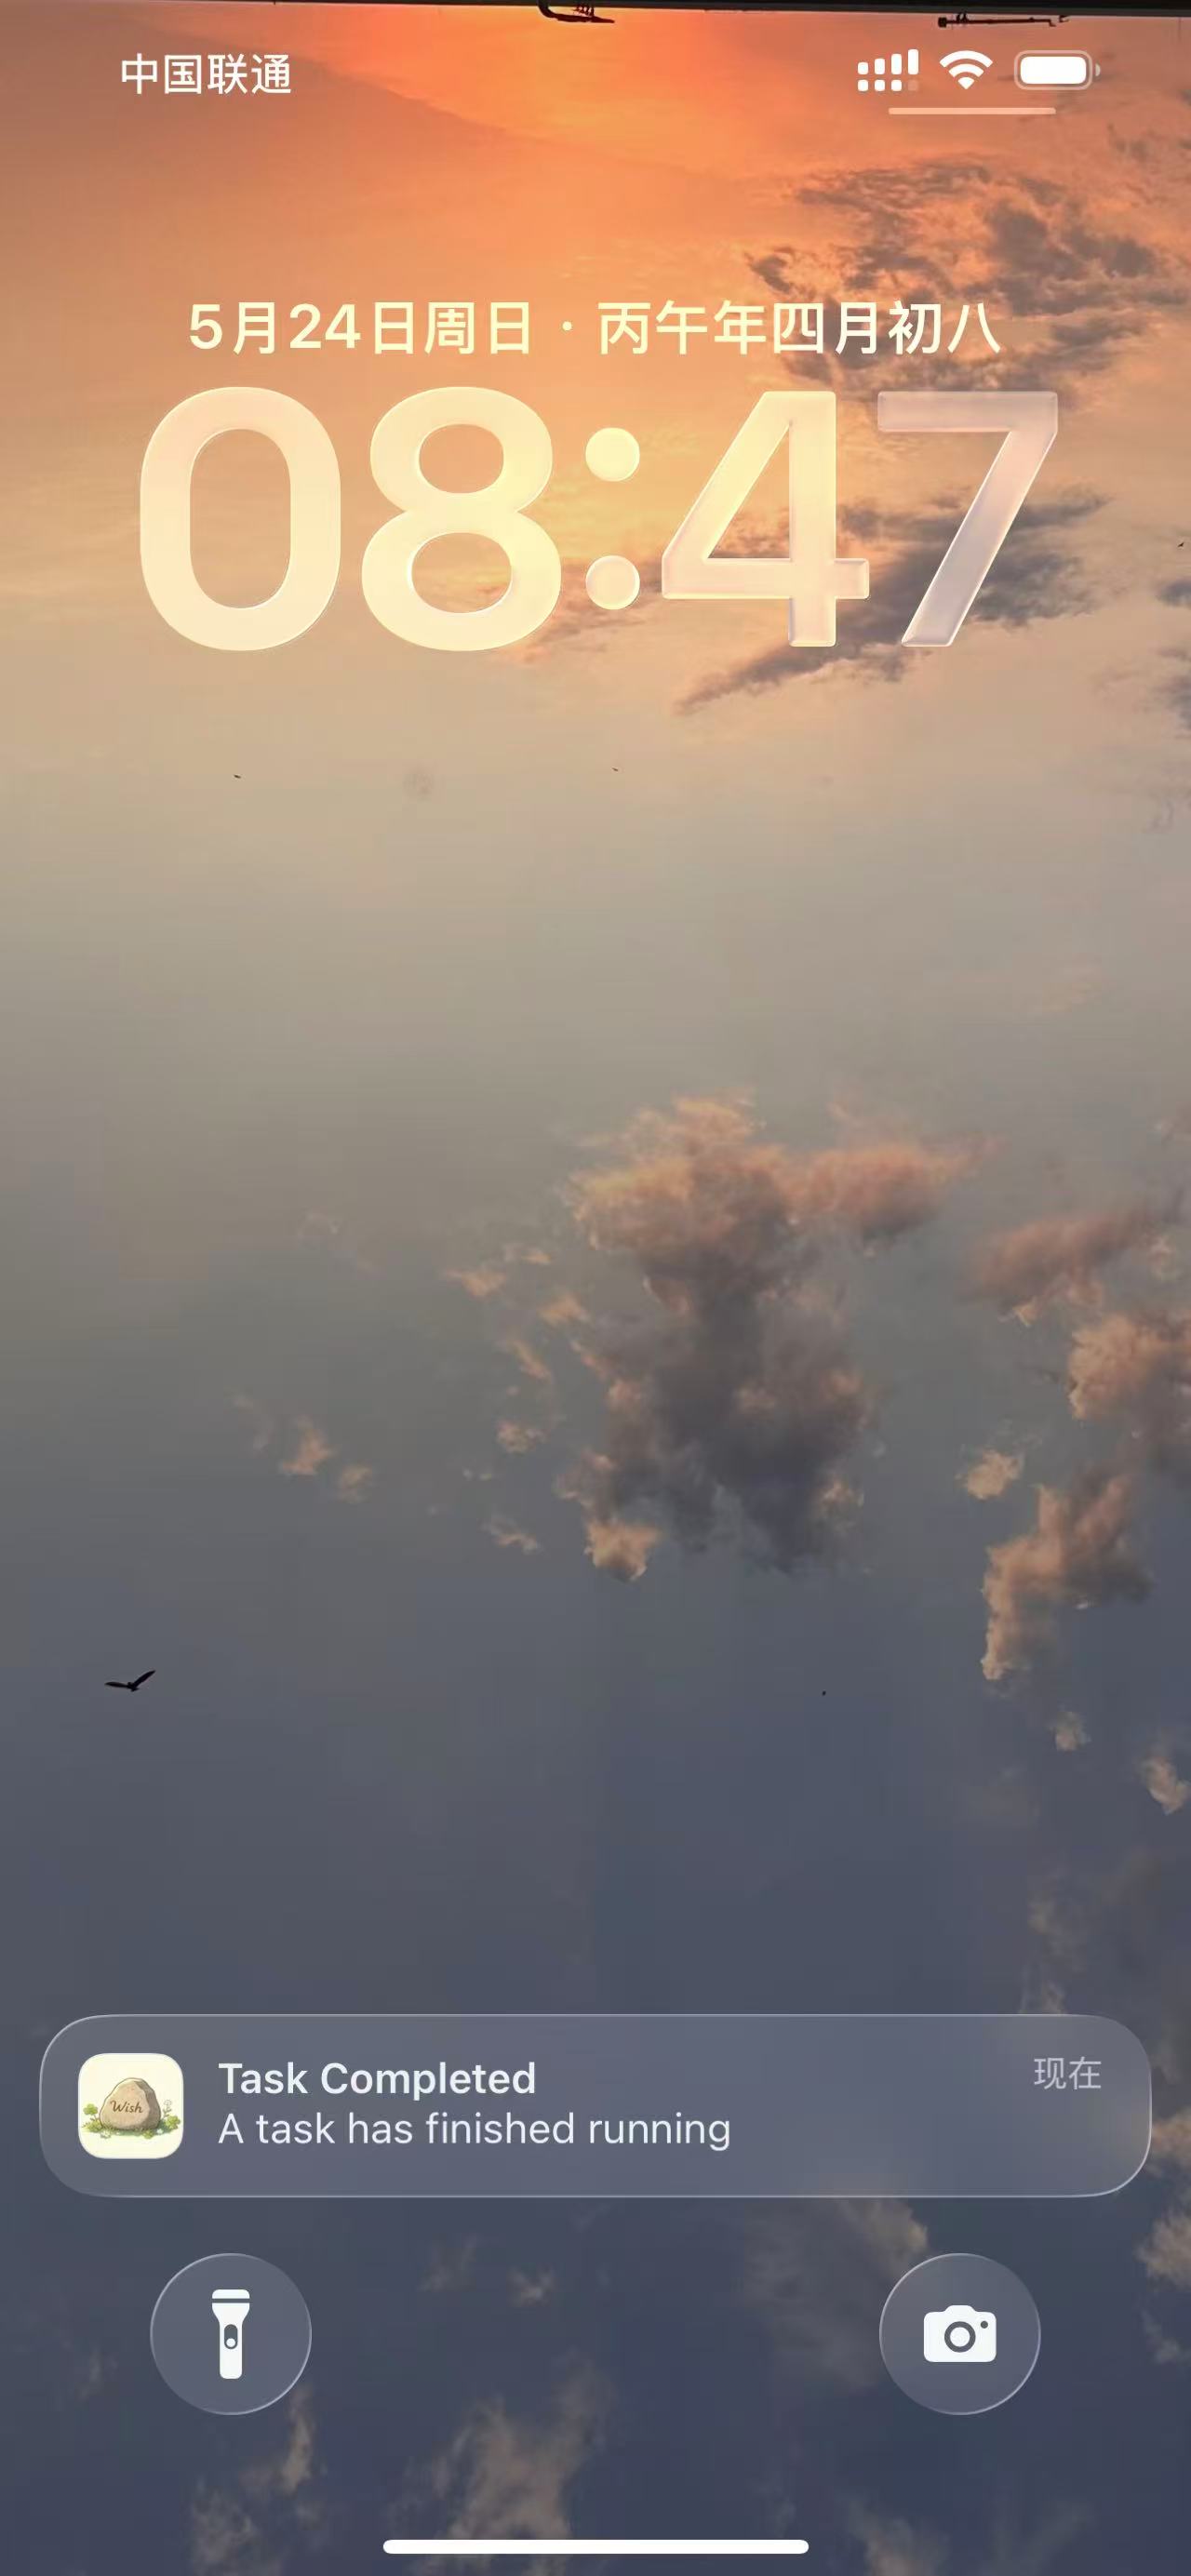
You don’t need to wait on this page. You’ll be notified when the task is complete.
Return to the task details to view the execution results:
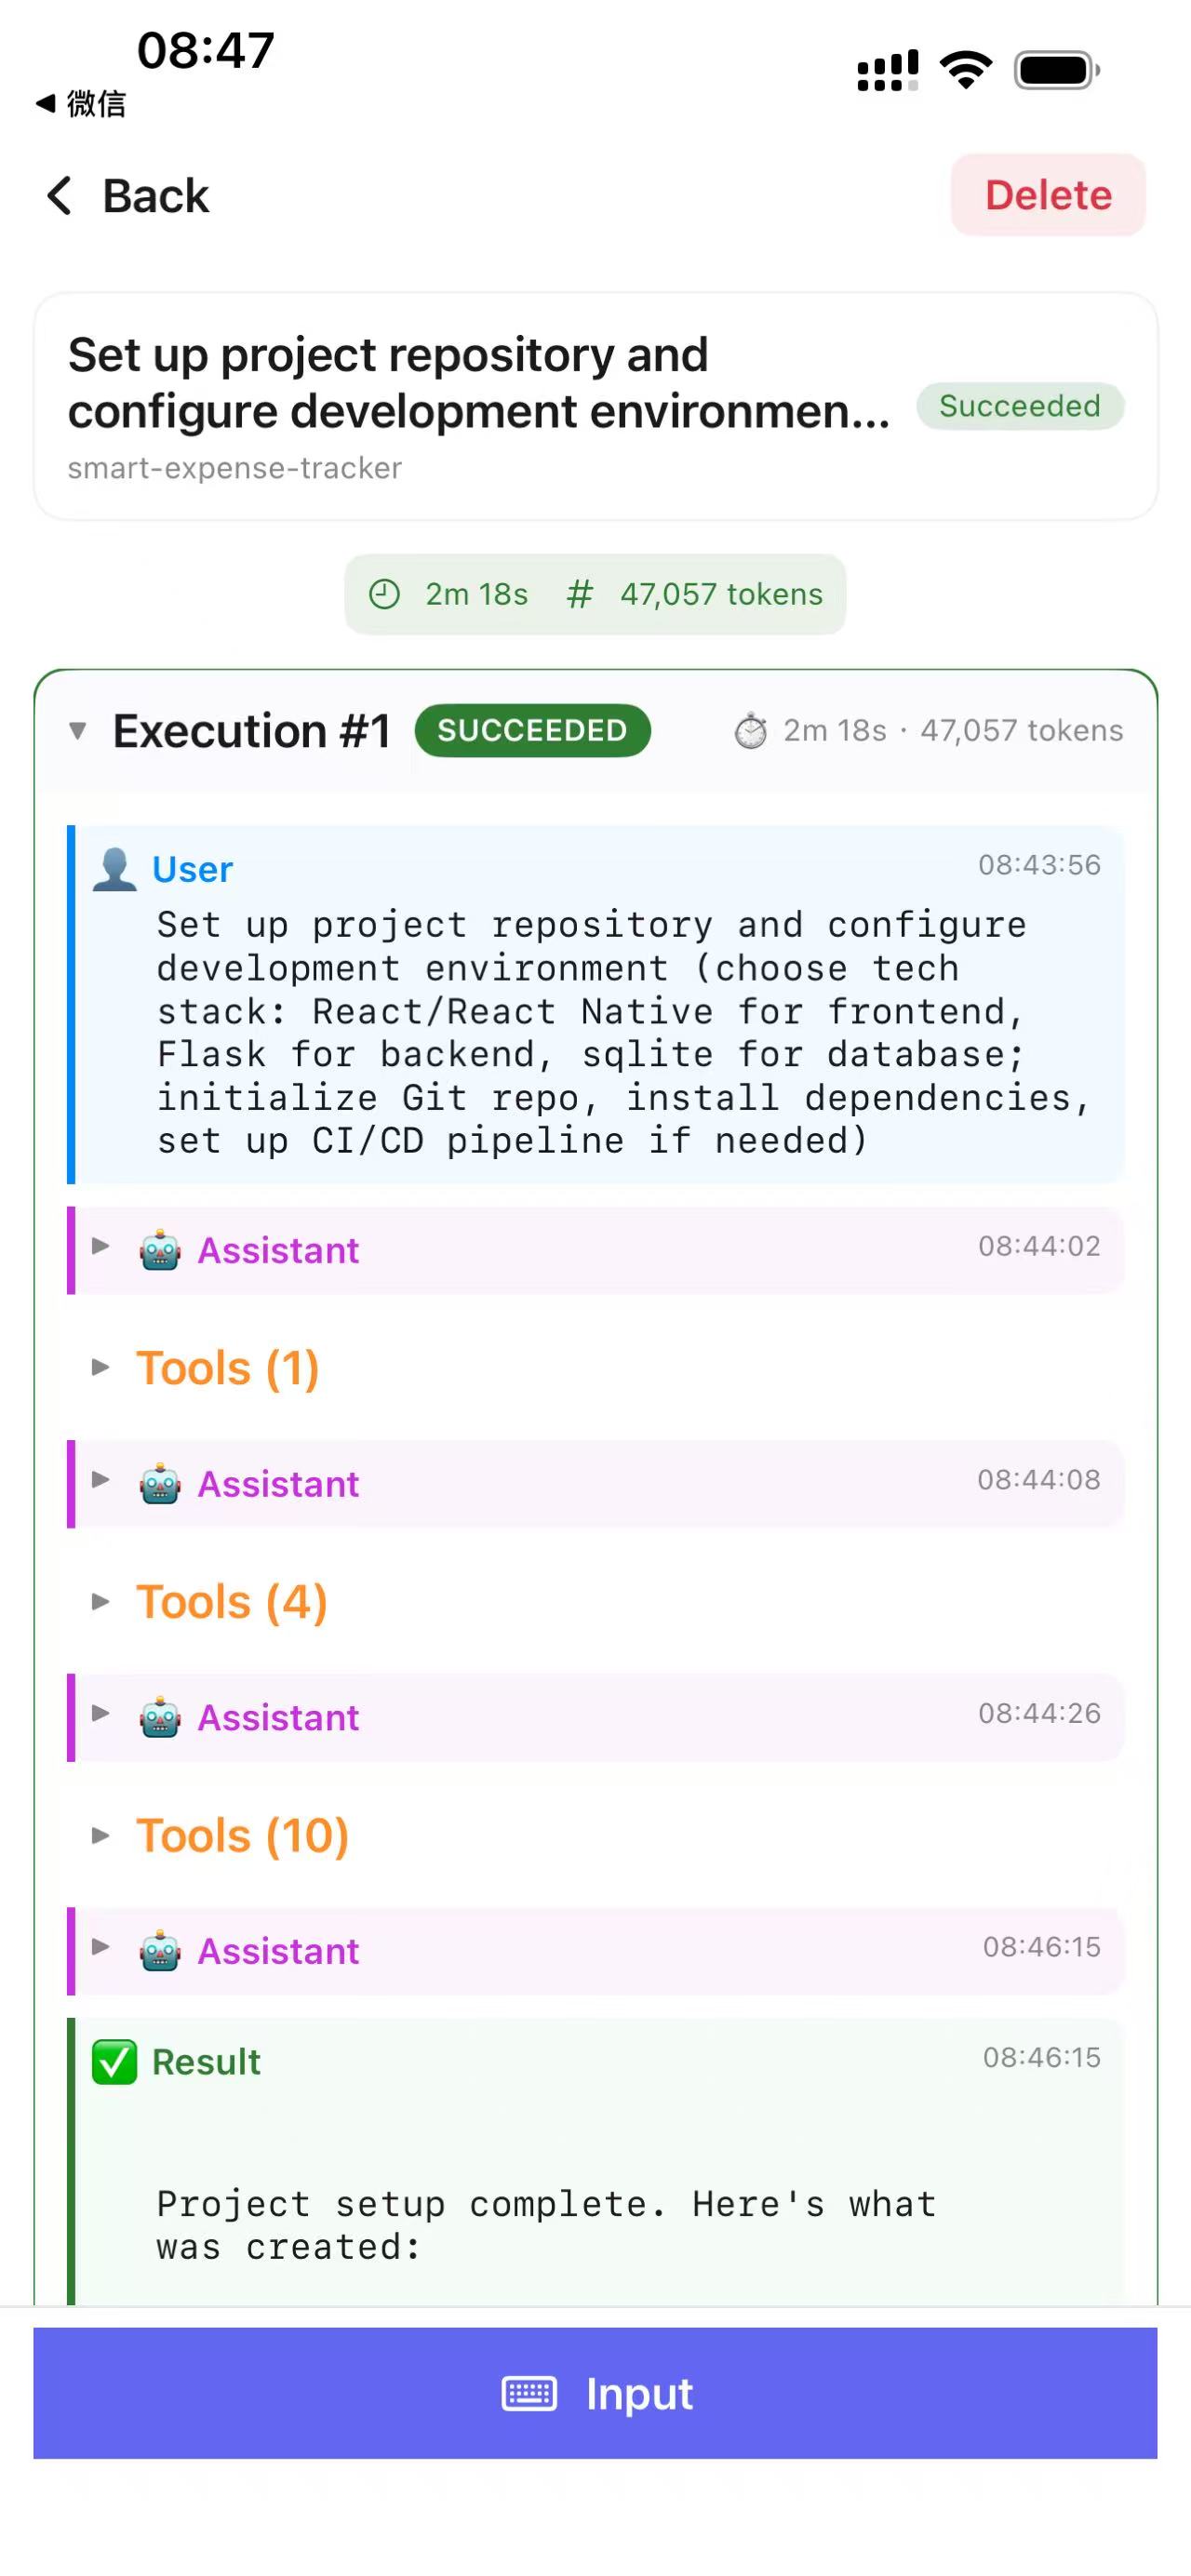
If you’re not satisfied with the results, you can continue to make requests in the task details to have the agent improve them.
Or execute other tasks. Note that different tasks maintain their own contexts (conversations and execution history).
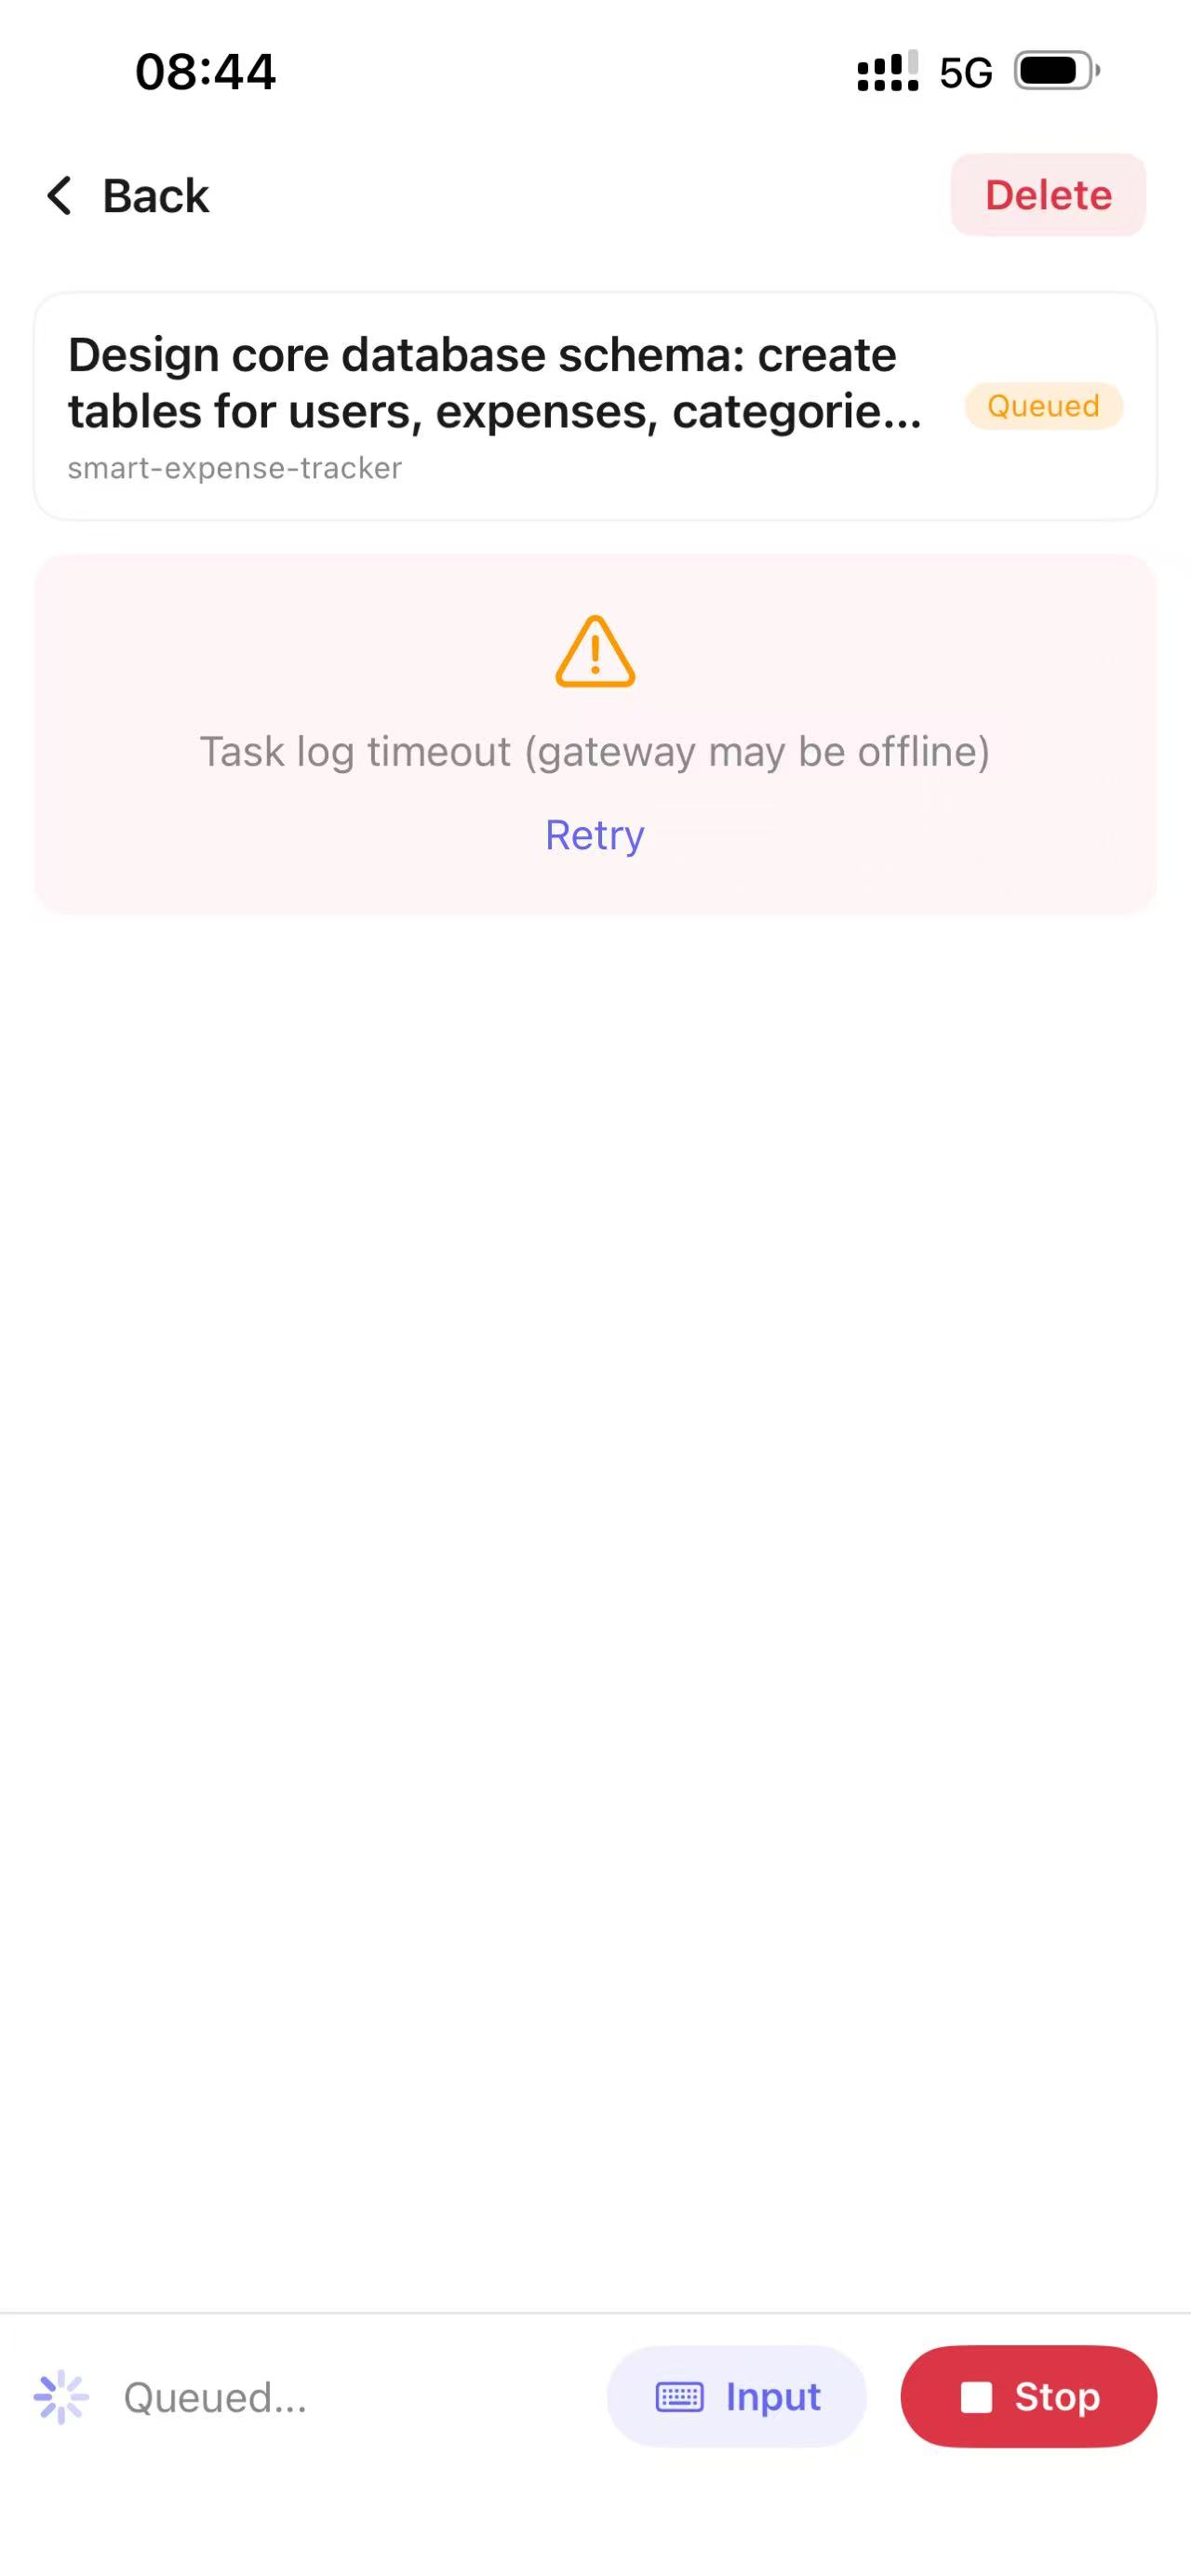
You can retry if the task fails.
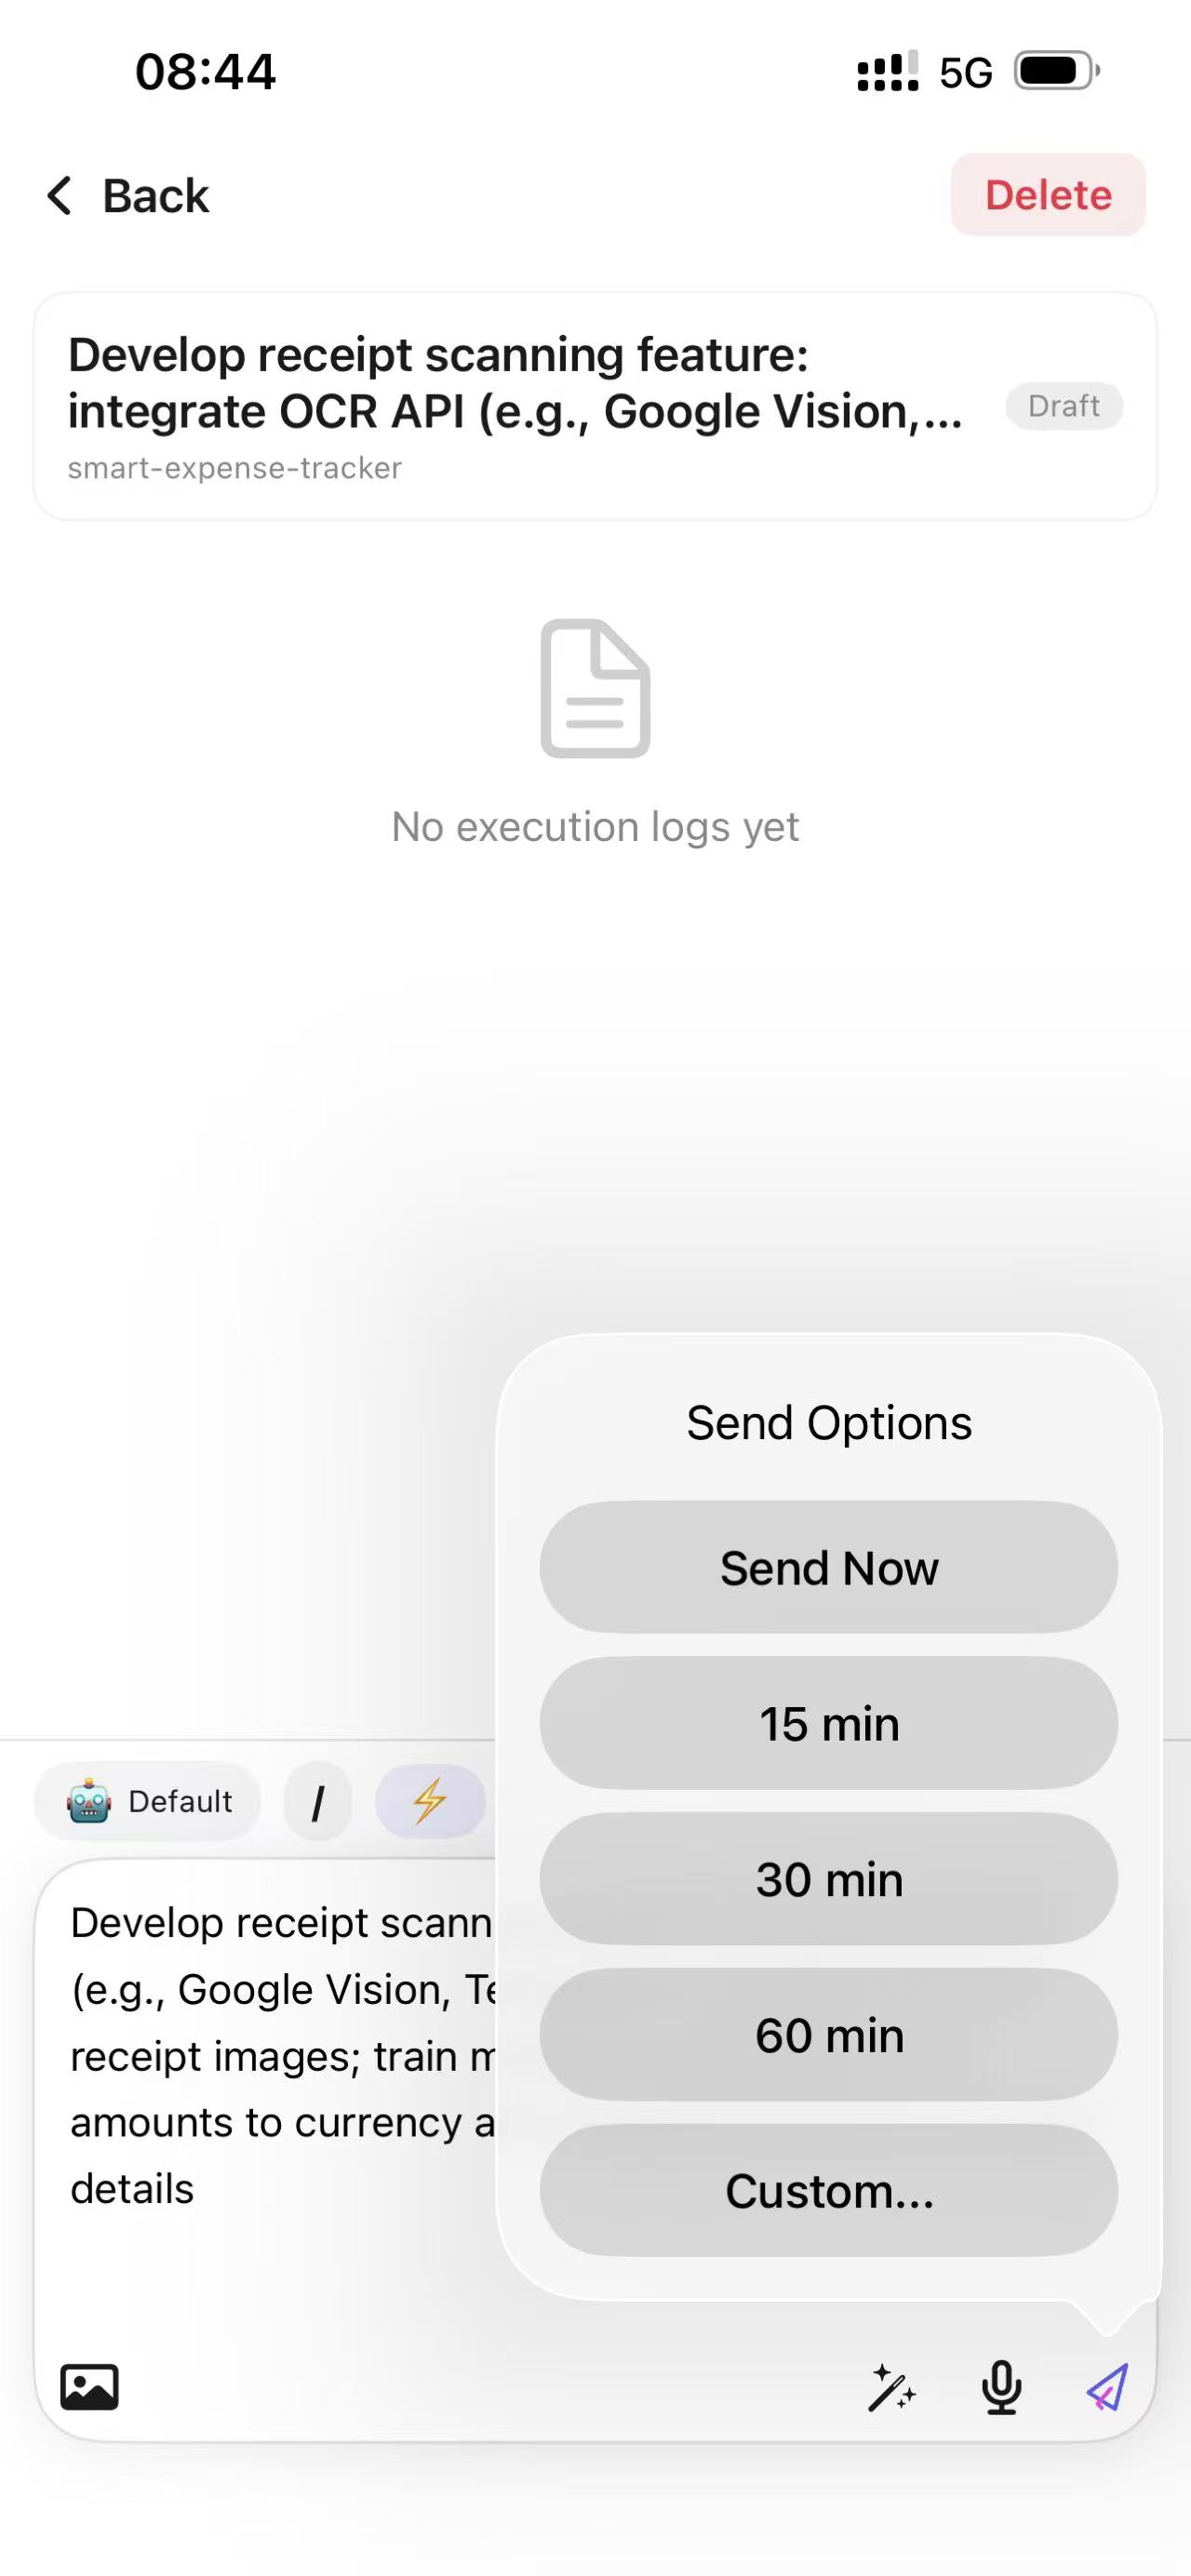
If you want to execute tasks at staggered times, long press the send button to schedule sending.
OTA Upgrade
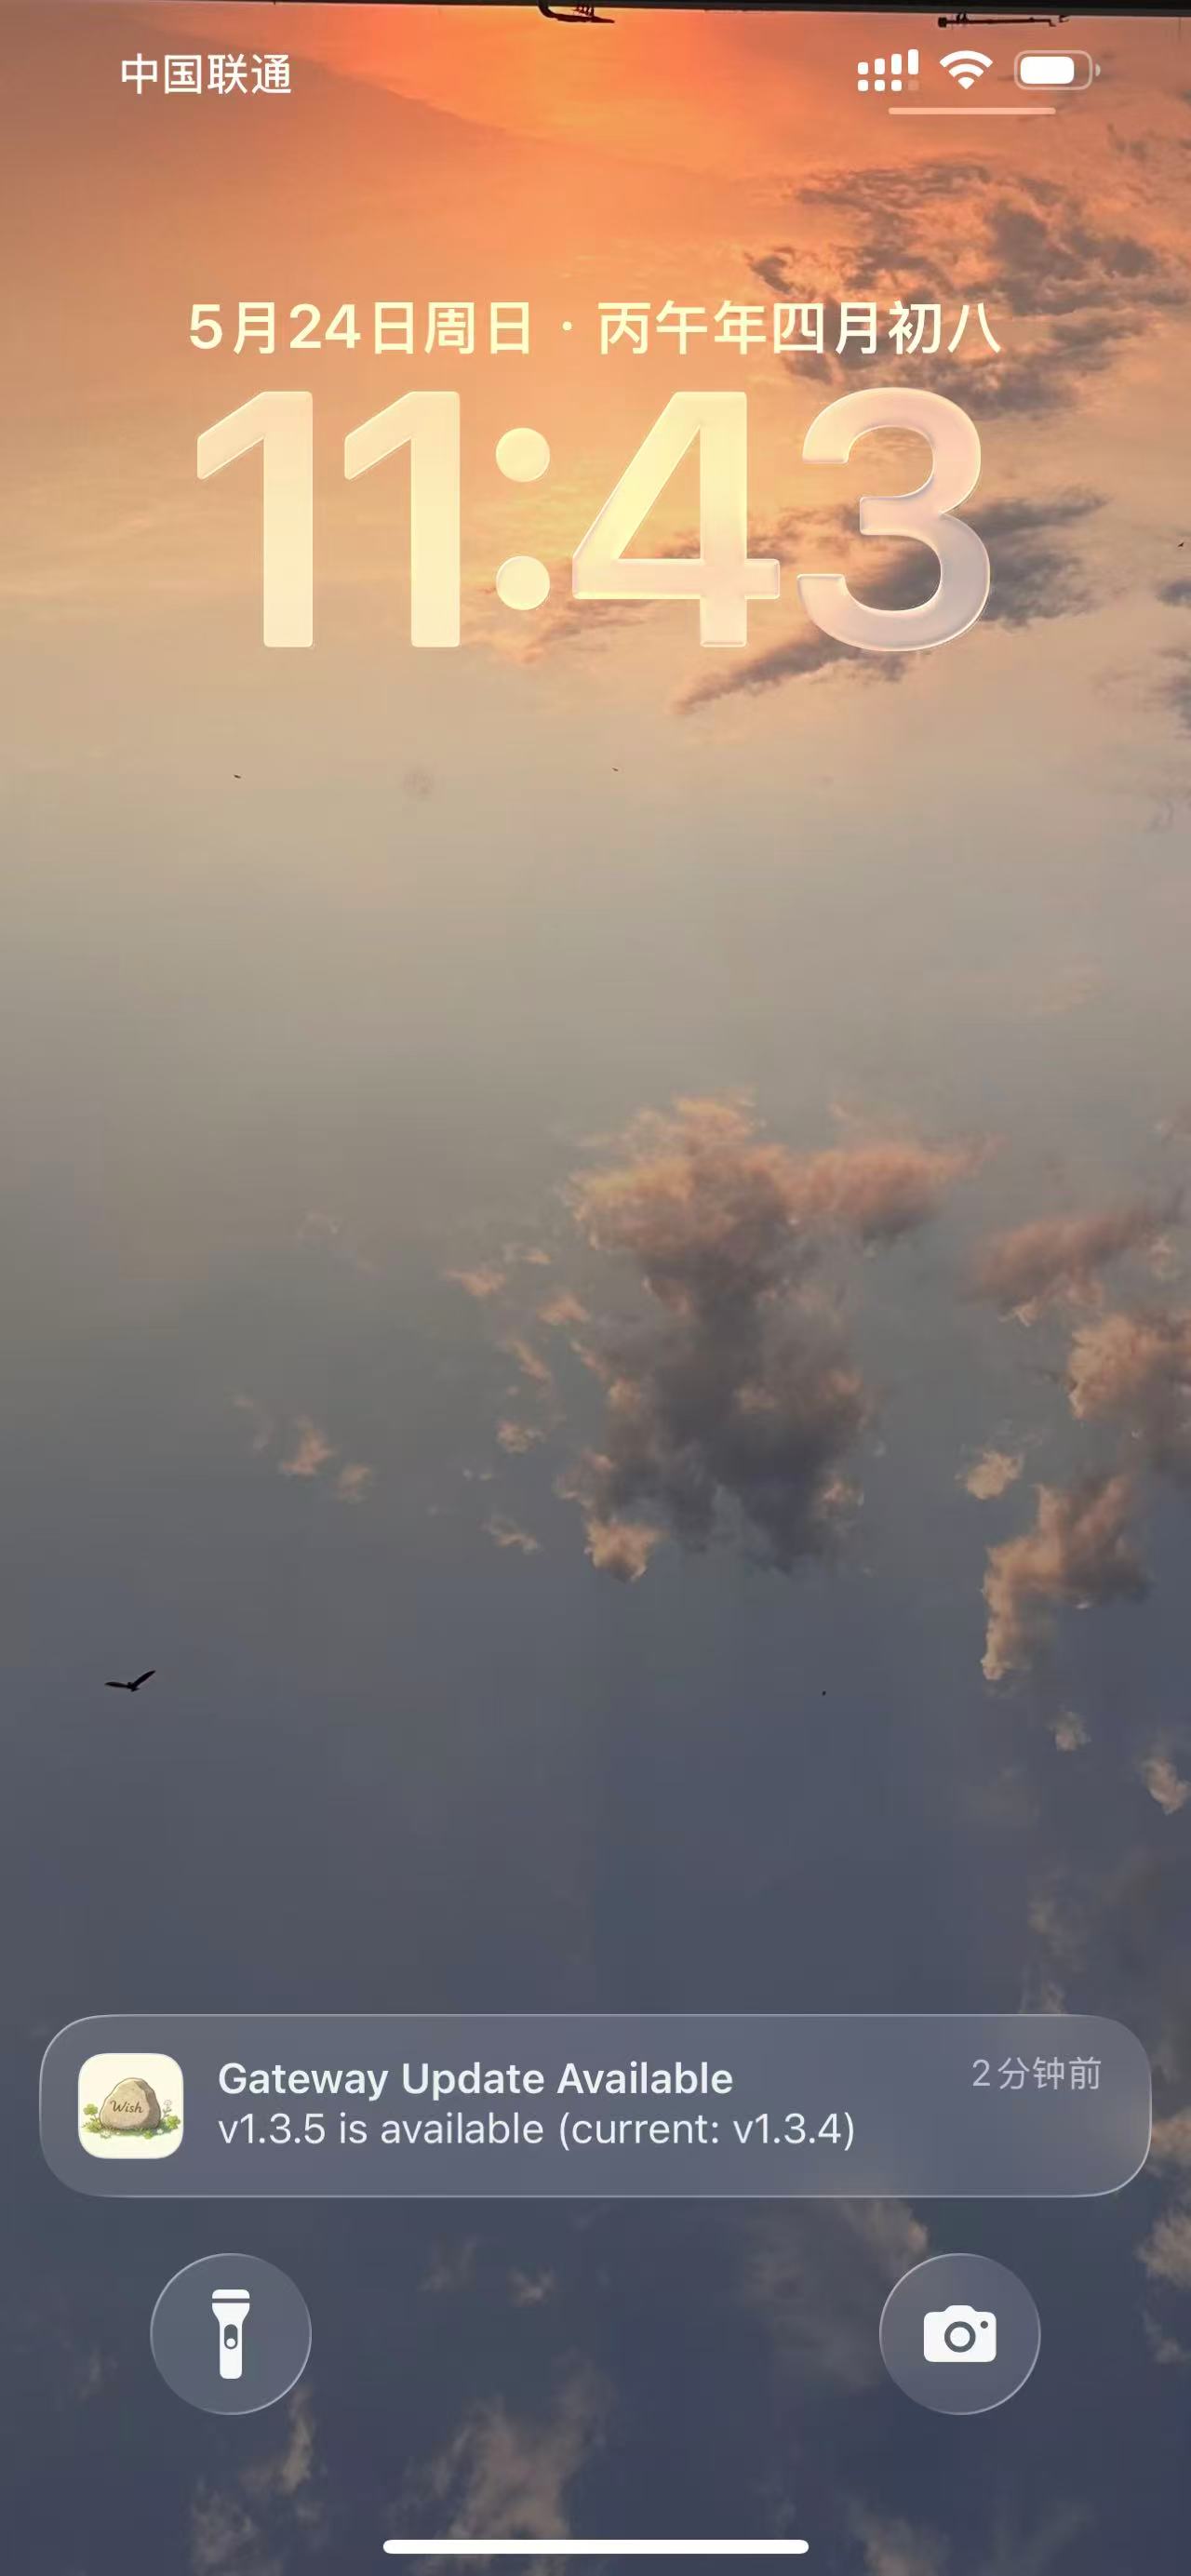
After manually installing Gateway once, subsequent upgrades can all be done on your phone. First, you’ll receive an upgrade notification:
From the notification, go to the device list page and enter each device’s details:
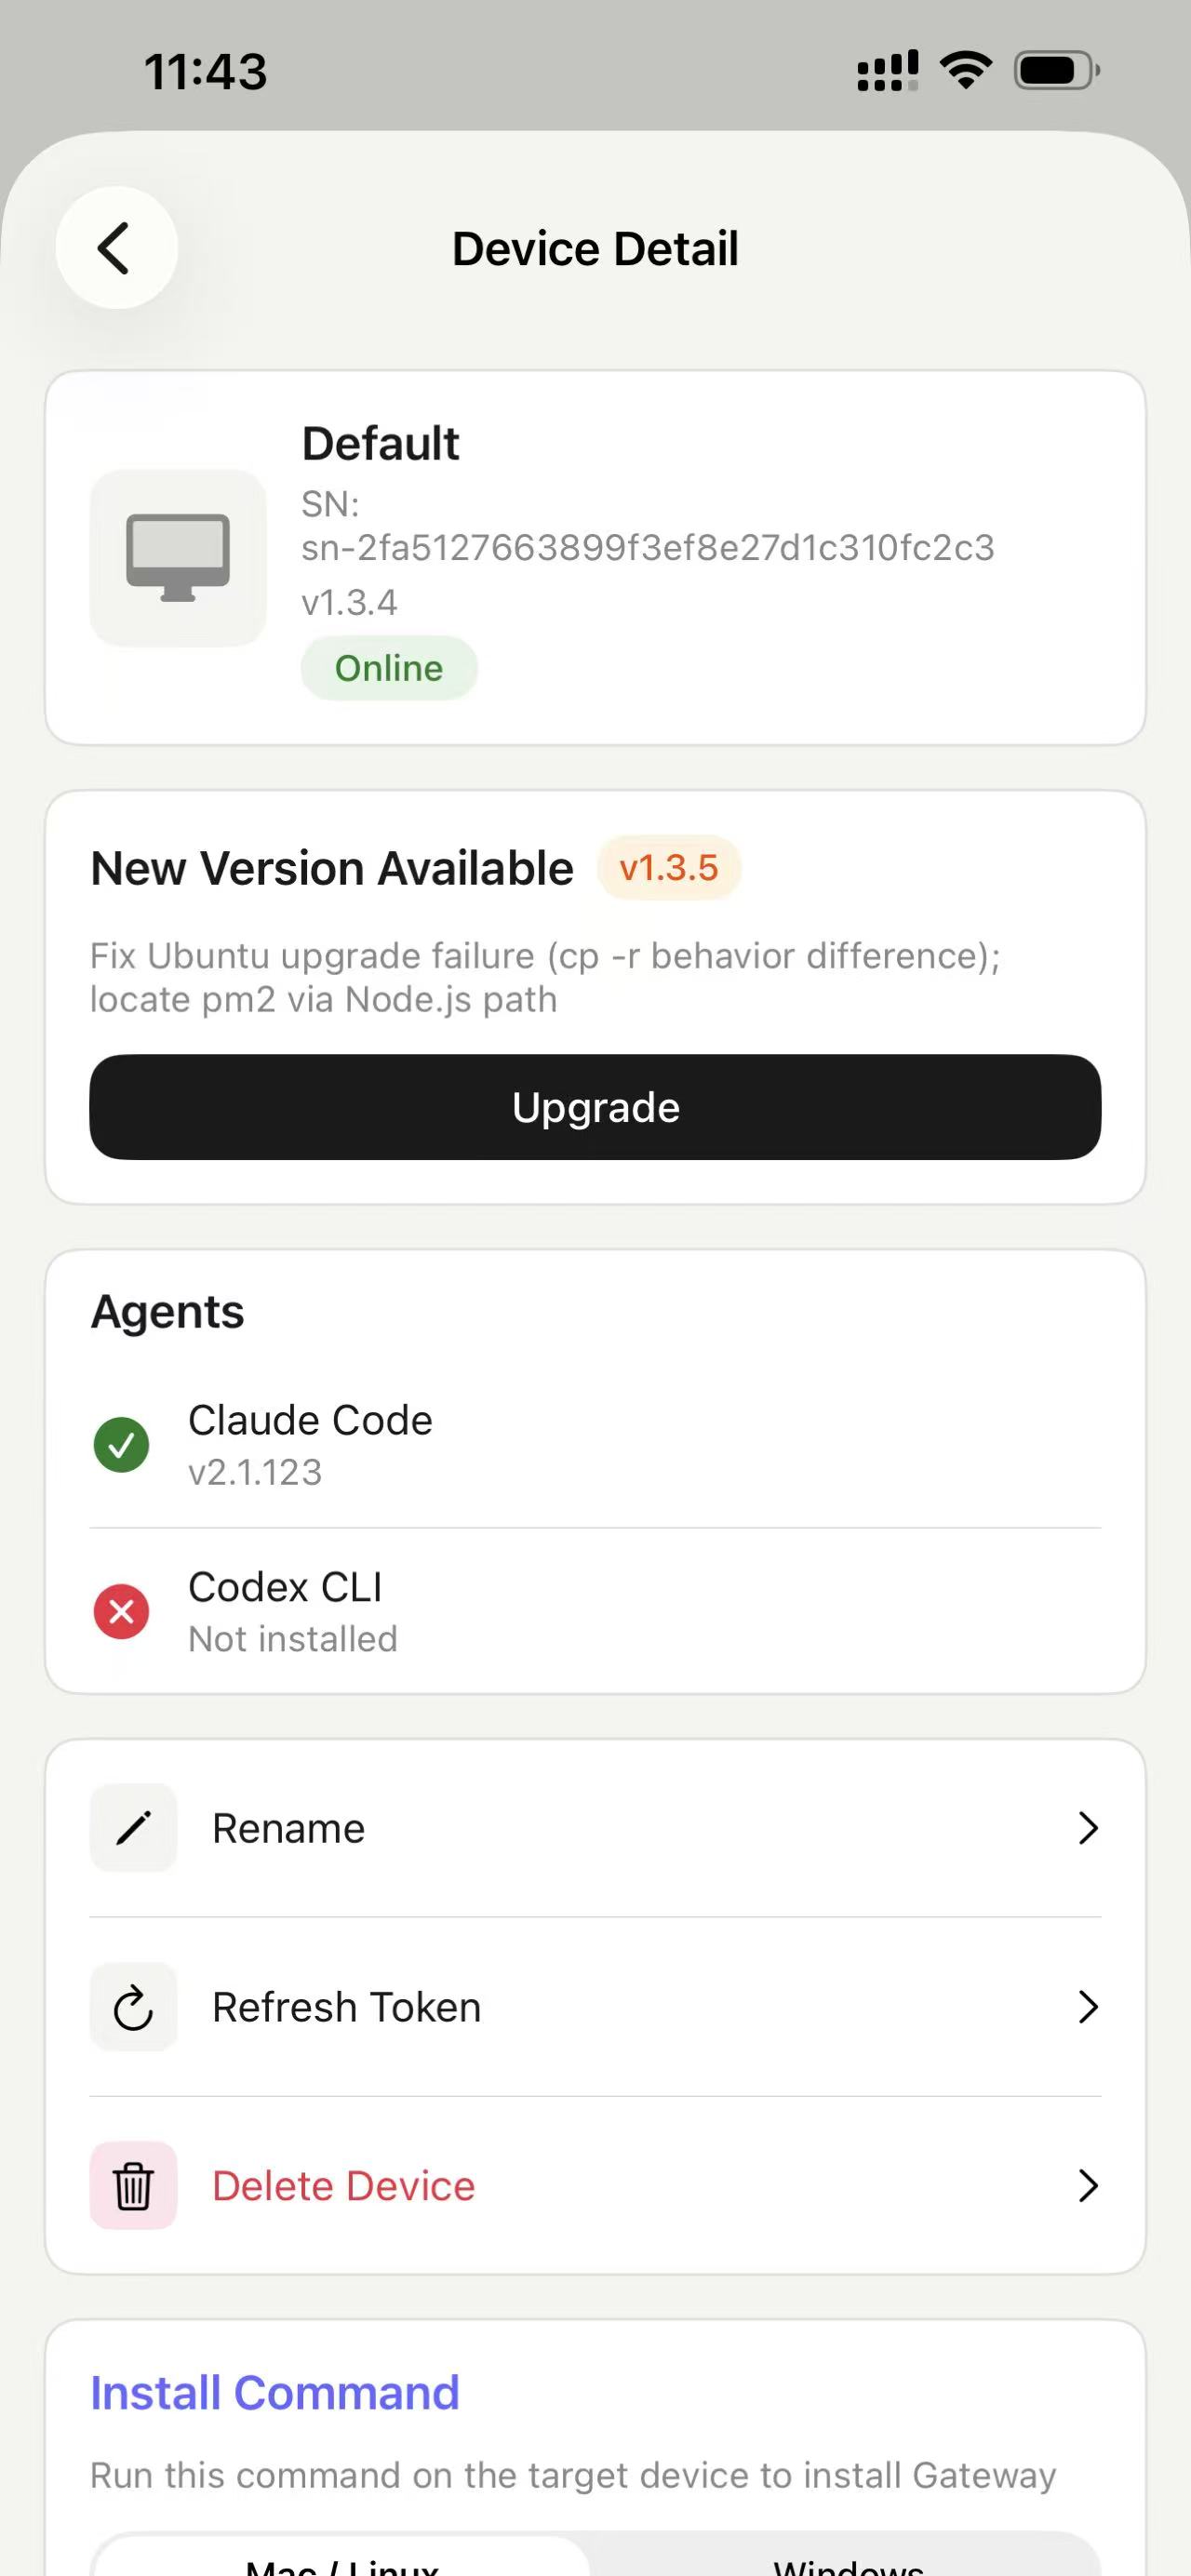
Tap Upgrade:
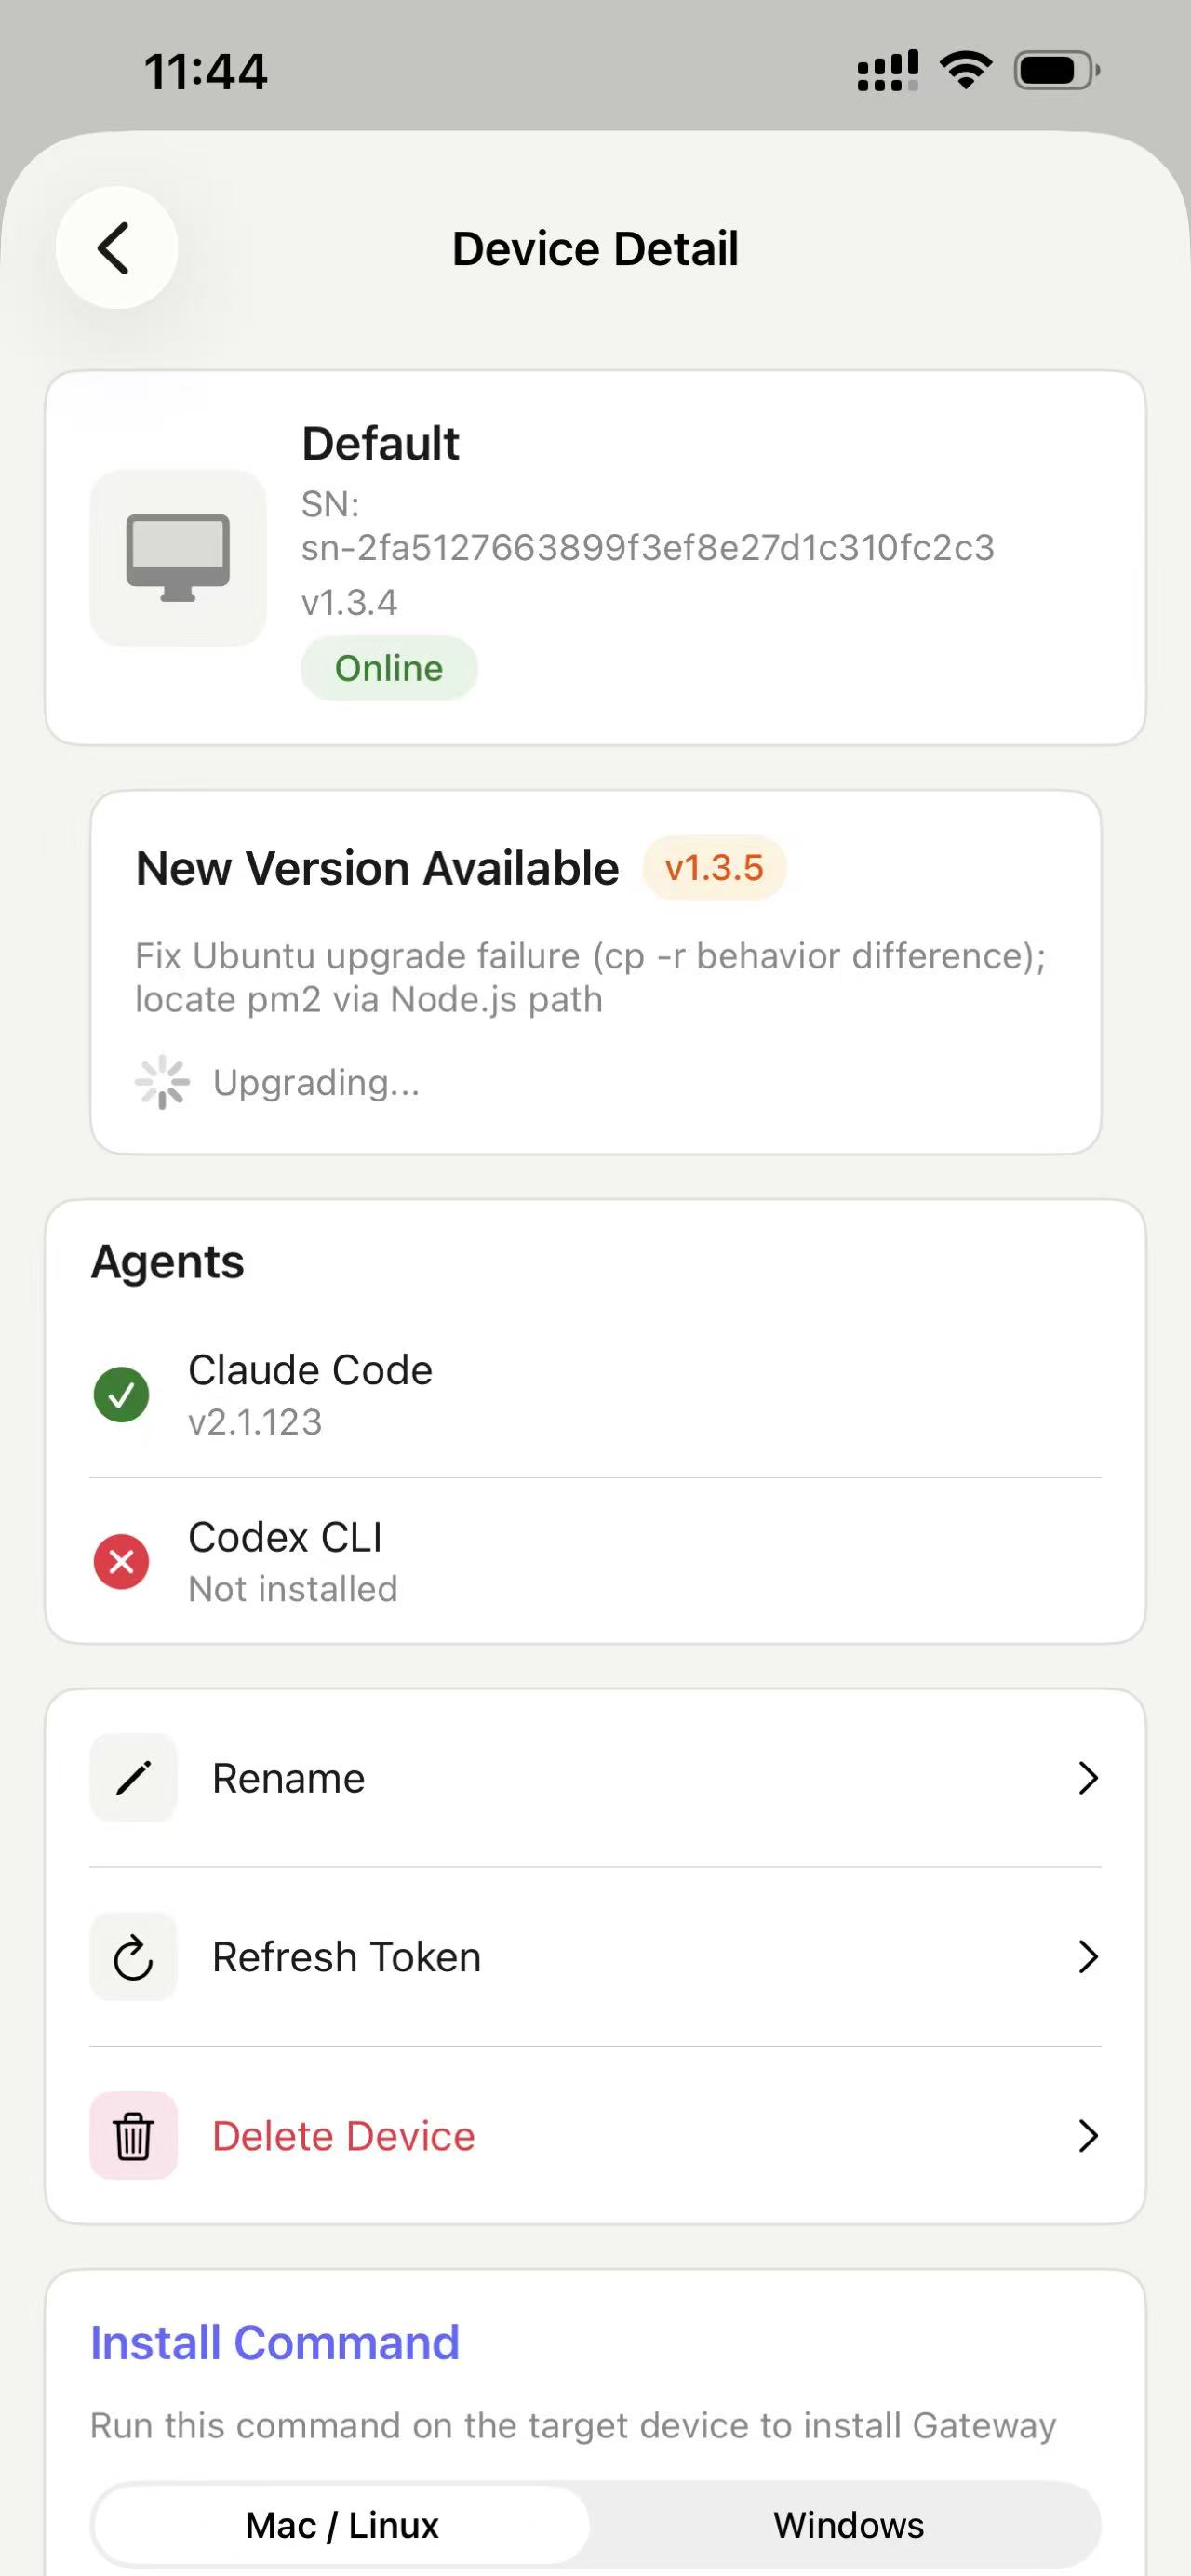
Wait for the upgrade to complete: